People often ask what photography equipment is necessary to achieve professional quality photos. We usually think of the camera body and lenses first, but the question of lighting is also important, if not more so. Indeed, no matter the conditions in which the shots are taken, lighting is one of the key points; it is a powerful tool in photography. At the same time, mastering the settings of the digital camera, especially the manual mode settings, can make a big difference, especially when it comes to light. Explanations.
Table of contents
The importance of lighting in photography
Light is a key factor in the success of a photo. It determines many aspects of a photograph, such as:
- brightness and darkness;
- tone;
- mood;
- atmosphere.
That’s why it’s important to know how to handle it. A photographer who knows how to control the light can easily obtain and play with textures and colors.
Lighting in photography: all types of light
Since lighting is one of the most important concepts in photography, it seems essential to explain certain basics with regard to the different types of lighting.

Natural light vs. artificial light
An initial fundamental concept for understanding lighting in photography is the distinction between natural light and artificial light. Natural light is produced by the sun, the moon, the sky. In this case, the lighting is not 100% controlled, since these elements cannot be influenced. Artificial light includes all other light sources such as lamps, flashlights, studio lights, LED lights, etc.
Soft light vs. hard light
Hard light usually creates many dark shadows in a photograph. Hard light sources include daylight sunlight, flash (when used without a diffuser), flashlights, etc. It should be noted that the smaller the light source compared to the subject, the harder it is. Of course, these two types of light have variables in terms of intensity and quality.
Cloudy weather makes it possible to diffuse light naturally. But there are solutions for artificial light sources. Diffusion of hard light results in softer light. For flashes, it is also possible to use clip-on filters, for example.
The position of the light
The type of light, but also the position of these lights, contribute to a photographer’s creative process.
- Frontal lighting: this is a light illuminating the front of the subject. This type of lighting is uniform and creates what are called flat images. This gives saturated colours and minimizes textures.
- Lateral lighting: this is a light illuminating the side of the subject, which produces shadows. This type of lighting is ideal if you want to create a dramatic effect, highlight textures or give a feeling of volume and depth.
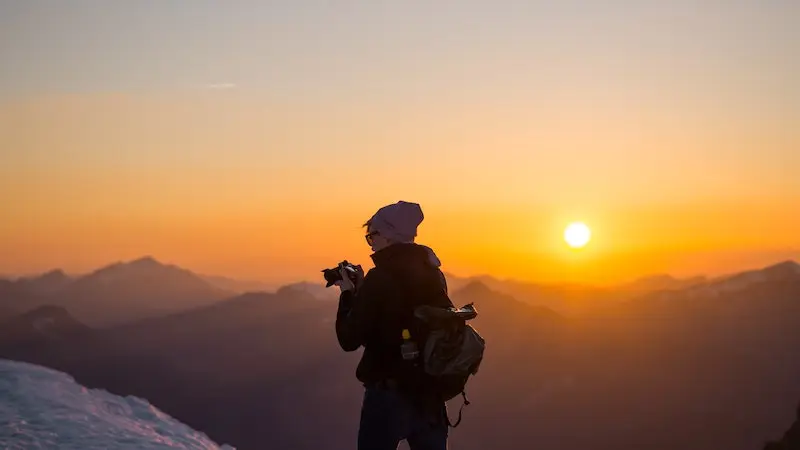
- Backlighting: in this case, the light is located behind the subject. This type of lighting makes it possible in particular to create silhouettes. The harder the light, the more the silhouette is formed and the more details of the subject or object are lost.
Depending on the position of the light, the characteristics of a photo can completely change. Take the example of golden hour. The sun being very low at this time of day – at sunset or sunrise – its rays pass through much of the earth’s atmosphere before reaching us. This angle completely changes the temperature of the colors to create golden tones. This time of day is particularly appreciated by photographers.
Lighting solutions in photography
In photography, there are many solutions for controlling lighting, whether it is natural or artificial light. Here are a few examples.
Flash
The flash is an accessory we all know about, yet many people dismiss its use. However, if it is used well, it can achieve very creative results. In addition, the characteristics of the flash can be controlled according to the desired effect. You can adapt the power, intensity, color, quality, direction, etc. Accompanied by the flash, you can very well use diffusion material to soften the shadows.
There are mainly two types of flashes: cobra flashes, also called "speed light" and generally located on the camera, and studio flashes that can be used at a distance.
Continuous lighting
Continuous lighting comes in contrast to direct lighting created by flashes. There are two types, which are:
- halogens;
- LEDs.
Continuous lighting seems to be the favorite technique of professional photographers, especially because it allows better control of the effect, particularly through better control of the white balance. Indeed, it is easier to make adjustments since we can directly see the lighting effect, unlike flashes. This type of lighting is also essential when you’re not just taking pictures, but also making videos.
The reflector
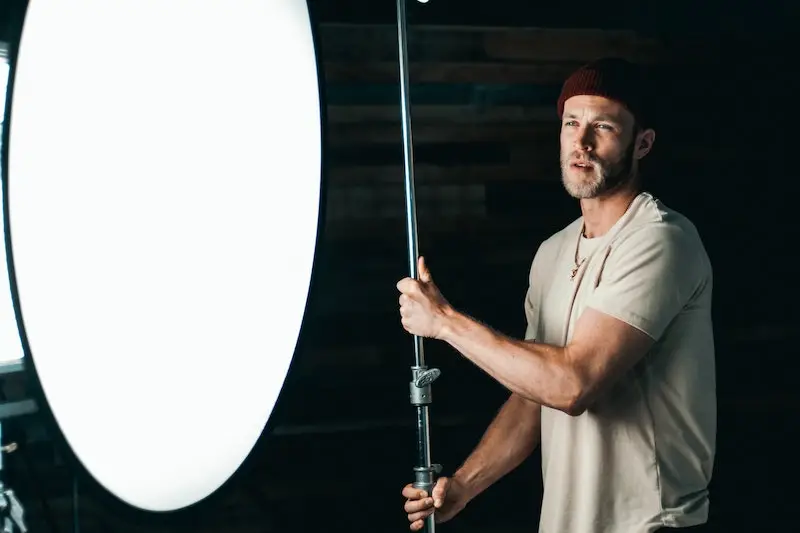
The reflector is an important tool in photography – especially in portrait and studio photography – that helps control lighting. It does not create the light, but rather corrects it.
The reflector makes it possible to reflect or return the light onto a subject’s face. For example, it can correct shadows on a face during an outdoor session in the middle of the day, or it can prevent a backlight from forming a silhouette. Contrary to popular belief, there is no need to invest in overly expensive products: a poster, a foam board or polystyrene can act as a reflector.

The diffuser
Like the reflector, the diffuser is not a light source, but makes it possible to correct it. The diffuser is a tool used to create softer light, to create less harsh shadows. It redirects the light source for wider and more uniform diffusion, reducing contrast.
The light box
Light box photography is a technique that was invented for product photography. It is therefore widely used in e-commerce, but can be used for other creative projects. The light box allows you to capture all the details of a subject.
It is a white and smooth material arranged in five panels: the platform, the three vertical sides and the roof. A light source is then placed all around to be inserted into the box, and the white surfaces reflect the object placed in the box. This lighting technique erases the contrast: it should not be used if you are looking for an original or dramatic effect. With a little imagination, it’s also possible to create a light box yourself.
Being aware of light and illumination contributes to the development of a photographic style.
- Everything you need to know to get started in photography
- How do I choose the right lens for a camera?
- How do I choose an external flash?
- What equipment should I use to take portrait photos?
- What equipment should I use to take landscape photos?
- Which computer should I choose for photo editing?
- How do I create a photo studio?
- Equipment for creating sports photos
- Equipment for wildlife photography
- How can I develop my own photos?
- How do I choose a camera tripod?


