
Photographers who want to take professional photos from home often dream of having a photo studio at home or in a dedicated room.
This requires reflection, the necessary photography equipment and some specific accessories, but it is possible to create your own photo studio.
Of course, it is not enough to place a canvas on a wall and use a light reflector. We must first think about the layout of the space and the type of photo to be taken, then proceed in stages in order to create a photo studio worthy of the name. Here are some practical tips for a creating a personalized and top-quality photo studio at home.
Table of contents
Define the space dedicated to the photo studio
Generally, it is unwise to consider creating a photo studio in your living room or bedroom. In order for a studio to keep all its promises, be well-set-up and leave enough freedom in the shots, it is advisable to place it in a relatively spacious place where it can remain as it is, without the need to move the equipment. That’s why creating a photo studio in a large office, a garage or another unused room is a great idea.
On the other hand, it is preferable to avoid very bright rooms in which it is not possible to obstruct the daylight (e.g., a veranda). The ideal situation is to have the possibility of using natural light, while also being able to decide to use only artificial lights (room with windows that have curtains and shutters that fully black out the light).
In addition, it is, of course, necessary to think about the space available for taking pictures. When you want to take a photo on one level, for example, you must have sufficient clearance for the shot to be possible. For the photography of small objects or dishes, for example, the space available and the distance are a little less problematic, but you still have to feel comfortable.
Create a background for shots
Once you have chosen the room, it’s now time to create a background. It is in front of this background that the photography subject will be positioned. This is why a white background is most often recommended, which will not reflect color on the model or object.
In some cases, you can just use a white wall of the house as a backdrop. Depending on the desired photography style, it is still possible to opt for a colorful wall.
The other option, often preferred, is the use of a fabric background, for example, using a white sheet. It is then necessary to take care to iron it and to keep it taut so that the folds do not appear on the image and do not create undesirable shadows. The advantage with this type of background is that it is washable: at the slightest stain, the sheet can be put in the washing machine, and you will end up with a new background.
Finally, another solution consists of setting up a paper studio background. It exists, of course, in white, but we also find black as well as all kinds of colors, patterns and landscapes to create the photographs you want. The ideal solution is to buy a base in kit form, i.e., with integrated support, so that the base is correctly fixed, easy to move and well tensioned.
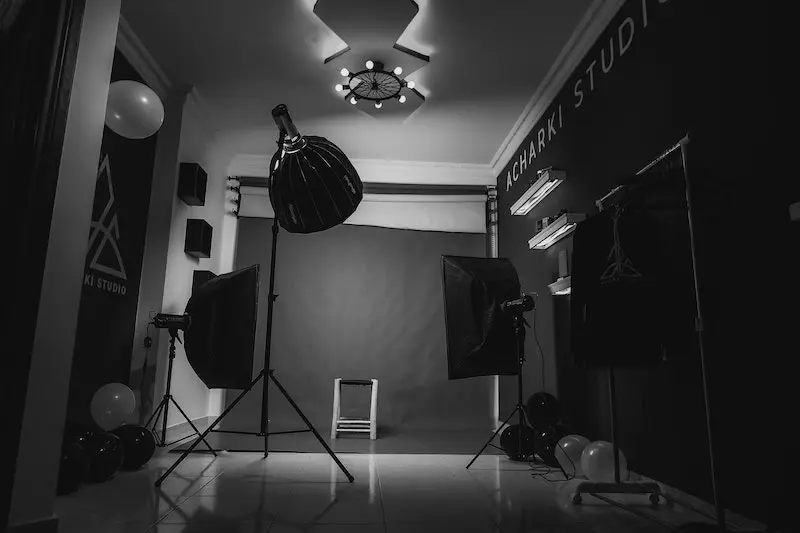
Set up appropriate lighting
Lighting work is essential in a photo studio. Many products can be used to achieve the desired brightness and shadows, mostly in the form of flashes, halogen bulbs and LED lights. The choice depends on several criteria that are specific to each photographer, the type of photo they are taking (macro photo, portrait photo, etc.), what they want to bring to light, etc.
The use of natural light is not prohibited, but you must be able to manage and customize the light input and temperature.
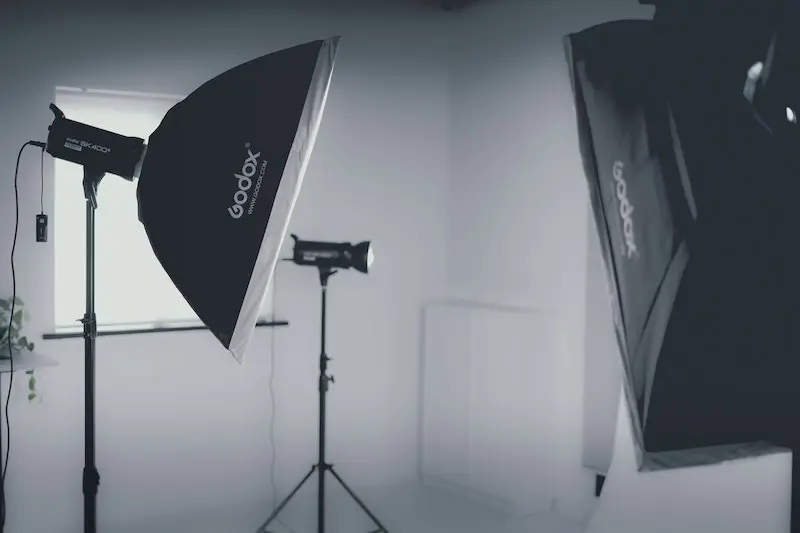
To ensure a continuous source of light, bulbs and lamps of all kinds can be used. It is not necessary to have professional equipment. The key is to find lighting that will provide the desired temperature, hue and light intensity.
In the studio, it is not uncommon to also find flashes. In this category, we first find the Cobra flash, which can either be mounted on the camera’s hot shoe, or positioned at a specific place in the studio. In this second case, it is recommended to invest in a remote control to manage it remotely or to trigger it automatically at the time of the shooting.
Thanks to this type of lighting, you can obtain a professional quality image, much better than with the built-in flash of the device. It is also ideal for taking pictures of moving subjects.
Another solution is studio flash. Here, it will be necessary to pay a certain price, because this is professional equipment. Still, it offers great power, much more subtlety and it can even make it possible to do without light modelers, as its features are numerous and the light it gives off is high quality. However, it is more complex to set up and it takes up a lot of space. Photographers who set up a studio in a small space or who have a limited budget, and who know how to use light reflectors, have no real reason to opt for such a product.
Choose accessories for playing with the light
The light in the photo studio depends on the lighting, but not only that. With continuous lighting or a cobra flash, it is essential to have light modifiers. With them, you can do almost anything you want with your lighting sources: dim a light, redirect it, modify the shadows, etc.
These products can take several forms, the best known certainly being the umbrella. But there are other light modifiers available today at affordable prices, such as the folding fabric reflector, the snoot (a tube to be installed on the flash to direct the light), the "honeycomb" grid (which allows you to work on the distribution of the light), and so many others.
It is recommended to get different light moderators, so that you can work with the light as you wish depending on the light sources, the subject, the style of photography, etc.
Think of practical accessories for your photo studio
We have so far mentioned rather technical equipment, but to design a photo studio, it is also necessary to be ingenious and have the right equipment to position everything correctly.
The tripod is, of course, one of the most essential pieces of equipment in a photo studio. But other small accessories, which we might tend to forget, are also important. Examples include gaffer tape, clips for hanging up fabric backdrops, flash mounts, equipment storage cabinets, etc.
It is better to anticipate the purchase of these supplies, to avoid substituting them with accessories that could be found at home and that would not do the job perfectly.
- Everything you need to know to get started in photography
- How do I choose the right lens for a camera?
- How do I choose an external flash?
- What equipment should I use to take portrait photos?
- What equipment should I use to take landscape photos?
- Which computer should I choose for photo editing?
- Lighting solutions in photography
- Equipment for creating sports photos
- Equipment for wildlife photography
- How can I develop my own photos?
- How do I choose a camera tripod?