


New destination : Luminar, with Avalanche for Luminar and Avalanche Unlimited you can now migrate your catalogs from Aperture to Luminar…

Migrating your catalogs from Luminar 4 to Luminar AI. Avalanche for Lightroom 1.2 and Avalanche for Luminar 1.1 introduce the migration…

In this version, we have focused on enhancing the compatibility between Peakto and Apple Photos, ensuring a seamless experience for macOS users. Let’s dive into the details!

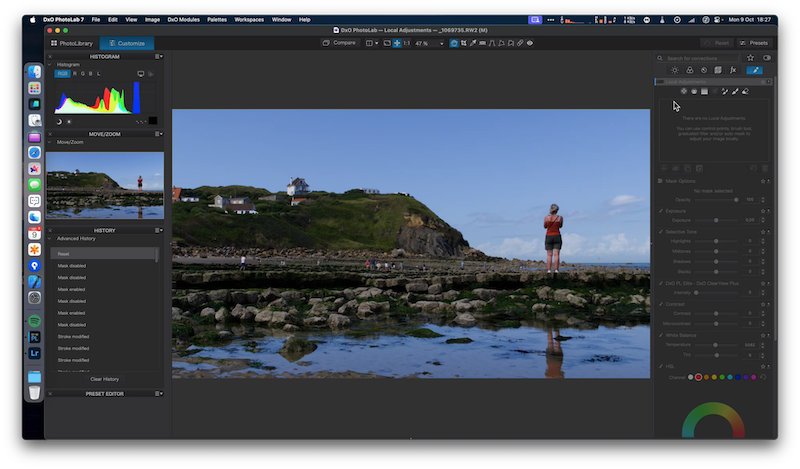
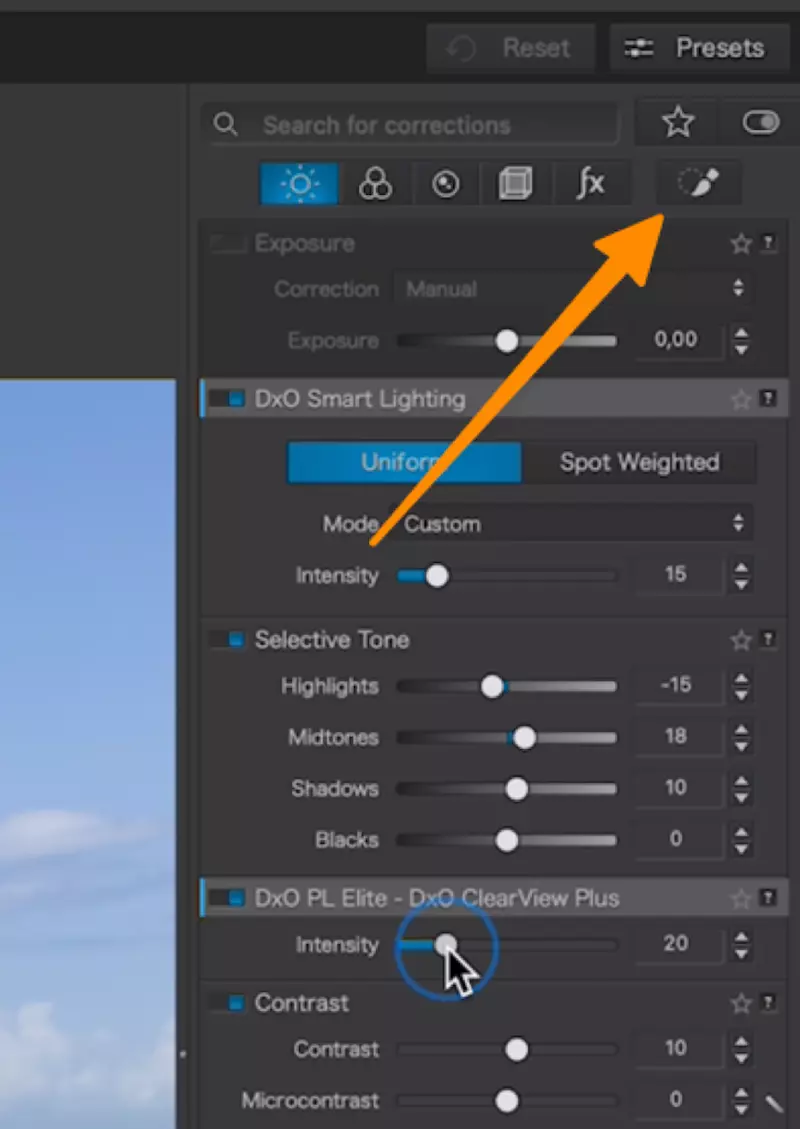
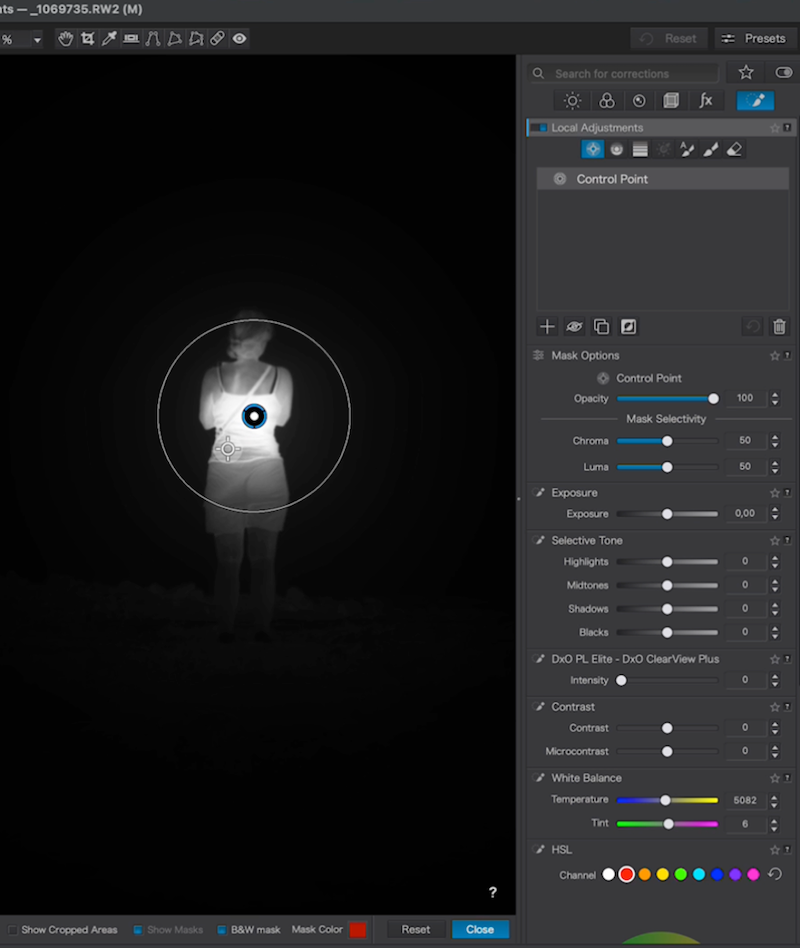
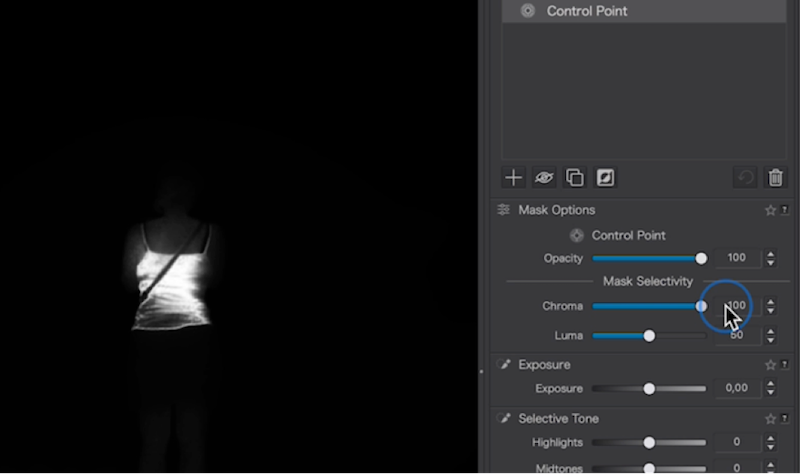
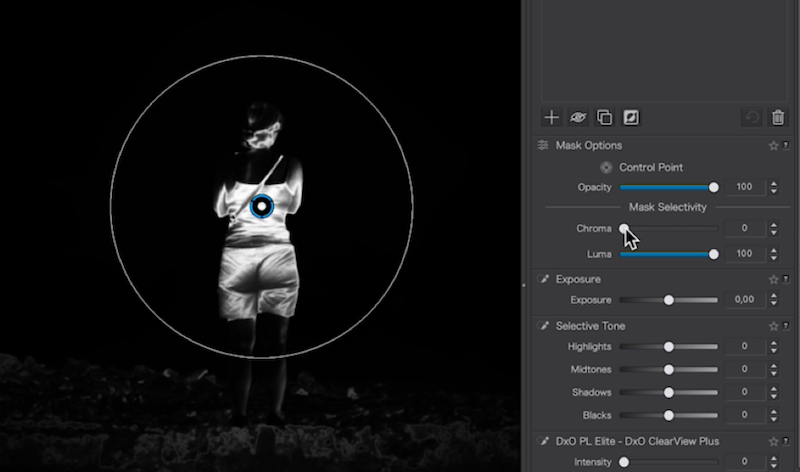
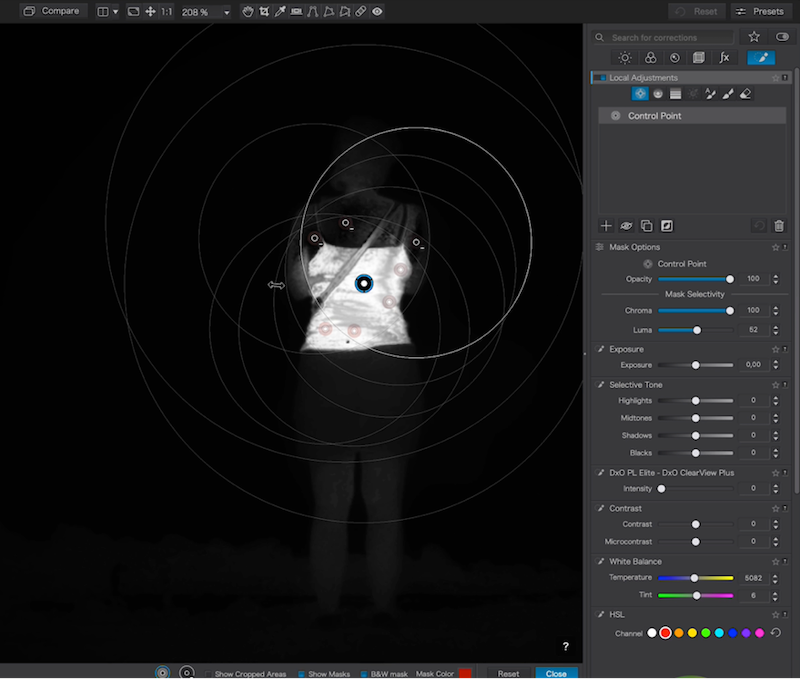
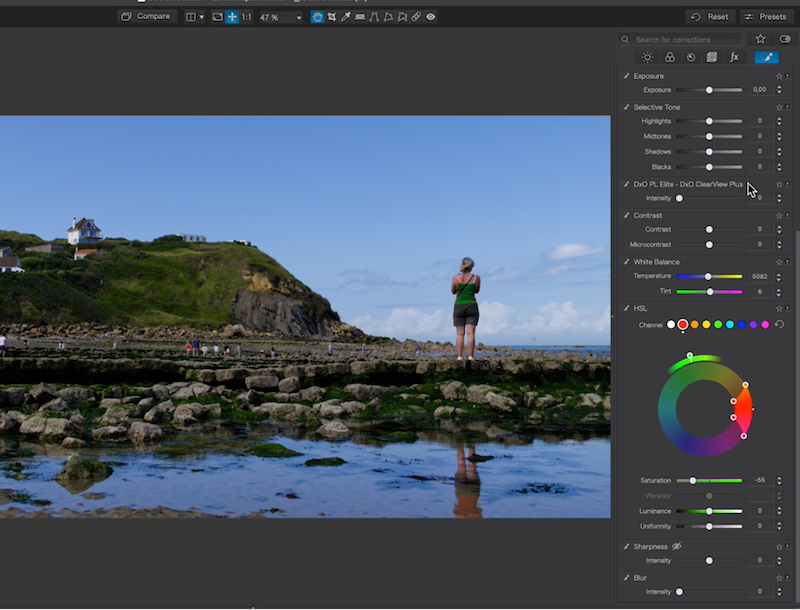
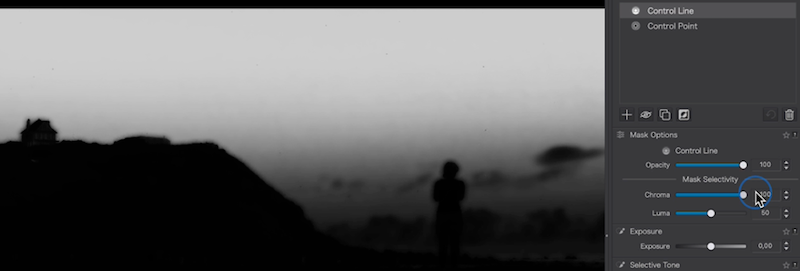
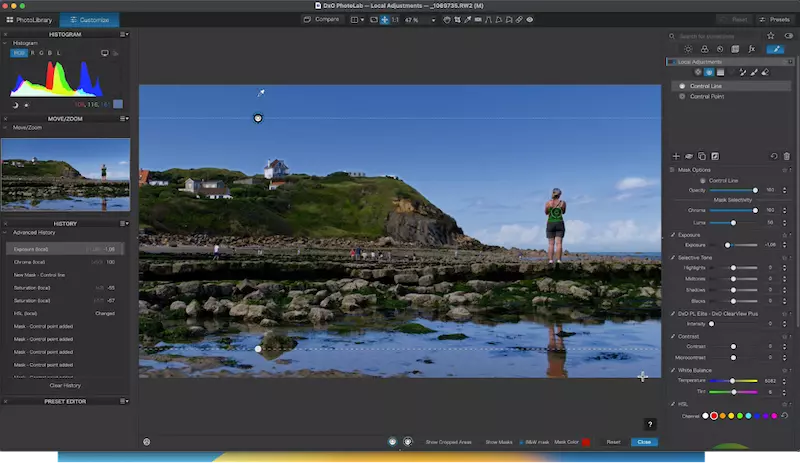
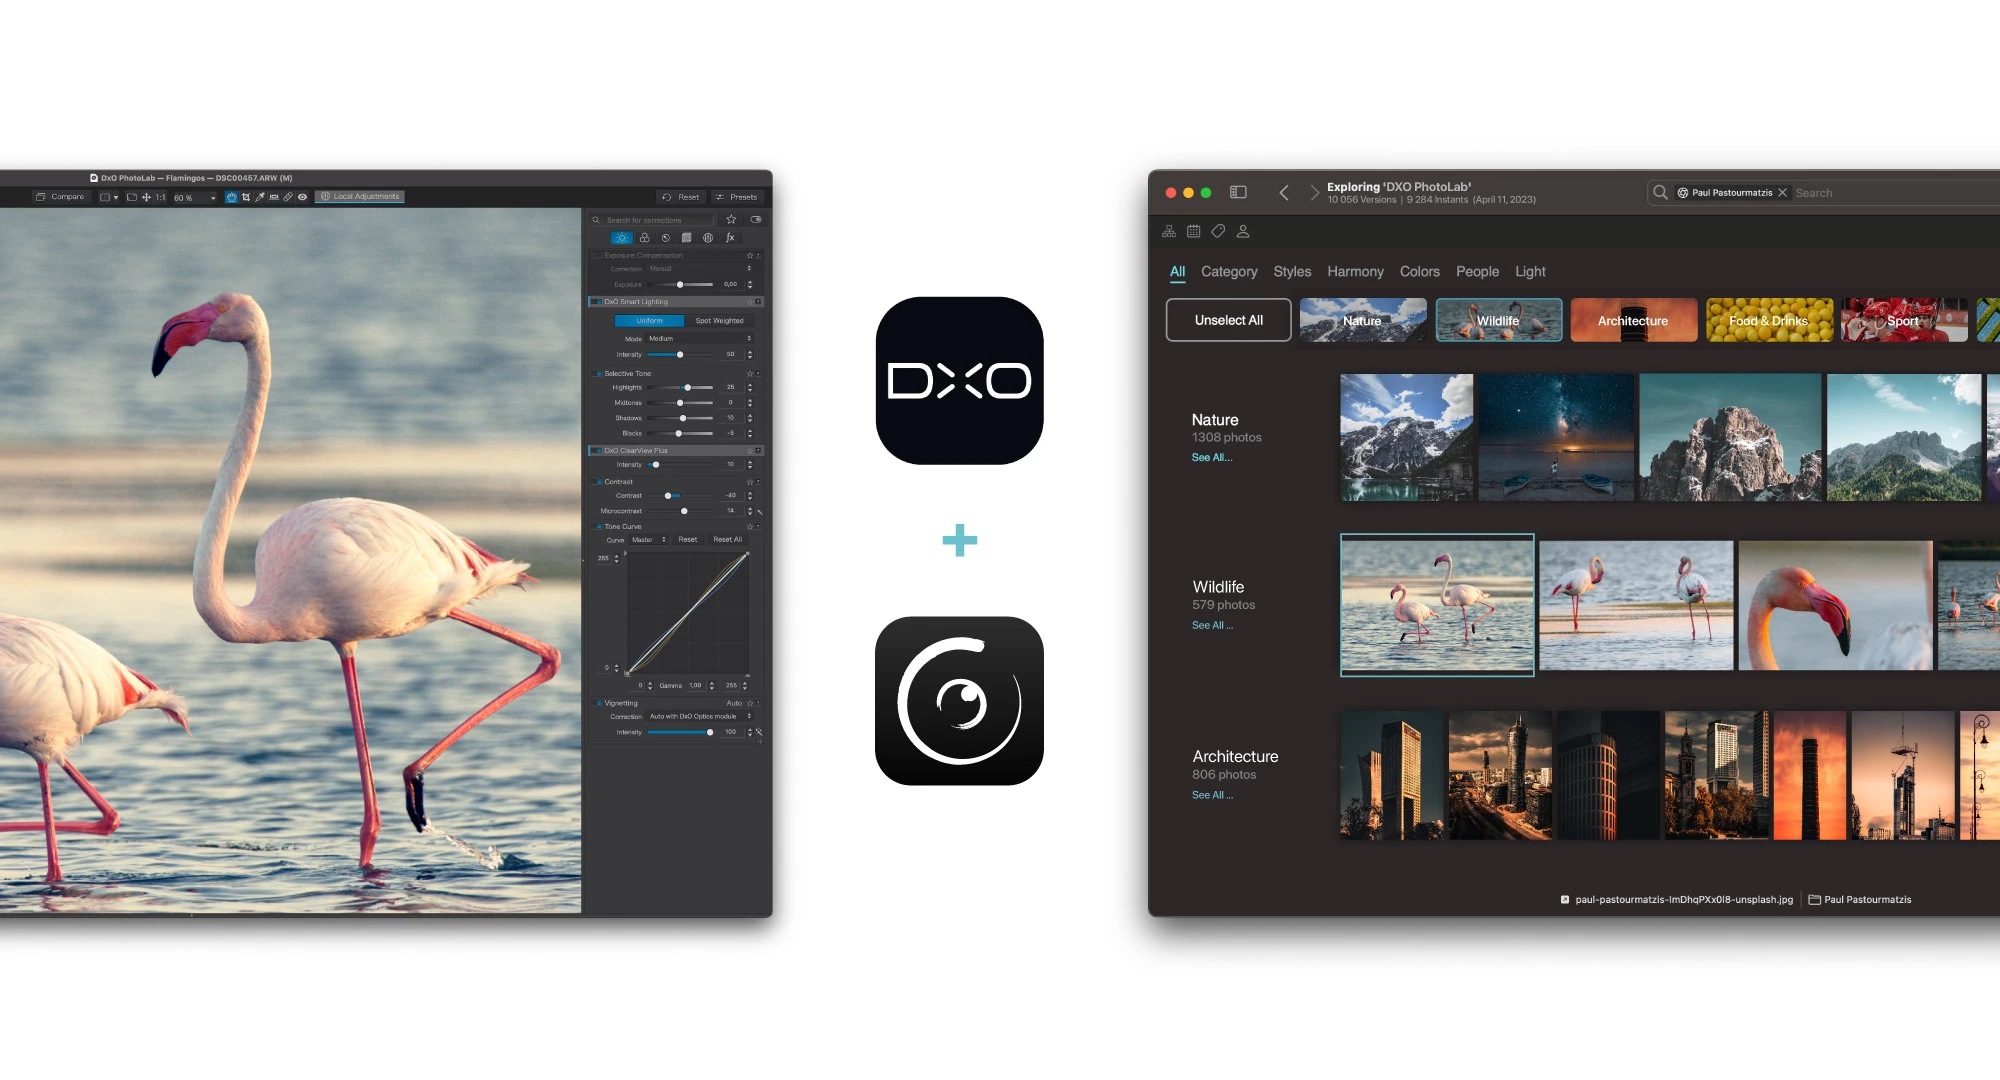
Peakto has already integrated the latest version of DxO PhotoLab 7. We want Peakto to be your reference for all your photos…

Let’s have a look at the photographic post-processing and the thorny issues it raises. Can we say that photography is a question of style…

Here’s an original gift and surprising idea: offering a mobile application! Thanks to the App Store, it is indeed possible! And what could…
