
The HERO camera, more commonly known as the GoPro, was first released in 2004. Since then, thousands of amateur and professional photographers have adopted this revolutionary action camera. The GoPro, in fact, is a kind of off-road camera, which allows you to capture images on any occasion. It is now common to take your GoPro downhill skiing, scuba diving or even climbing in order to obtain high-quality videos or panoramic photos.
However, to achieve such results, it is necessary to know how to use the camera correctly. How can you create beautiful photos with a GoPro? Find all the answers in detail below.
Table of contents
Correctly setting up the GoPro beforehand
To take beautiful photos with a GoPro, it is essential to set it up correctly beforehand. The photographer must adjust the settings of their camera according to their desires and the shots they intend to take.
So, if you want to:
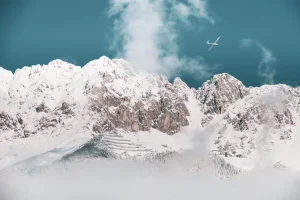
- shoot backlit scenes, you can opt for the HDR format (or WDR on older cameras, before HERO 6 Black), which improves the quality of photos when they are taken in dark or particularly bright areas (sunrise, night shots, etc.) ;
- reduce the grain in low light, you can rely on SuperPhoto mode which further optimizes the HDR format;
- enhance the brightness and exposure of your shots, you can install Protune mode, which also maximizes the final effect and resolution of the image;
- edit their photos in post-production, they can adopt the RAW photo mode, which will allow them to capture raw images and offer more possibilities when editing the images.
Mastering the wide-angle effect and choosing the right field of view to get the best shots
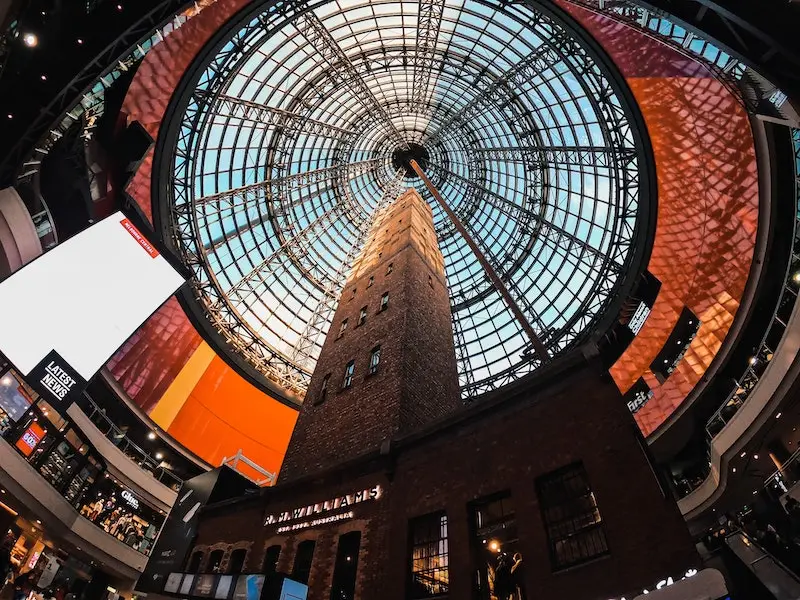
GoPro shots are immersive. The cameras are equipped with a wide-angle lens (also called a fisheye) that allows you to capture each image with great precision. The aim is to give the viewers the impression that they are part of the image and to perceive it as if they were also in the scene.
However, it is not always easy to master this fisheye effect. Sometimes it even becomes necessary to limit the distortion for an optimal result. To do this, the photographer can reduce the camera’s field of view by zooming in. On older GoPro models, it is possible to choose the medium or narrow field of view to better crop the image. Another trick is to use GoPro Studio, a photo-editing app, to remove this fisheye effect.
Note, moreover, that to obtain top-quality images, it is essential to select the right field of view:
- wide, to photograph a subject that is close;
- linear, to obtain a flat horizon and photograph a subject further away from the photographer.
Avoid backlighting during the session, especially underwater
To obtain beautiful photos with a GoPro, it is essential to avoid taking backlit photos. This instruction is all the more true for images taken underwater, which are generally less clear. To do this, it is best to wait for the sun to be in the right position, or select another composition or shot.
Another solution is to activate Wide Dynamic Range (WDR) mode in order to increase the level of detail of the light and dark tones of the image. This setting is, in fact, particularly effective for backlit scenes or those with large bright areas and a darker foreground.
Try burst mode to capture a precise moment
To capture a very precise moment of a fast movement, it is possible to opt for the GoPro burst mode. With this feature, the device can capture up to thirty photos in one second. The photographer can then be sure of leaving no detail out, and of obtaining the desired photo with great precision.
It is possible to adjust the frequency of the photos per second. For very fast movement, it is best to use the setting of thirty photos in one or two seconds. Conversely, if the movement is slower, it is possible to opt for the frequency of five or ten photos in one or two seconds.
Add night mode for photos taken in low-light areas
When taking pictures at night or creating a low-light scene with a GoPro, it’s possible to opt for night mode. Thanks to night mode, images are not dark despite the low lighting. This setting ensures that the camera’s shutter remains open long enough for the maximum amount of light to be captured by the camera.
However, additional precautions must be taken to obtain clear shots in night mode. In this case, the device must be fixed and stable. Otherwise, photos can be blurred and lose accuracy.
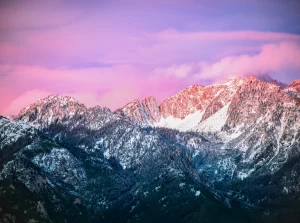
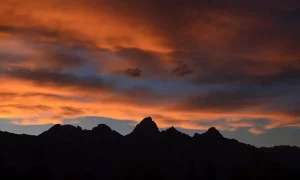
Taking photos at the right time of day
This parameter is often neglected, yet it is of paramount importance. To take great pictures with a GoPro, you need to carefully select the time of day you take the shots.
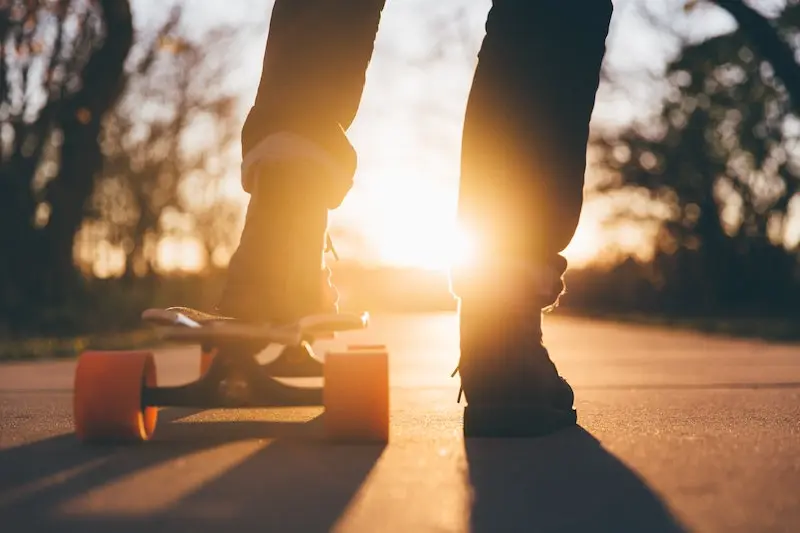
For example, the natural colours present during sunrise or sunset (the colours of the golden hour) bring a lot of charm to the images. Without even having to edit the photo, it’s possible to obtain a very satisfactory result. These are the periods when the photographer is most likely to obtain high-quality images.
However, it’s also possible to organize a photo shoot at noon, provided you take certain precautions:
- find shade;
- create fill light;
- edit the photo if necessary, etc.
Cloudy weather also allows you to take beautiful pictures with a GoPro, as there will be plenty of shade. It’s also possible to obtain convincing results at night, with the right settings.

Use suitable accessories if necessary
GoPro offers a multitude of accessories that tend to improve the quality of the photos taken. Not all are necessary, but depending on the context, it may be worthwhile to adopt them.
In this case, the pole is ideal for widening the field of vision and moving the camera away from the subject to be photographed. The telescopic pole also allows you to obtain much sharper photos.
The harness is also perfect for capturing images while keeping your hands free. It can be a particularly effective choice for photographers who want to take pictures while doing certain sports (kayaking, rafting, etc.).
Thanks to the tripod, it is possible to place the GoPro on any surface, whether it is smooth and stable or not. Finally, the polarizing filter eliminates reflections. This accessory is perfect for photographs taken in water or on snow. The filter adds more color and contrast to the images. It is also possible to apply it to the camera lens very easily.
Using the right settings, buying the right accessories, mastering the wide-angle effect, all these tips allow photographers to take beautiful pictures with their GoPro and to fully enjoy all the features available on the camera.