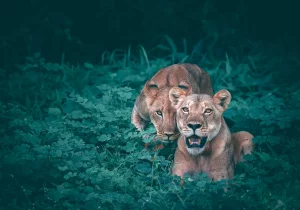
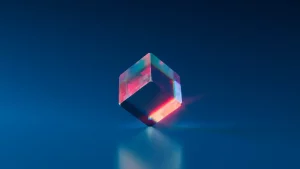
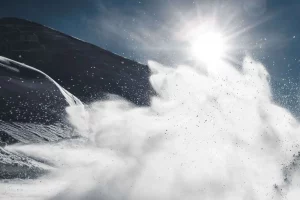
There are some important concepts to be familiar with when starting out in photography. Contrast is one of them. Contrast is defined as the difference between dark tones and light tones. To simplify: a high-contrast image will contain almost only black and white, while a low-contrast image will contain a lot of intermediate values, and not necessarily true black and white.
To improve the contrast of a photo in order to obtain a professional shot, photographers frequently use photo-editing software. The choice of light distribution on the image depends on the emotion that the professional wishes to convey. Contrast management is not only implemented in the development phase. There are also tricks to manage the contrasts while taking pictures in order to reproduce in the picture what the eye has seen or what the brain wants to show.
Table of contents
A little reminder about the exposure value
In photography, light is everything. Therefore, taking pictures comes down to playing with the light that arrives on the sensor (digital) or the film (silver). The exposure value refers to the amount of light introduced into a camera through the exposure compensation dial. It is expressed in IL, but also as STOP, EV or DIAPH. The problem is that the medium that records the image has a much smaller dynamic range than the human eye. It is not able to bring out all the shades of brightness and colors that emanate from a scene.
Indeed, depending on whether the photographer chooses to pose for highlights or shadows:
- either one part will capture more shades and the rest will be dark, with no detail;
- or conversely, there will be detail almost everywhere and a part will be all white or burnt.
In both cases, the photo could be classified as a failure. The solution is not to buy a new camera or a better lens. Other avenues should be explored.

Recomposing the image
One of the most effective ways to manage contrast is to recompose the image when taking a picture. In other words, it’s a matter of exposing the subject of the photo so that the dynamics of the new composition are reflected in the camera. For the photographer, this means removing from the frame what they do not intend to expose and reducing certain areas that appear in the composition so as to keep only the essential, for example, by using a longer focal length, zooming in or getting closer. In doing so, all shades of brightness can be seen by the device.
Let’s take the example of a seaside setting that a photographer wants to capture with an SLR, a hybrid or a bridge camera. The landscape is composed of a cloudy sky, sun, sand, a rocky area and a cave. The camera is not able to distinguish all the details of the scene and reproduce exactly the different colors in the photo. The photographer will therefore have to select their composition. If they intend to expose the rocky area and the cave, they will need to take the sun out of the frame as well as the sky and clouds and zoom in on the cave to minimize the range of extremely light tones.
Photograph in RAW format
It is wiser to opt for RAW format when taking pictures. This is actually the raw image as recorded by the sensor. This type of format has two main advantages in terms of contrast management.
The first advantage is that it is able to assimilate a wider dynamic range than JPG. Indeed, with this setting, the image is coded on 14 or even 16 bits whereas a JPG image is coded on 8 bits. The translation is simple: an image saved as a RAW file records more detail in the highlights and shadows. This solves part of the problem of poor distribution of shades. This is very useful when taking pictures in difficult environments.
The second advantage of the RAW format is that it offers more possibilities for post-processing. An image that is not perfect when the photo is taken will therefore be totally magnified at the development stage thanks in part to the improved contrast. The operation will consist of correcting an excessive or insufficient contrast without degrading the quality of the image, by using editing software.
Reduce the difference in luminance when taking pictures
A low-contrast photograph is easy to manage in post-production for a much more attractive look. Simply filter out the midtones and favor the extreme tones to increase contrast. On the other hand, a high-contrast scene is quite tricky to correct, as the photographer has opted for either highlights or shadows. Under these conditions, it is advisable to minimize the difference in luminance when taking pictures. To do this, professionals use different techniques.
HDR
HDR (High Dynamic Range) is a technique that consists of setting an exposure range on the camera when shooting. Exposure bracketing is characterized by multiple exposures during a single shutter release. In concrete terms, this means taking several photos, usually 3, identical in terms of framing and depth of field, in aperture priority mode (A or Av) or in manual mode (M).
With this type of setting, the first image will be exposed in light tones, the second image in medium tones and the third in dark tones. The constraint of the reduced dynamic range of the camera is therefore eliminated. You can then, using photo editing software, assemble the well-exposed areas to obtain an image with a nice level of contrast, without overexposure or underexposure.
Filters
By using filters, it is possible to rebalance the tones as soon as you take pictures. Two types of filters allow this adjustment:
- the graduated neutral density gray filter (GND filter): it allows you to darken the lightest part of the image, without affecting the other part. The reduction of the gap between high and low light promotes better exposure of the scene;
- the polarizing filter: it allows you to partially eliminate the white light, and therefore to reduce the natural contrast of the photographed scene. The sensor can therefore record all the tones present in a scene at the time of taking the picture.
The flash fill-in
This term refers to the process of using the flash to open up or fill in the shadows. The camera flash is activated, even if there is sufficient light, to balance the contrast between the highlights and lowlights. As a result, details can be perfectly visible in shadows that are too strong (e.g., when the subject is backlit). It is also appropriate to use flash if the scene is static.
However, the effect can be too much, and the lighting will look artificial. In this case, it is necessary to slightly underexpose the flash via the dedicated button or manually reduce its power.

Using photo-editing software
- force whites;
- intensify blacks;
- play with the highlights;
- take action on the shadows.


