
Key TakeAways
- While there isn’t a dedicated Luminar plugin for Lightroom classic, there is an integration that allows for seamless editing between the two programs.
- Luminar’s AI-powered functions and templates offer compelling reasons to use both software for picture enhancing.
- If you need to convert a large number of photos between the two while preserving your edits, Avalanche is the go-to solution—an incredibly powerful catalog conversion tool.
What Is the Difference Between the Luminar Neo Plugin and the Software?
The Luminar module for Lightroom is not a true plugin. In fact, it is more of a connection made between Skylum’s software and Lightroom Classic. Both are full-fledged picture editors and can even be considered competitors.
However, since the two programs offer different features, some photographers may want to use both — either because they like cataloging their images in Lightroom, benefiting from Adobe’s AI, or taking advantage of Luminar’s numerous presets and filters.
So when I talk about a plugin in this article, I’m referring to the connection between Adobe Lightroom and Skylum Luminar that allows for easy switching between the two software for photo modifying, without losing your edits when moving from one program to the other, and enabling you to continue revising your file.
What Is the Purpose of the Luminar Add-On for Lightroom, and Why Use Both Programs Together?
Thanks to the Luminar Extension that connects both apps, you can edit your pictures in Luminar and send them to Lightroom. Or, conversely, edit your images in Lightroom and send them to Luminar Neo. Note that the add-on does not allow you to import Luminar presets into Lightroom or Lightroom presets into Luminar.
3 Reasons to Use Luminar and Lightroom
- Luminar Neo helps save time on tasks like sky replacement, portrait enhancement, and color grading.
- Luminar offers templates and AI-based tools that can be applied quickly and can inspire you when you’re unsure of the direction to take with an edit.
- The integration with Lightroom allows you to maintain the workflow you’re familiar with and keeps your catalog organization intact.
How Does the Luminar Neo Plugin Work?
The integration creates a connection between Luminar and Lightroom, offering two options once the two programs are linked: exporting from Lightroom to edit in Luminar, and vice versa.
How to Export a Picture from Lightroom to Luminar
Once the extension is installed, you’ll have a new transmit option that allows you to edit Lightroom photos in Luminar. After making changes in Lightroom, use the “Edit a copy with Lightroom Adjustments” export function. This method preserves the edits you’ve made in Lightroom when opening the file in Luminar.
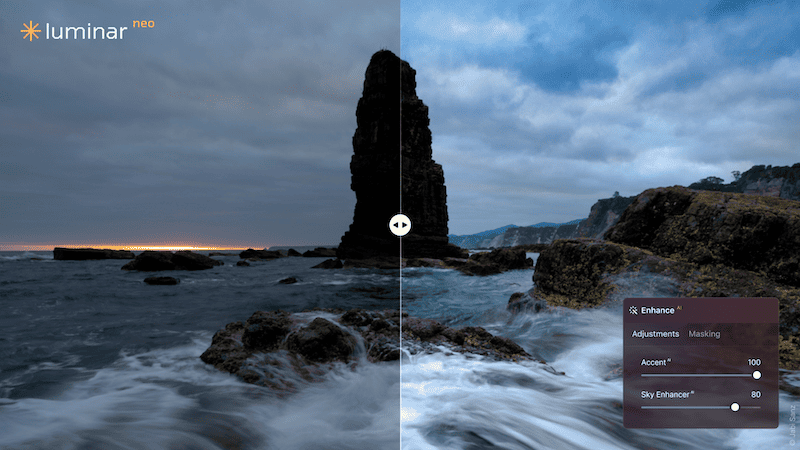
You can enhance your image with tools like Accent AI or Sky Enhancer. When you’re done, simply click “Apply” to send the edited image back to your Lightroom catalog, where it will be saved as a TIFF file.
How to Transfer Multiple Pictures from Lightroom to Luminar Neo
For multiple pictures, there’s a slightly different approach. Use the “Edit” feature in Lightroom. Select the shots you want to transfer, right-click, and navigate to “Edit In” to choose Luminar. You can create a copy with Lightroom modifications that will be edited in Luminar. The images will be transmitted one by one.
How to Transfer an Entire Catalog from Lightroom to Luminar Neo with Avalanche
If you need to convert an entire Lightroom catalog to Luminar without losing your edits, the previous methods won’t be efficient. In this case, you’ll need a catalog converter like Avalanche, which allows you to transfer a large number of contents while preserving all your modifications.
How to Edit Shots in Luminar and Catalog Neo Them to Lightroom
If you prefer to start by importing and cataloging your photos in Luminar, simply use the export menu to open the image in Lightroom. For optimal quality, it’s best to use a copy or a DNG file when working with RAW images.
Once in Lightroom, you can take advantage of Adobe’s advanced editing features, such as “sensor dust removal.” After making your corrections, you can send the image back to Luminar by going to File > Export with Presets > Edit a Copy with Lightroom Adjustments. This method exports the image as a TIFF file.
If you want to retain the quality of your RAW file, you’ll need to use a different method to export your image to Luminar. From Lightroom, go to File > Plug-in Extras > Transfer to Luminar. This will send a DNG file, allowing you to continue adjusting while preserving the highest quality.
How Much Does the Luminar Plugin for Lightroom Cost?
As I mentioned earlier, Luminar is a standalone program. You’ll need to purchase Skylum’s Luminar software to enable the connection between the two. Luminar Neo is available via subscription, often with significant promotions. Currently, the annual subscription is priced at €59 (down from €317), while a lifetime license is available for €99 (instead of €417).

Why Use Luminar Neo Instead of Just Lightroom?
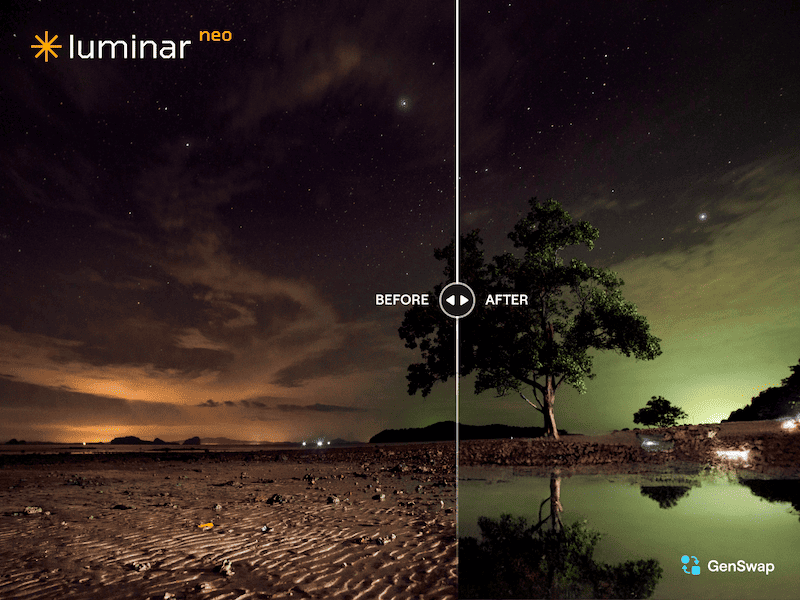
Luminar Offers Easier-to-Use Presets Powered by Artificial Intelligence
The program developed by Skylum is more beginner-friendly, perfect for those who want fast, impressive results. Its interface is modern and customizable. Luminar Neo’s AI-powered features are intuitive, allowing you to utilize them with ease. With a wide range of presets available, you can quickly enhance an image with just a few clicks. It’s designed to save time and speed up your processes.
For instance, I can use AI solutions like Enhance AI and Structure AI to automatically boost clarity and contrast or create dreamy, misty atmospheres with minimal effort. While Lightroom lacks these AI-driven features, you can achieve similar effects manually through edits like Clarity and Dehaze.

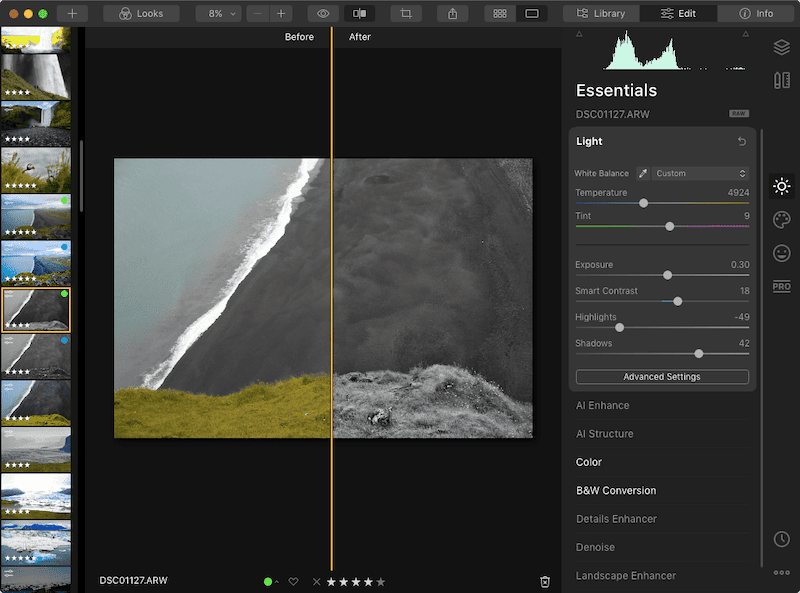
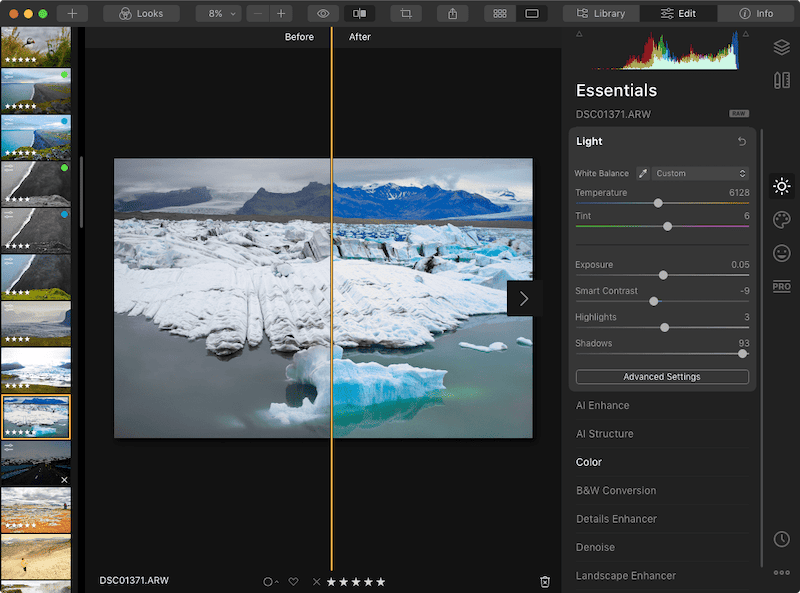
Lightroom Offers More Manual but More Precise Edits
Lightroom provides similar functionality within a more familiar, albeit slightly outdated, interface. It gives you more manual control but often requires additional steps to achieve similar results. It’s designed for photographers who prefer to fine-tune every aspect of their pictures.
Some unique features, like the Color Mixer, allow you to isolate and modify specific colors with precision, and its Calibration section is particularly robust, letting you adjust shadows and primary colors like red, green, and blue.
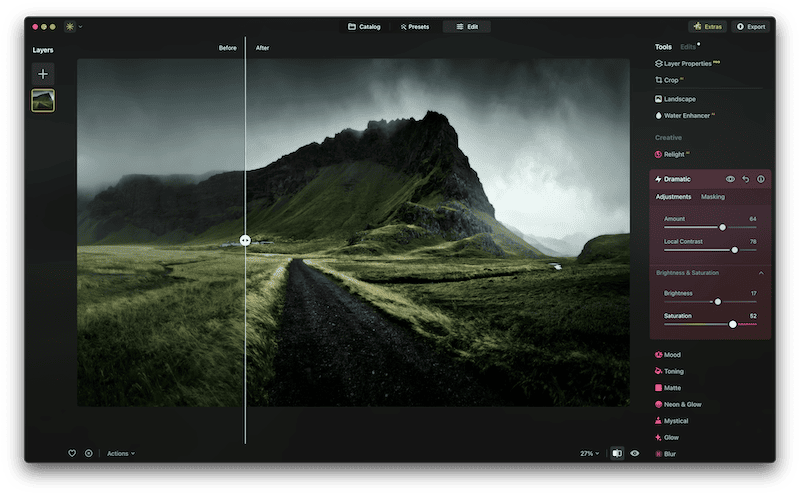
Luminar’s AI-Enhanced Masks for Selective Modifications
Luminar shines when it comes to local modifications, thanks to its intuitive masking tools, which allow you to apply effects like mystical glow or fog selectively. It’s more visual and user-friendly.
Meanwhile, Lightroom offers more traditional local changes with brushes and gradient tools. While effective, they often require more manual tweaking to achieve similar results.
And Why Not Use Both Lightroom AND Luminar?
Luminar is ideal for users looking for quick, artistic results with intuitive AI functions and atmospheric effects.
Lightroom excels at offering fine-grained manual control, making it the go-to for professional photographers who value precision over speed. Switching between the two is a choice many photographers make.
Use Avalanche as an Alternative to the Luminar Plugin for Lightroom
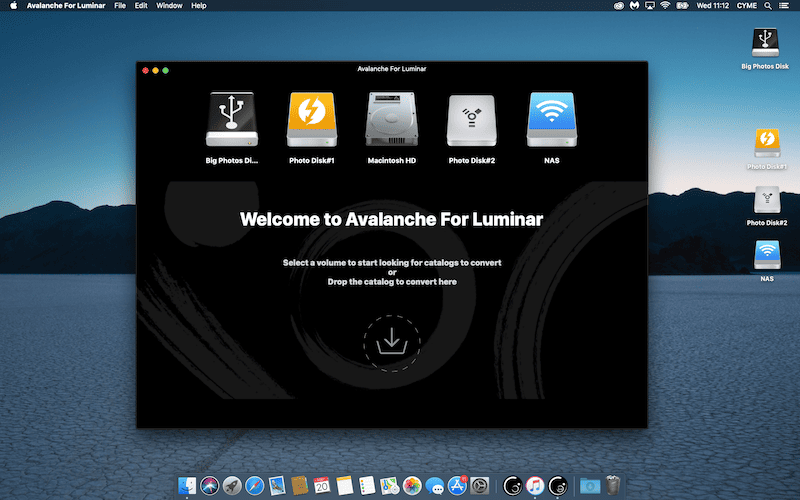
If you’re looking for a faster way to transfer large batches of photos from Lightroom to Luminar, or vice versa, there are solutions available. Avalanche is a Mac software that allows you to convert entire Lightroom catalogs to Luminar while preserving all your edits. It also works the other way around, making it a versatile tool for seamless transitions between the two programs.
Avalanche for Luminar, developed for Mac, is a better solution for migrating picture catalogs to Luminar. These can be catalogs from Lightroom, as well as Aperture, Capture One, Apple Photos, or iView Media. It exports image libraries to Luminar while preserving their structure, edits, and metadata. It is the perfect tool for migrating your images.
Avalanche uses artificial intelligence and machine learning to preserve edits such as exposure, white balance, and geometric transformations.
Adjustments Preserved Thanks to AI
When converting image catalogs between different platforms, one major challenge is preserving the edits and alterations a creative has made to his photos. Avalanche uses advanced AI to recreate various changes such as white balance, exposure, contrast, vibrancy, and saturation. These are translated accurately into the destination catalog.
Safety and Reliability
A key feature of Avalanche is its safety. It does not overwrite or interfere with existing catalogs. Instead, it creates a new catalog from scratch, avoiding any risk of damaging your original files or folders. This ensures that the new catalog is safe, and you can review and merge it at your convenience.
Metadata and Catalog Enrichment
Avalanche doesn’t just move your photos; it enriches the destination catalog by analyzing the metadata stored within the image files themselves. This means that if some metadata was missed in the source catalog, Avalanche ensures it’s captured in the new catalog.
The metadata may include key details such as camera settings, lens information, or geolocation data, enhancing the organization of your new library.
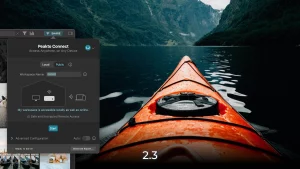
How to Install the Luminar Neo Extension for Adobe Lightroom
1) Prerequisites for Installing the Plugin
It’s easier to start the process with Lightroom closed, so feel free to exit Lightroom if it’s open. Then, launch Luminar in standalone mode.
2) Launching Luminar Neo
Open Luminar Neo as a standalone product, just like any other software. Once it’s open, locate the “Install Plugins” option in the main menu.
3) Installing the Plugins
Click on the “Install for Photoshop and Lightroom” button to install the plugin. After this, you’ll have access to Luminar AI in Lightroom or Photoshop as a plugin.
4) Round-Trip Editing
Once installed, you can use Luminar AI in your Adobe applications for round-trip editing, allowing you to transfer files between Luminar AI and your Adobe software.
Conclusion
In conclusion, while Lightroom remains a powerful tool for photo management and precise editing, Luminar brings speed, creativity, and AI-enhanced tools, making it an excellent companion. By integrating both programs or using solutions like Avalanche for bulk catalog conversion, photographers can enjoy the best of both worlds. Whether you’re looking for quick artistic enhancements or precise control over your images, these combined tools offer a flexible and efficient workflow that caters to a wide range of needs. So why choose when you can seamlessly benefit from both?