Becoming, for a moment, a master of light and transforming it into a work of art… It’s every photographer’s dream, but even more so for those who practice Light Painting.
This form of expression opens up endless creative possibilities. There are countless ways to explore this technique, and in this article, we’ll dive deeper into its potential. We had the chance to speak with Italian photographer Andrea Riezzo, an expert in light painting, who shares a clear vision of this art:
“Light painting allows you to create a unique work of art with every shot—a true fusion of technique and imagination.”
Through this article, we invite you to discover the magic of light painting, learn how to master it, and unleash your creativity like never before!
What is Light Painting?
A Bit of History: From Its Origins to Modern Art
Light painting is not a recent invention! Its first experiments date back to the early 20th century. In 1914, American photographer Frank Gilbreth used a similar technique to analyze workers’ movements in factories, capturing the light trails of lamps carried by laborers. However, it wasn’t until 1935 that light painting took on a more artistic dimension, thanks to Man Ray, a key figure in Surrealism, who created one of the first portraits using this method.
A few years later, in the 1940s, Pablo Picasso also experimented with this technique in collaboration with photographer Gjon Mili. Fascinated by the process, the Spanish artist created a series of images where he drew luminous shapes in the air, which were then captured in photographs. These shots, both ephemeral and timeless, became iconic in the history of light painting and helped establish it as a true art form. Since then, the technique has been widely used, not only in contemporary photography but also in advertising and even cinema.
While Picasso saw light painting as a way to explore movement and spontaneity, today, the technique is considered a natural extension of painting, where light becomes the brush and space the canvas. Photographer Andrea Riezzo perfectly illustrates this idea:
“Just like in traditional painting, you choose the intensity, color, and movement of light as if it were a brush to achieve the desired effect. It’s an artistic approach that may seem abstract, difficult to describe, but truly magical once captured in a photograph.”
The Principle of Light Painting: How Does It Work?
Light painting relies on a long exposure time (usually several seconds), allowing the camera to capture every light movement within the frame. To achieve this effect, simply follow these steps:
- Place the camera on a tripod to avoid unwanted blur.
- Use manual mode or long exposure settings (Bulb mode or set the shutter speed between 2 and 30 seconds).
- Move a light source (flashlight, LED, light stick, etc.) to draw in the air or illuminate a subject.
- Perform your movements in front of the camera, while staying outside the light’s path to avoid appearing in the image.
The Most Common Types of Light Painting
1. Light Drawings
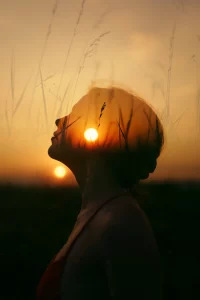
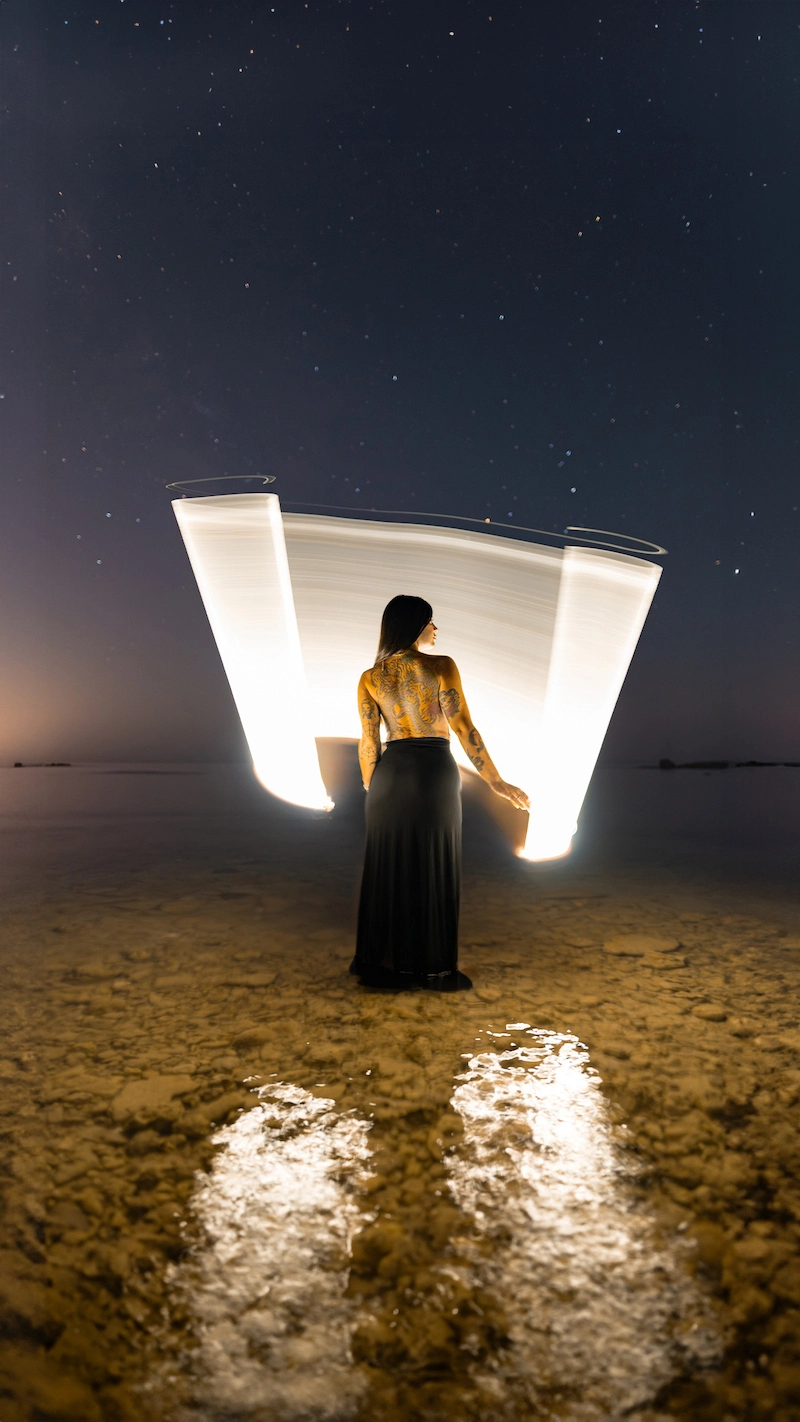
2. Silhouettes and Outlines
3. Abstract Effects
4. Illuminated Landscapes
Never miss an article again!
Why Choose Light Painting as a Photographer?
Being a photographer is, above all, about being creative, and light painting is a fantastic way to step out of your comfort zone. Of course, this technique is interesting for many reasons (we’ll cover them just below), but most importantly, it helps you better understand light and anticipate how your photos will turn out.
This thought process beforehand is a great challenge to improve, refine your vision, and enhance your skills. In short, it’s a unique opportunity to explore photography from a new perspective and push your limits!
Offering a Unique Style
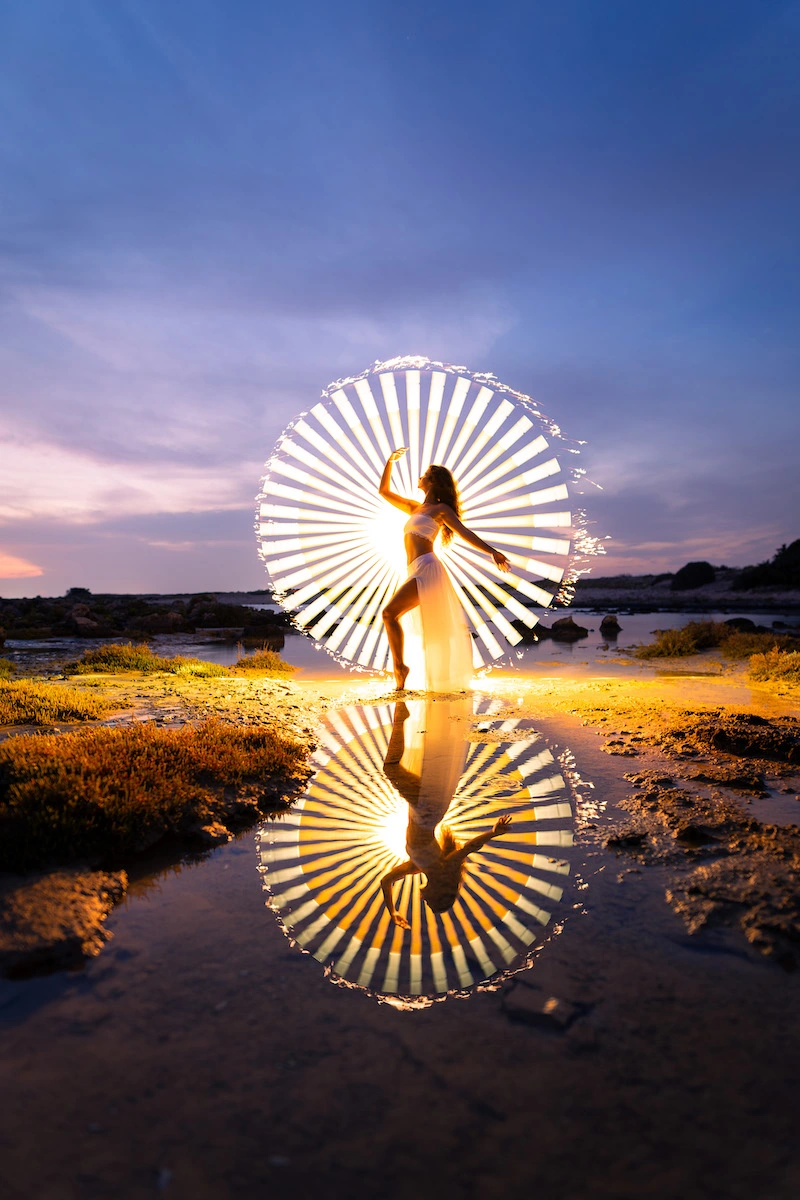
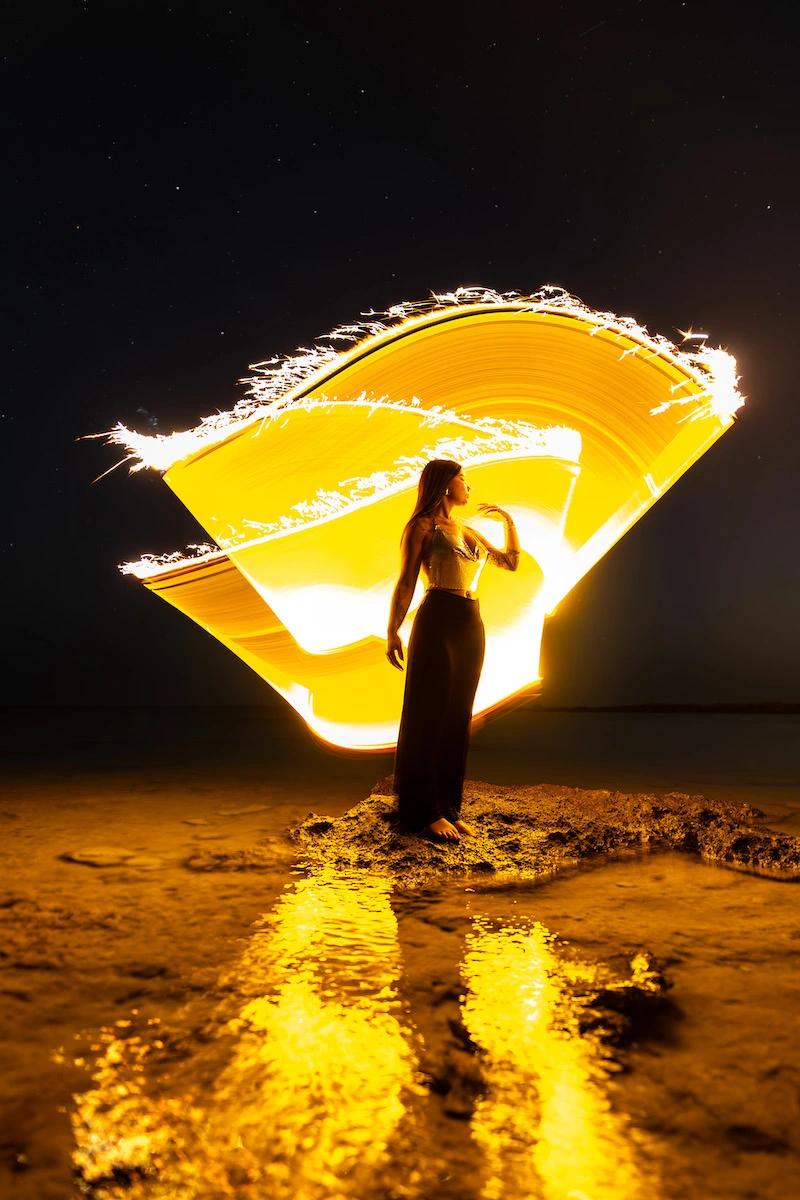
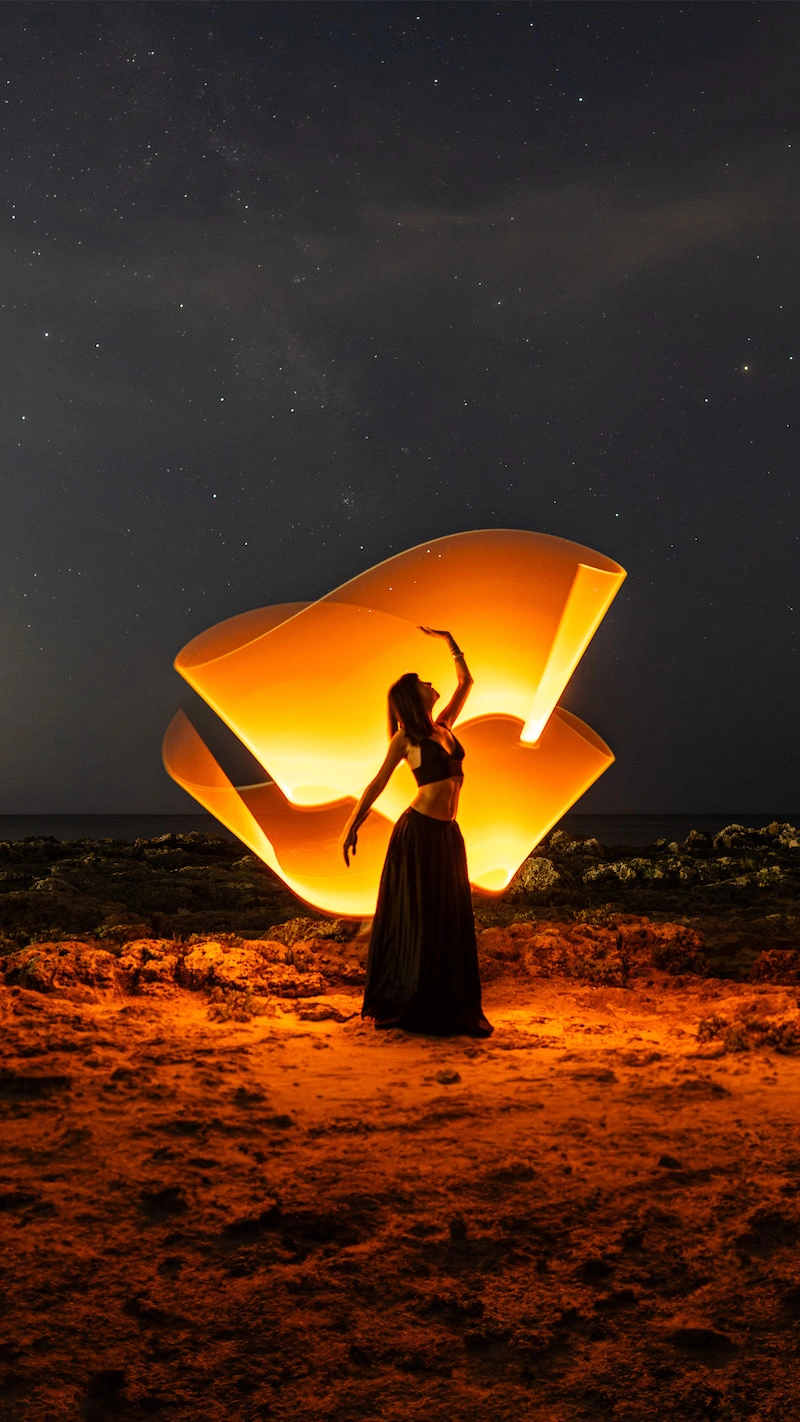
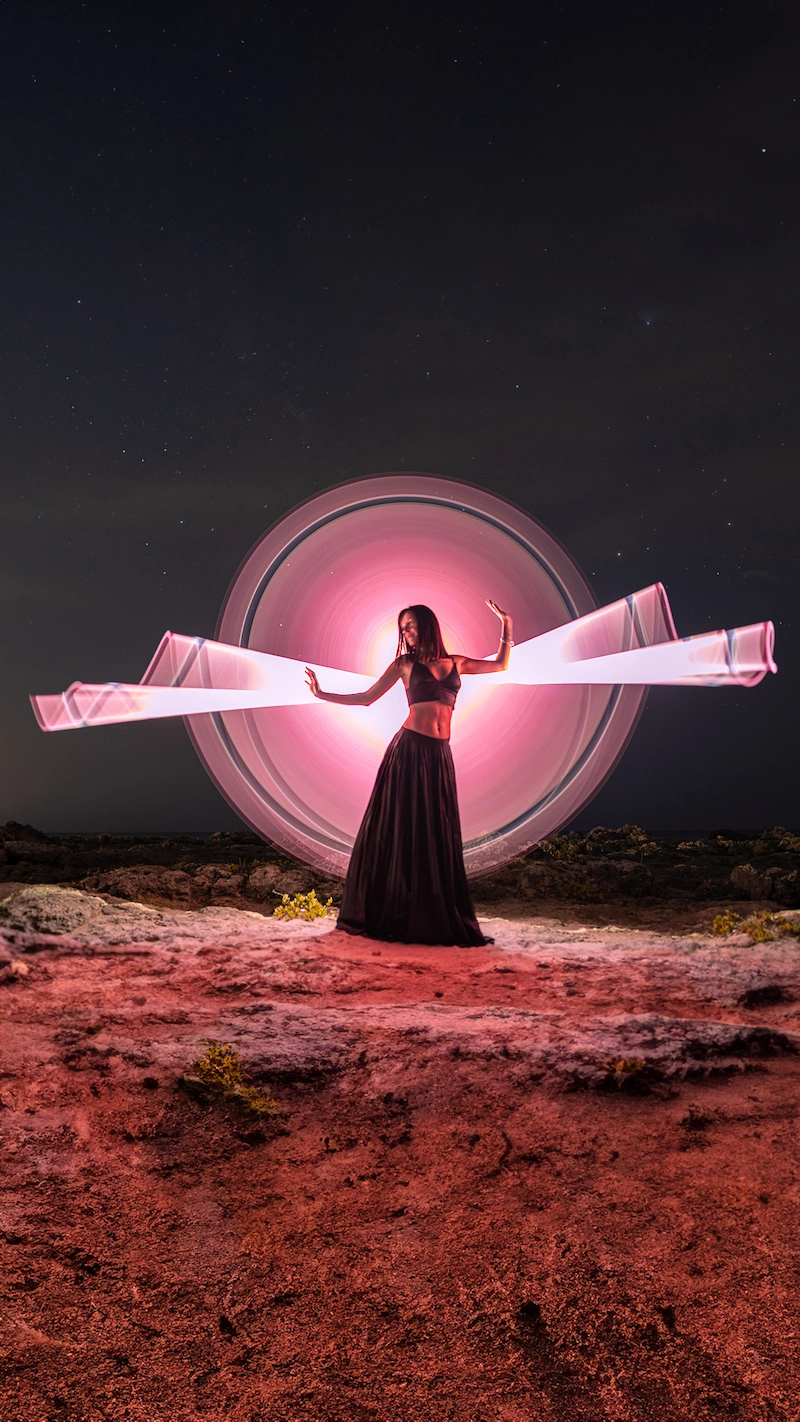
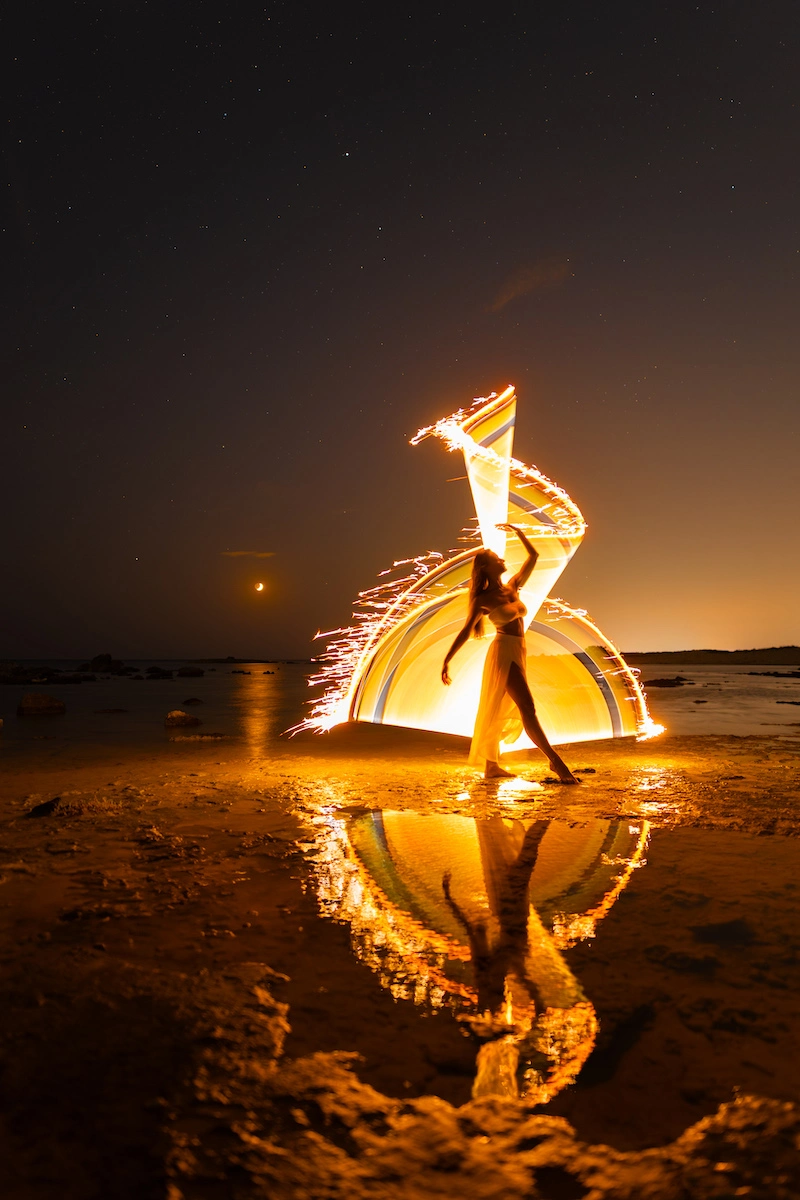
Light painting allows you to create unique images that would be impossible to achieve otherwise. With just a simple light source and a long exposure, you can bring to life dynamic, abstract, or even poetic shots, where light dances and transforms right before your eyes. And as a bonus, you get a guaranteed “wow” effect when sharing your photos!
Andrea sees this technique as truly unique, offering endless possibilities to express his artistic vision: “I love light painting because I can enrich reality with my trails of light. My photos are portraits set in a landscape, and my light paintings are fully part of it. It’s a discipline where photographic technique, creativity, and research (location scouting, material selection, equipment used, etc.) all come together. It’s a mix of many factors that can be used in various ways—it’s all about your personal way of expression!“
Endless Experimentation
Multiple Applications
A Way to Stand Out
In a world where images are everywhere, light painting is a great way to stand out. It creates a strong visual signature, making it ideal for developing a recognizable style and leaving a lasting impression.
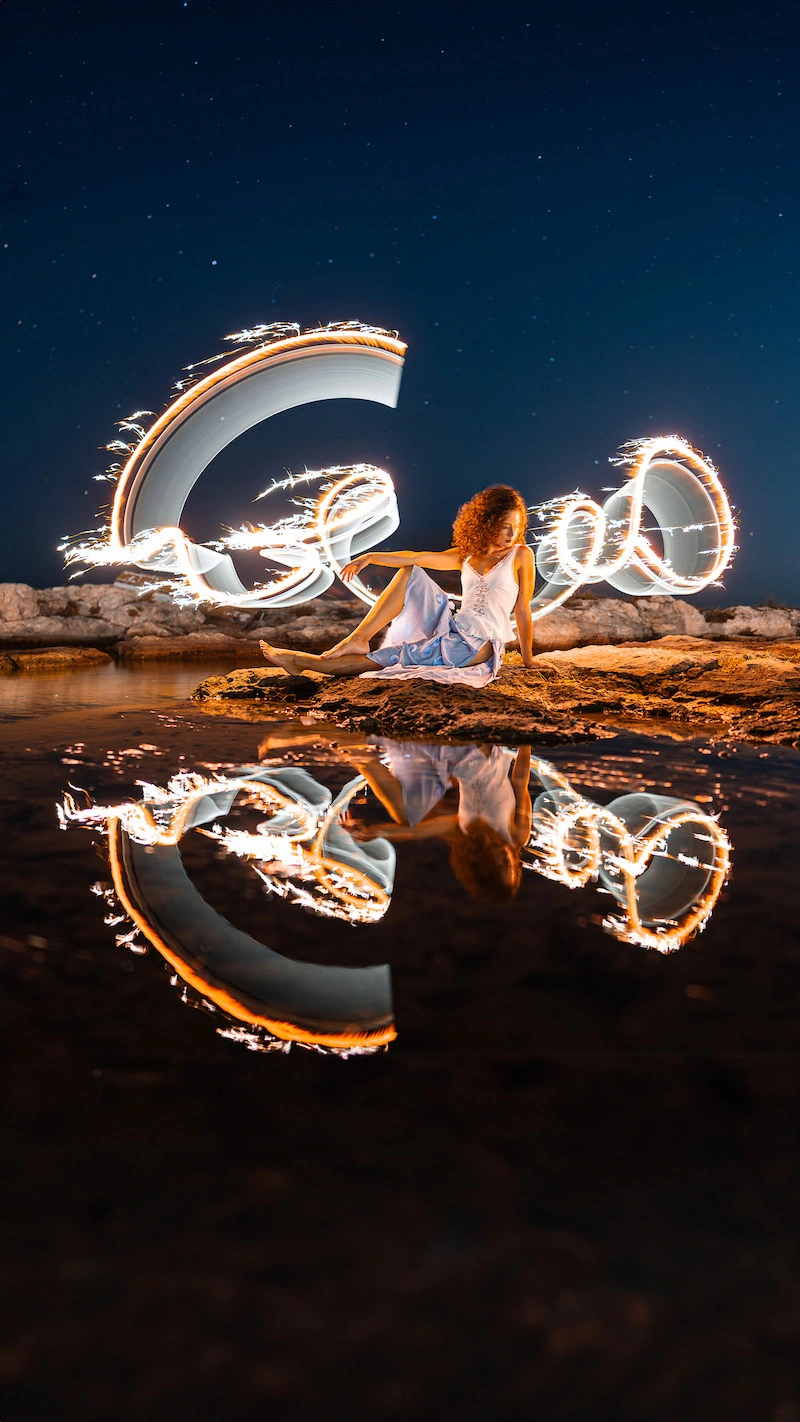
What’s also interesting is that even beginners can start creating without needing to spend a lot of money. Photographer Andrea Riezzo confirms this: “Nobody drew me into light painting. I actually started alone, convincing some friends to join me, with very cheap LED lights, experimenting with light writing (a beginner-level calligraphy with lights), and blending it with dancers and cheap sparklers. Long exposure photography was already in my thoughts!“
The Essential Equipment to Get Started with Light Painting
Feeling inspired by this article?
The Essentials to Get Started
A camera (or smartphone) with manual mode is essential for practicing light painting. The key element is the ability to adjust the exposure time to capture the movement of light. As Andrea Riezzo points out: “You can start with any camera or smartphone capable of setting in full manual mode. The essential thing is to control the exposure time and go up to 2 seconds or more.” This allows you to capture smooth light trails and experiment with different effects based on the chosen exposure duration.
A good tripod is the second must-have. As Andrea Riezzo emphasizes: “I know, it sounds obvious, but a good tripod makes all the difference!” With long exposures, even the slightest movement can cause blur. A stable tripod keeps the camera steady, ensuring sharp images and fluid light trails.
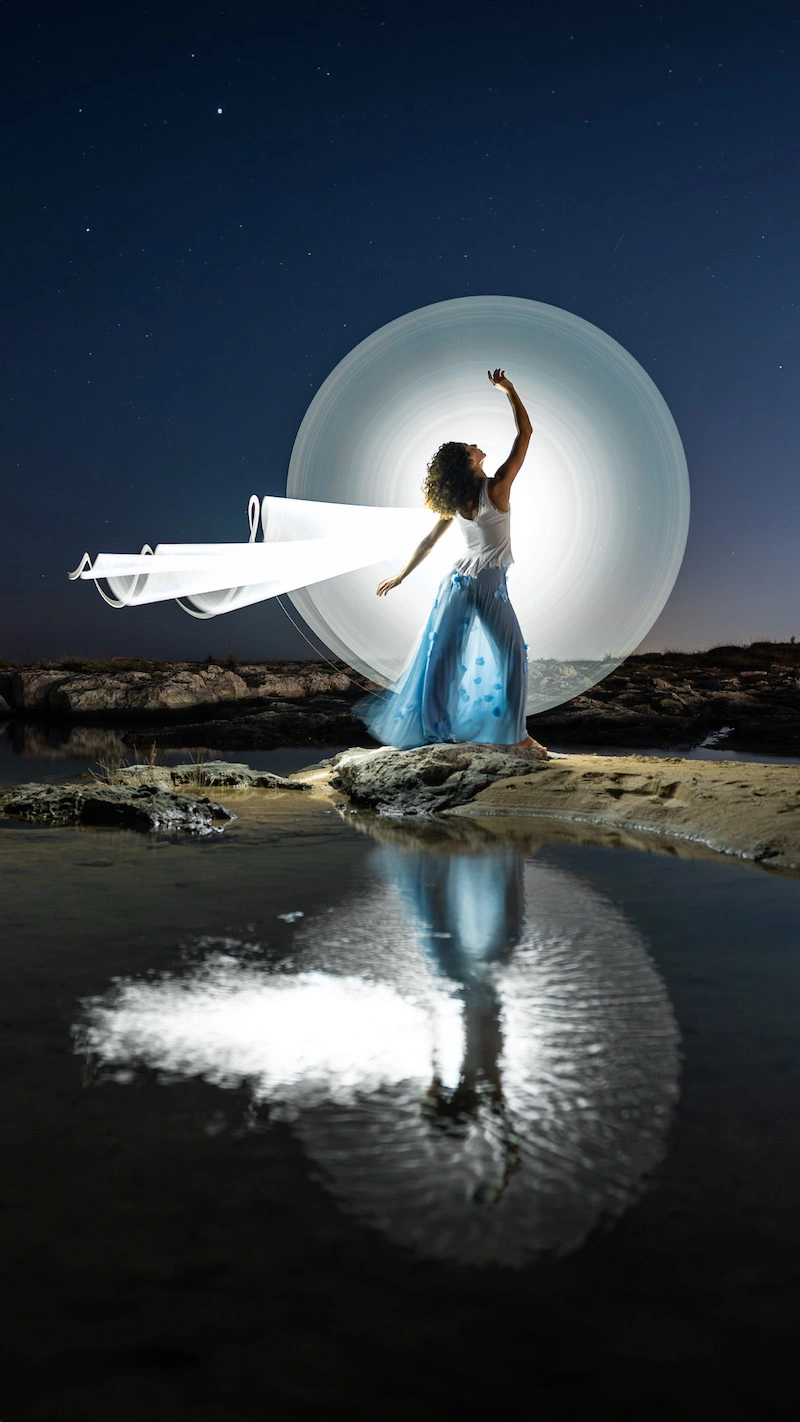
Various light sources are necessary to explore all the possibilities of light painting. You can start with a simple LED flashlight, perfect for drawing light shapes or illuminating a subject. For those who love experimenting, Andrea Riezzo shares a clever tip: “A LED flashlight inside an empty plastic bottle is perfect for experimenting!” This simple trick helps diffuse light differently and create unique effects by playing with transparency and refraction.
Finally, Andrea enjoys using unexpected accessories to achieve unique effects in his photos. Among his favorite tools are plastic tubes, which he describes as “ultra-versatile and perfect for creating for hours without getting bored.” He also uses steel wool, a spectacular technique that produces sparking light trails for an impressive visual effect. “It’s completely different from plastic tubes, but just as fascinating. I never get tired of it!“
With these essentials, you’re ready to dive into the world of light painting and unleash your creativity!
Tips for Improvising with Everyday Objects
You don’t have any specific equipment yet? No worries! Light painting is also about ingenuity. According to Andrea Riezzo, all you need is a little imagination:
“You can start with any camera or smartphone capable of setting in full manual mode, so you can control the exposure time and make a 2-second shoot or more. As I said before, any light source can do the job: the small LED on your smartphone can be very useful, or even your screen! It’s all about ingenuity.“
Indeed, your smartphone’s LED can be enough to trace light shapes, and even your computer or tablet screen, displaying a bright color or pattern, can serve as a creative light source. You can also experiment with translucent objects like plastic bottles, bags, or colored glass to diffuse light and create unexpected effects.
In short, there’s no need to invest in expensive equipment to get started. A good tripod, a light source, and a bit of creativity are all you need to dive into the world of light painting and start creating stunning images!

The Method for Successfully Creating Light Painting Photography
Light painting isn’t something you can fully improvise! A bit of preparation and practice are necessary, but once you get the hang of it, the creative possibilities are endless. To help you get started, here are some key steps and expert tips from photographer Andrea Riezzo to capture stunning light painting shots.
Preparing Your Session: Environment and Settings
Before getting started, scouting the location is essential. Andrea Riezzo recommends visiting the area during the day or at sunset to better visualize the composition and identify the best spots: “I recommend a proper location scouting, by day or at sunset time.“
When it comes to camera settings, the goal is to capture as much light as possible: “Don’t be afraid to increase the ISO, especially if you’re using a standard f/3.5 lens.“
Finally, safety is key. Andrea adds: “Be aware that you are going around in a dark environment, so think about potential hazards. And bring some extra flashlights!“
Execution: Managing Movements and Light
Once on-site, Andrea recommends arriving at sunset to have enough time to set up the equipment, prepare the model if working with a person, and start shooting:
“I usually reach the location at sunset time, so I have time to set the camera(s), my model can get ready and think about the poses and how to be the main subject of my photos. Then, I set the composition of the photo and start when a 2-second exposure doesn’t blow up the highlights.“
When practicing light painting, avoid making random movements. Andrea advises keeping your gestures fluid and intentional:
“Think about the composition of your photos, the spots you can reach quickly, and how your light painting can be part of it. Take some pictures and imagine what you can create.“
Avoiding Common Mistakes
Like any technique, light painting comes with its challenges, but with a few good practices, you can avoid common mistakes. Unwanted blur? A stable tripod and a remote shutter release will solve the issue. Under or overexposure? Adjust your ISO, aperture, and exposure time to find the right balance of light. And most importantly, keep your movements smooth and intentional for a more harmonious result.
As Andrea Riezzo advises: “Get as much light as possible, and don’t be afraid of having some digital noise in your photos. When it comes to light painting, keep it simple—don’t wave randomly, and think about what you want to create.“
Editing Your Images: Useful Software
Once you’ve captured your shots, a bit of editing can enhance them even further. Andrea Riezzo primarily uses Camera Raw and Photoshop for color grading, contrast adjustments, and detail retouching. He also notes that these tools are ideal for working on starry skies and the Milky Way.
“I use Camera Raw / Photoshop (no, I don’t like Lightroom) for editing, color grading, adding contrast, and removing some details. It’s also a powerful tool for working on starry skies, the Milky Way, etc. But I have also processed some RAW files with mobile apps and other software, as I’m curious to see how my workflow can evolve and what different results I can achieve.“

Light Painting: Books, Tutorials, and Artists to Follow
For Andrea Riezzo, one of the biggest names in light painting is Eric Paré, along with Kim Henry: “They inspired me with their style, the use of plastic tubes, and the poses. It was 2017-2018, and since then, I’ve never stopped.“
Today, he draws inspiration from the global light painting community: “There’s so much movement around the light-painters community, all around the world.“
Andrea recommends “Photographing the Night Sky” by Alyn Wallace, a true reference in long exposure and astrophotography. You can also explore Eric Paré’s videos on YouTube and follow his own project, Sublument, where he is preparing guides and video tutorials to answer the many questions about this fascinating technique!
Dare to Bring the Magic of Light Painting into Your Photography
Light painting is far more than just a photographic technique. It’s a playground where art and technique merge, where every movement transforms the invisible into a unique luminous masterpiece. As Andrea Riezzo perfectly puts it:
“Light painting is for everyone. Anyone can bring their creativity and add their personal touch. It’s both fascinating and aesthetic, a perfect blend of art and technique. But most of all, with light painting, you transform reality with an immaterial element (since photons have no mass), which means learning to master magic! Where’s my cape?“
The beauty of light painting is its accessibility. No need for sophisticated equipment—a simple flashlight, a camera with manual mode (or even a smartphone), and a bit of imagination are enough to start experimenting. Every attempt is an opportunity to learn, refine your movements, and develop your own style.
So, why not give it a try? Dive into this fascinating universe, let the light guide your creativity, and most importantly… have fun!
Photo credit: © Andre Riezzo