
What’s the best workflow for managing your photos? What routine should you follow to keep your images well-organized? After a shoot, what steps should you never skip to ensure you don’t lose any shots or clutter your hard drives unnecessarily? Here’s the ultimate guide to mastering photo management.
What Is a Photo Management Workflow?
A photo management workflow is the structured process or routine you establish as a photographer to efficiently carry out your photographic projects from start to finish. Typically, a workflow consists of three main phases:
- Pre-production: Planning the shoot, organizing equipment, and communicating with clients.
- Production: Capturing images on location or in the studio.
- Post-production: Selecting, editing, delivering final images, and archiving.
In this article, we’ll focus primarily on the post-production phase, where having a well-organized file management system is crucial.
Why Is It Important to Adopt a Good Photo Management Workflow?
Having a solid routine for managing the thousands of image files you create comes with several key benefits:
- Reduce mental load: Once your system is in place, you no longer have to worry about whether your latest images are properly saved or easy to find. You simply follow your process and rest easy.
- Find a five-year-old photo in 10 seconds: With proper organization, your archives become a valuable personal image bank, readily available for your next portfolio, album, or social media content.
- Optimize storage space: By avoiding unnecessary backups of low-quality images and keeping only the best ones, you free up storage space (and save money).
Which Workflow Should You Follow?
How can photographers—whether professional or amateur—stay organized, boost productivity, and work with peace of mind? This guide will help you establish the ideal routine for your needs.
Photographers: Mastering Pre-Production
For professional photographers, good organization starts before the shoot. Pre-production involves careful planning, preparing your equipment, and ensuring clear communication with clients. Whether you’re shooting weddings, hospitality, or real estate, these steps are essential for gaining client trust and securing referrals.
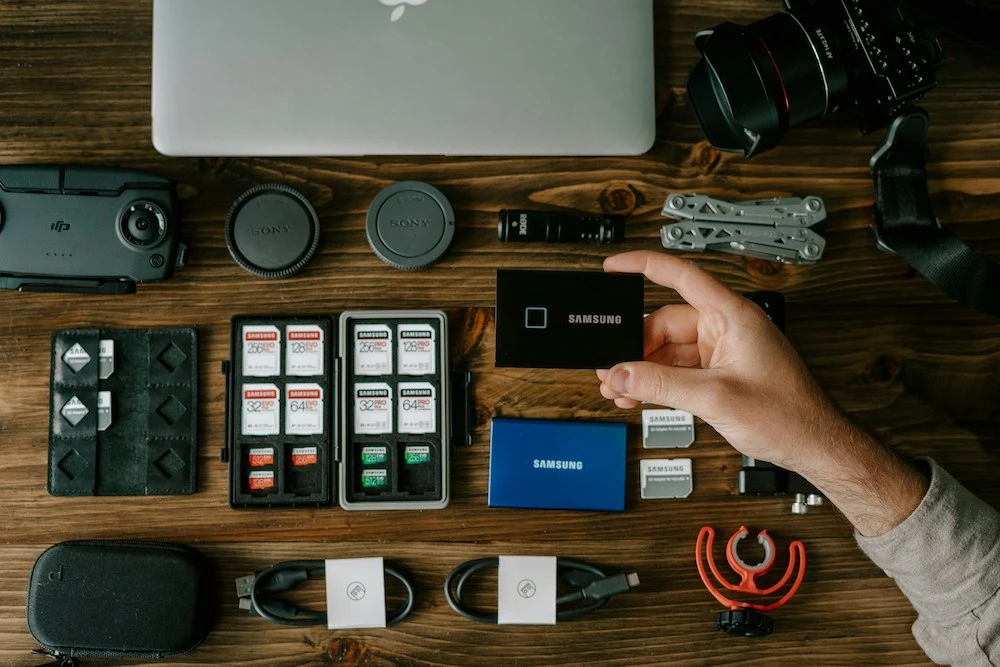
When it comes to file management, invest in a high-quality memory card—one that offers both speed and durability. Cards like Sony Tough are highly resistant and ideal for burst shooting and 4K/8K video recording.
Streamlining Your Photoshoot Production
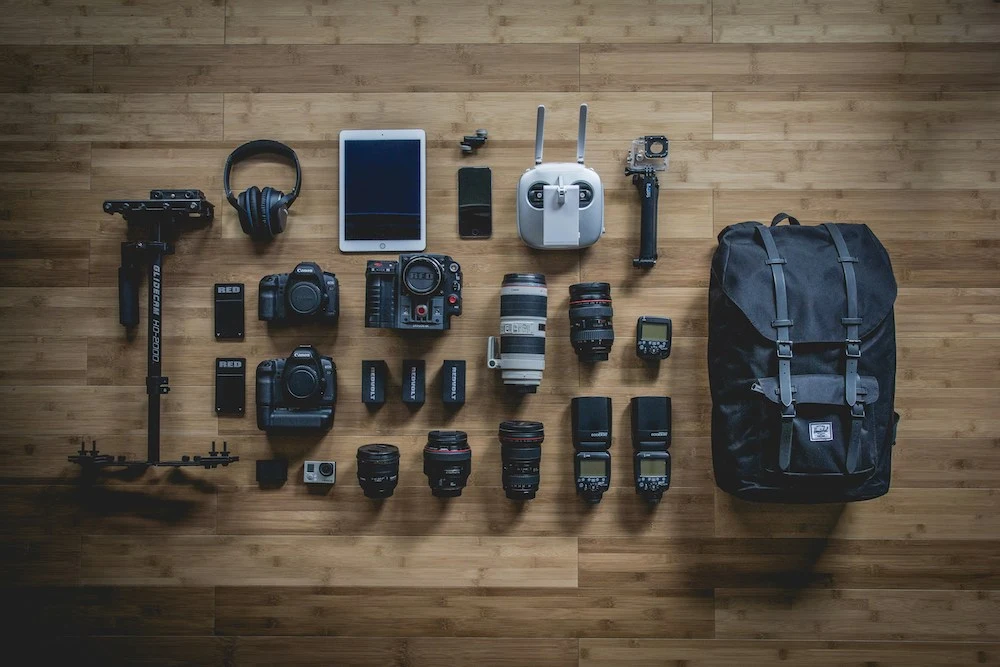
Whether you’re a professional or an enthusiast, avoiding mishaps starts with proper gear preparation before heading out.
- Check your equipment: Ensure your batteries are fully charged, memory cards are available, and lenses and cameras are properly packed.
- Don’t forget accessories: Lights, tripods, and other essential gear should be accounted for. A checklist is a foolproof way to stay organized.
- Set the date, time, and GPS on your camera: This will be incredibly helpful when managing and sorting your photos later.

Post-Production: The Secrets to a Well-Organized Workflow
After the shoot, proper organization is key to efficiently managing your photos. Establishing a consistent routine—or even automating parts of your workflow—saves valuable time and helps you make the most of your images. Professional photographers like Rebecca Danzenbaker, specialized on portraiture (maternity, newsborns, couples and high school seniors), Zach Nichols, wedding and travel photographer, and Roman Fox, travel photographer, swear by these best practices.
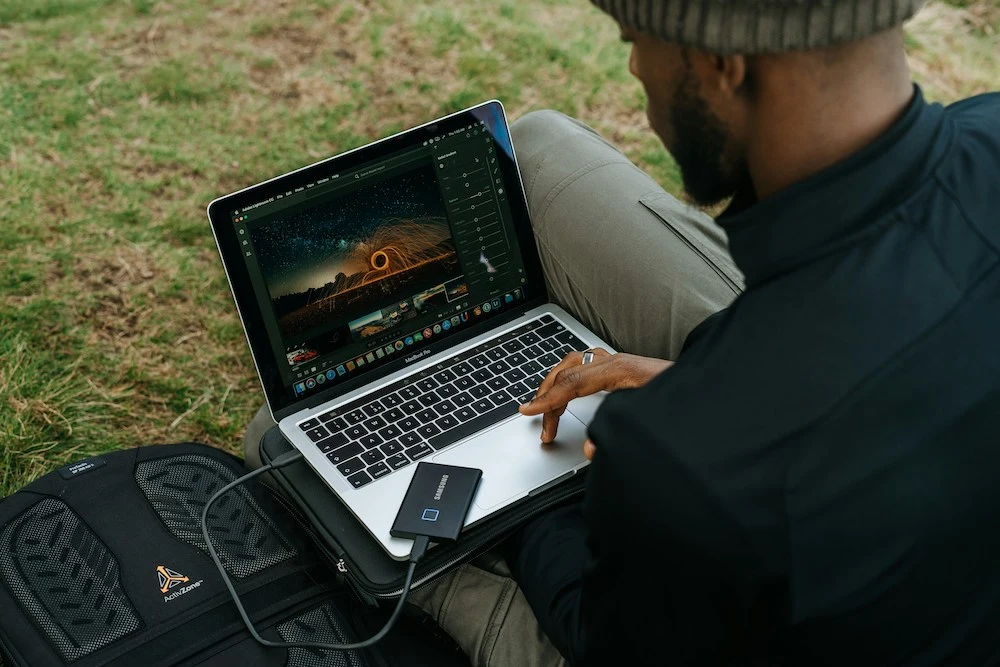
1. Immediate Backup
A streamlined photo management system is essential for photographers to keep their images organized and easily accessible. After your shoot is complete, it’s important to import your images into your photo editing software (such as Lightroom, Luminar, Capture One, or DxO), or store them in a dedicated folder on your hard drive or SSD. This approach is especially helpful when organizing travel photos, where large volumes and varied locations can quickly lead to chaos. Here are key steps to building a solid system that helps maintain organization and efficiency:
Establish a Clear Folder Structure for Quick Retrieval
An effective folder structure allows you to quickly find the images you need. Consider adopting one of these organizational methods:
- By Date: Organize your images by year, month, and then project or shoot (e.g., 2025 > January > Portrait Shoot).
- By Category: Group images by category such as Clients, Travel, Portraits, etc. Further subcategorize if necessary (e.g., Travel > Europe > France > Paris).
- By File Type: Separate your raw and edited images by creating different folders for each. For example, store RAW files in one folder and processed images in another to avoid confusion.
Implement a Consistent Naming Convention
Consistency in file naming helps avoid confusion and makes it easier to find specific images later on. Use a standardized naming system that includes relevant details such as location, project name, and date. For example: “2025_Paris_Portrait_Shoot_01“. This will ensure clarity and ease when searching for files in the future.
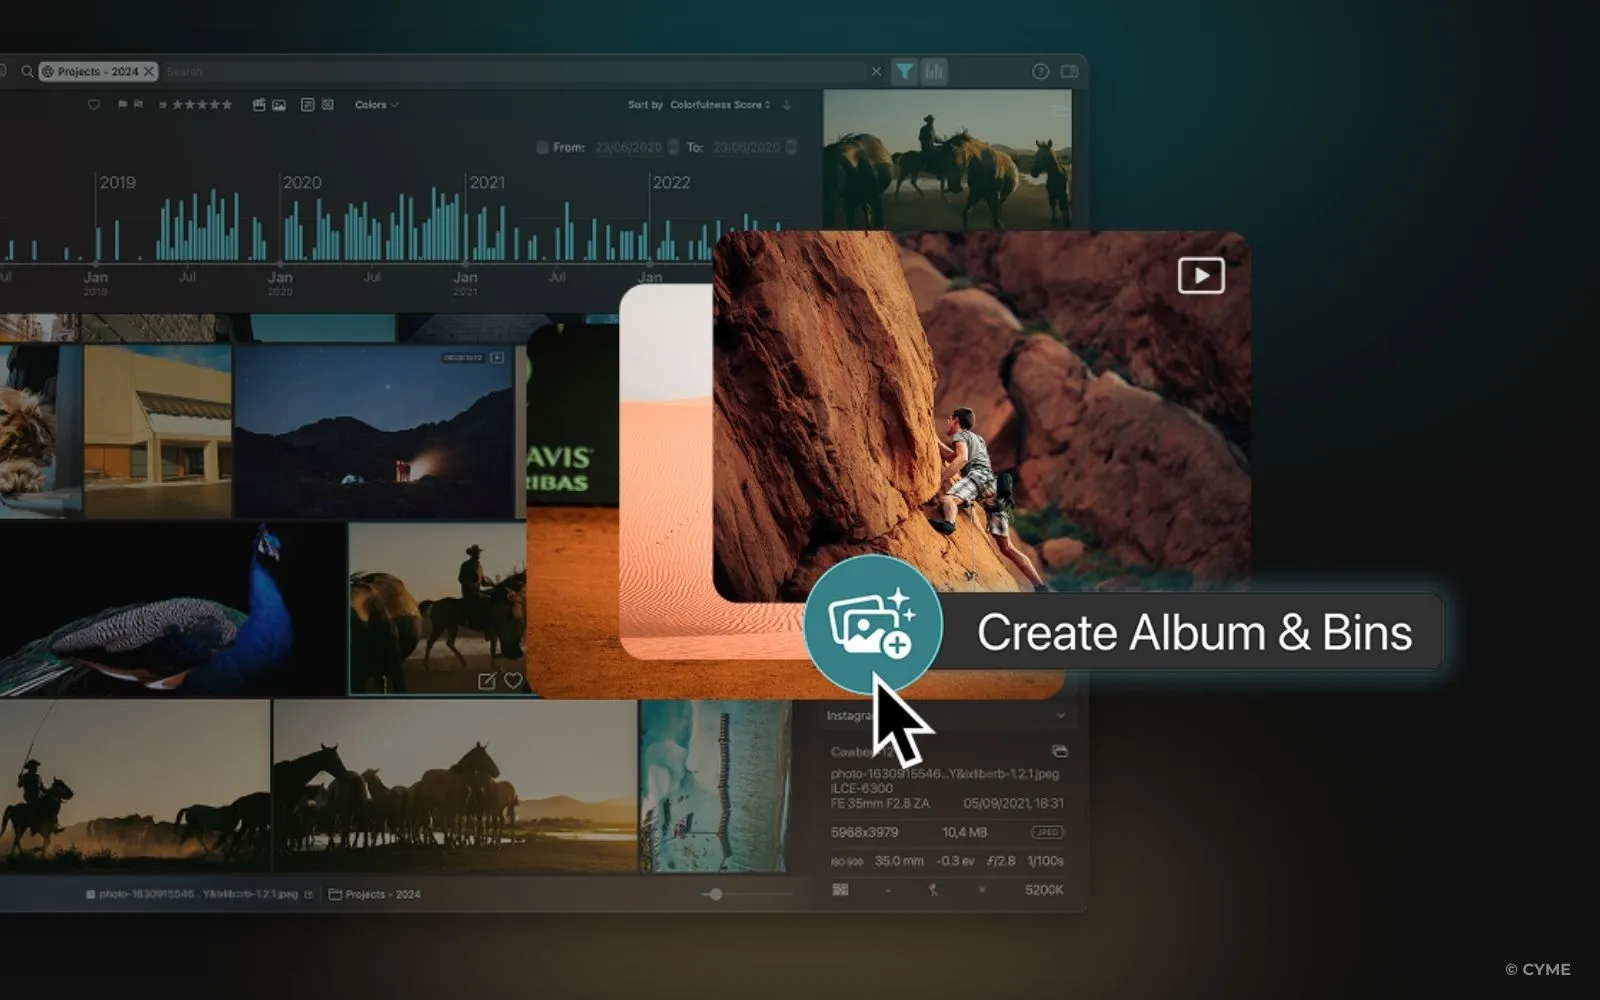
Tag Images with Keywords
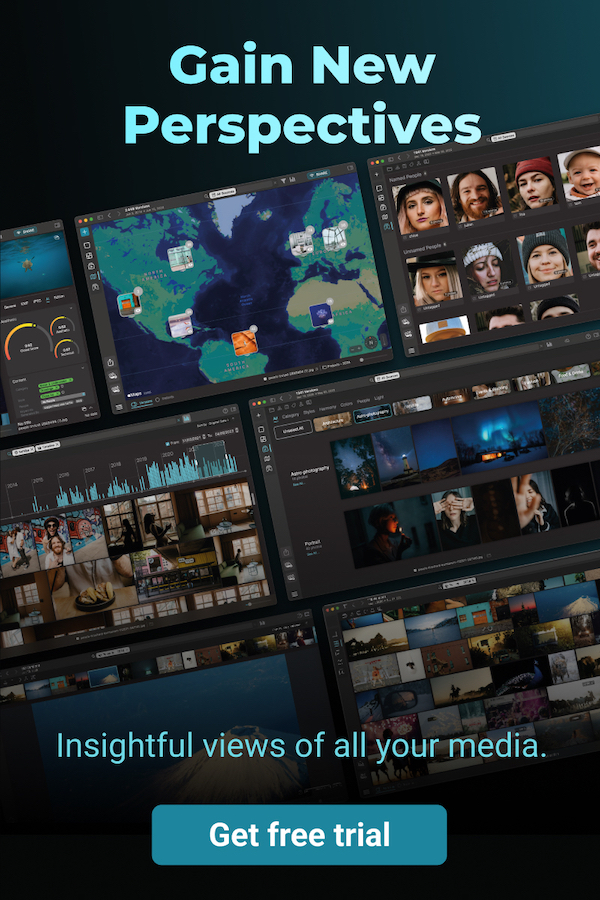
Adding keywords to images is an effective way to categorize and retrieve them later. Keyword tagging allows you to organize photos by themes, locations, or subjects, simplifying the search process. Using tools like Peakto, you can even automate this process with AI-driven suggestions, significantly speeding up the keywording task.
By implementing these strategies, you’ll be able to maintain an organized and efficient system that saves you time, ensures easy access to your photos, and helps you stay productive.
What are the key steps in a post-production workflow?
How should I organize my photo files?
What tools can help with photo management?
2. Culling & Editing
Image Selection: Start by picking the best shots from your session. Instead of manually sorting them into folders, use color labels, flags, or hearts to mark your top images. This approach allows for easier centralized searches later, helping you quickly find the best shots when needed.
Editing: Once your top images are selected, apply your preset adjustments to all of them. For the standout shots, take the time to apply more detailed edits to make them shine even further.
Decluttering: Don’t hesitate to mark unwanted images with a rejected flag for quick deletion. Many photographers recommend deleting 25% to 50% of shots, keeping only the best ones, and freeing up valuable storage space for new content.
3. Delivery & Sharing
Once your images are selected and retouched, organize them into galleries or slideshows for client delivery. You can create online gallery with SmugMug, Pic-Time, Animoto, ShootProof, or Lumys to sell or print your images. This will help you present your work professionally and efficiently.
Share your best work on social media, your website, or even in exhibitions to gain visibility and attract more opportunities. By following this structured workflow, you ensure efficient photo management, stress-free editing, and a streamlined delivery process, helping you focus on what you do best—creating stunning visuals!
4. Archiving Your Projects
Regularly backing up your photos not only provides peace of mind but also ensures that no precious files are lost. The golden rule for creating a secure backup system is to have three copies of your files:
- One stored in the cloud
- Two stored on physical devices (preferably in separate locations to mitigate risks like fire or theft)
When it comes to physical backups, there are several options to consider:
- External hard drives: These are fast, portable, and cost-effective for everyday storage.
- NAS (Network-Attached Storage): Provides seamless access to files across multiple devices, ideal for photographers with large archives.
- RAID systems: Offering secure, long-term storage with data redundancy for peace of mind.
For cloud storage, some of the best solutions include:
- Adobe Cloud
- Apple Cloud
For seamless access to archived images, Peakto is a game-changer. It allows you to browse, preview, search, and annotate files stored on external drives, NAS, and RAID—even when they’re disconnected.
Pro Tip: Always backup both RAW and edited files so you can revisit projects and experiment with new edits in the future.
5. Make the Most of Your Archives
Your photo archive is a goldmine—perfect for your website, portfolio, exhibitions, social media, or even create family albums. In the age of AI and stock photography, having your own exclusive images is a powerful way to stand out. To turn your archives into a personal image bank:
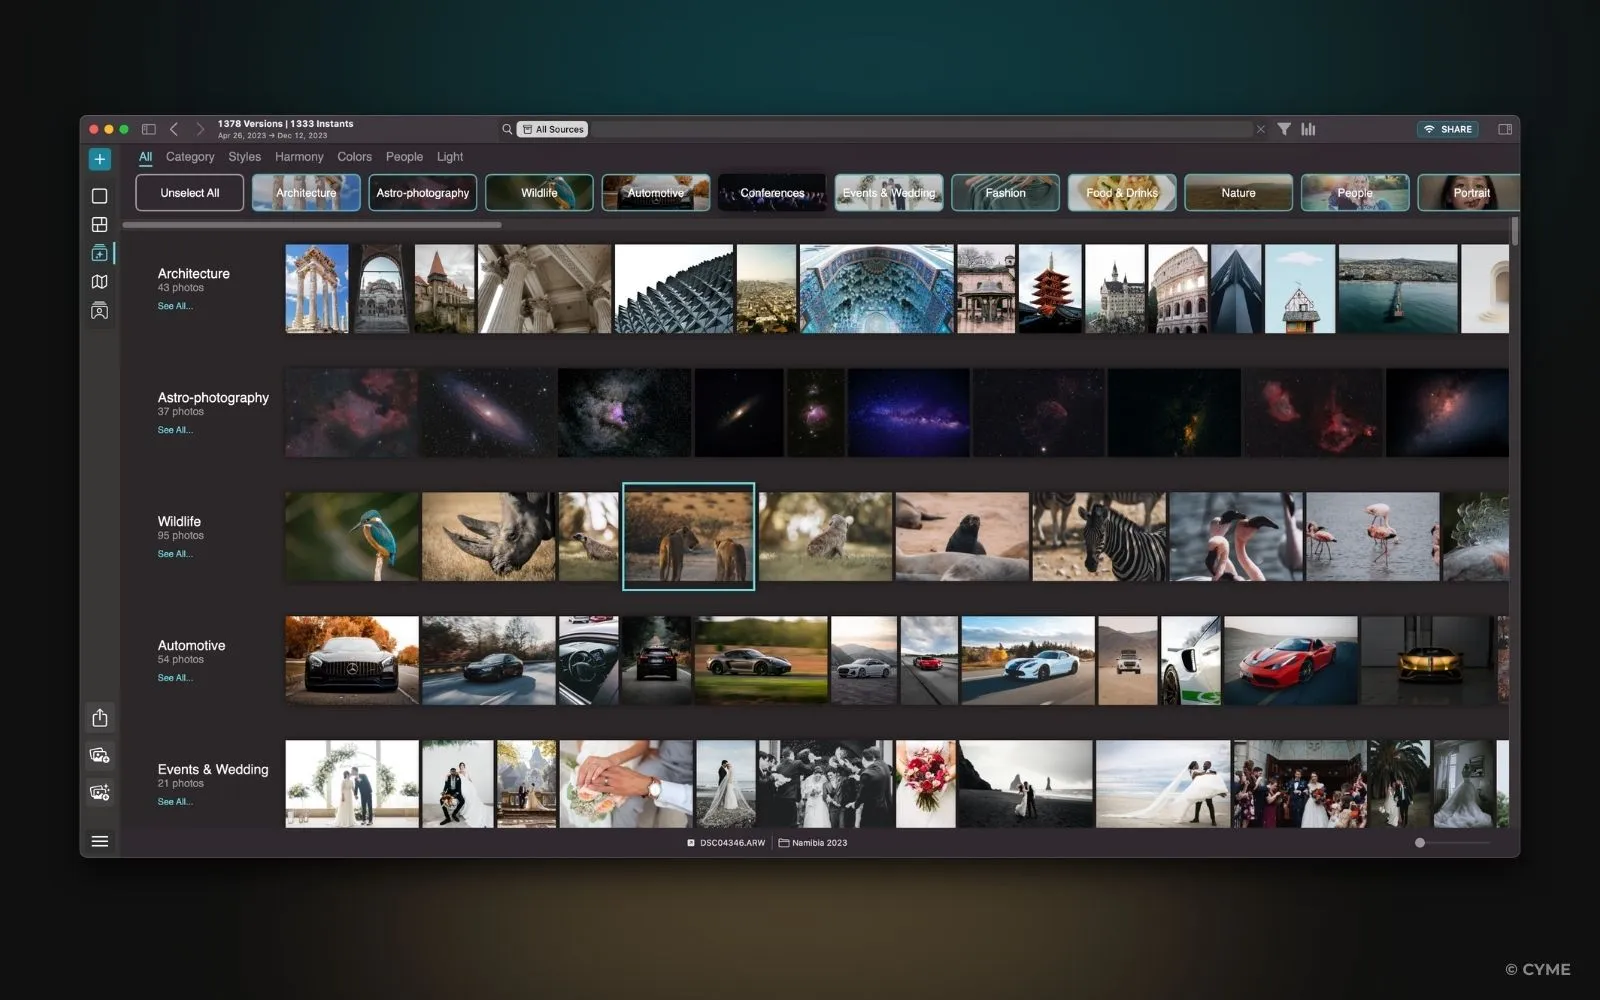
- Use Peakto to navigate and preview all your images, no matter where they’re stored.
- Take advantage of AI-powered search to find an image just by describing it.
With the right photo management software, your past work remains an invaluable creative resource for years to come!
Managing photos is essential for every photographer to maintain organization and efficiency. A solid photo management workflow is a structured process that helps you from pre-production planning to post-production and long-term archiving. The key to efficiency lies in organizing, editing, and sharing your photos in a way that saves you time and energy, while keeping your creative output at its best.
Take Control of Your Photo Management
A well-structured photo management workflow is the key to efficiency, creativity, and peace of mind. By implementing a clear routine—from pre-production planning to post-production organization and long-term archiving—you can streamline your process, save time, and make the most of your images.
With the right tools and habits, finding a five-year-old photo takes seconds, storage remains optimized, and your creative work stays accessible whenever you need it.