
If you’ve ever opened a project folder and found dozens of files scattered across drives, each one labeled C0001.MP4 or IMG_0456.mov, you know how quickly chaos sets in. Editing is demanding enough; when your raw material is disorganized, the creative process slows to a crawl. The truth is simple: the best way to sort through footage before editing is to build structure before you even touch the timeline.
We explored the bigger picture in our guide to the Best Photo and Video Organizing Software. Here, we’ll focus on video projects specifically, and walk through the steps that transform scattered clips into a ready-to-edit library. Along the way, you’ll see how Peakto, an AI-powered media manager, helps you organize not only footage but also photos—something more and more creators need as video and photography converge.
Why Sorting Before Editing Matters
When your folders are messy, every small task takes longer. A project that should take hours can stretch into days because you’re constantly scrubbing, relinking, or hunting for that one perfect shot.
Sorting first saves time, but it also protects your creative energy. Instead of worrying about where a clip might be, you’re free to think about pacing, mood, and story. It also prevents common technical hiccups—duplicate names, missing audio, or offline media—that can throw off your rhythm. And when you collaborate, a clear structure makes it easy for another editor to step in without confusion.
Skipping this step has consequences. You might overlook your best material because it’s buried in a badly named folder, or waste hours creating proxies only to discover you built them for the wrong files. Sorting first is the invisible layer of professionalism that separates smooth projects from messy ones.
Start with Folders and File Names

The backbone of any organized project is a logical set of folders. Think of it as a map for your edit. Instead of one giant “Footage” dump, break things down into smaller, meaningful categories.
A simple structure might look like this:
Project_Name/ 01_Footage/ Day01_CamA/ Day01_CamB/ 02_Audio/ 03_Graphics/ 04_Project_Files/ 05_Exports/
This way, when you open your editor, you’re not dragging in hundreds of random clips. You know exactly where the shots from each camera live, where to grab the audio, and where your exports will go.
Naming files is just as important. Cameras generate generic names, and once you import from multiple sources you’ll likely have duplicates.
Renaming C0001.mp4 to Interview_John_Day1_CamA.mov takes seconds but saves headaches later. If renaming every file feels overwhelming, at least keep them in clearly labeled folders. The point isn’t perfection; it’s consistency.
Make Metadata Work for You
Most editing apps give you ways to describe and categorize clips beyond their file names. In Premiere, you can add notes in the project panel, apply color labels, and use markers. Final Cut offers keyword collections and favorites. These features might seem optional, but they’re powerful when you return to a project weeks or even years later.
For interviews, logging is invaluable. Mark the moment when a subject says something memorable. Note which takes are smooth and which have background noise. Over time, these little annotations become your shortcut to the story you want to tell.
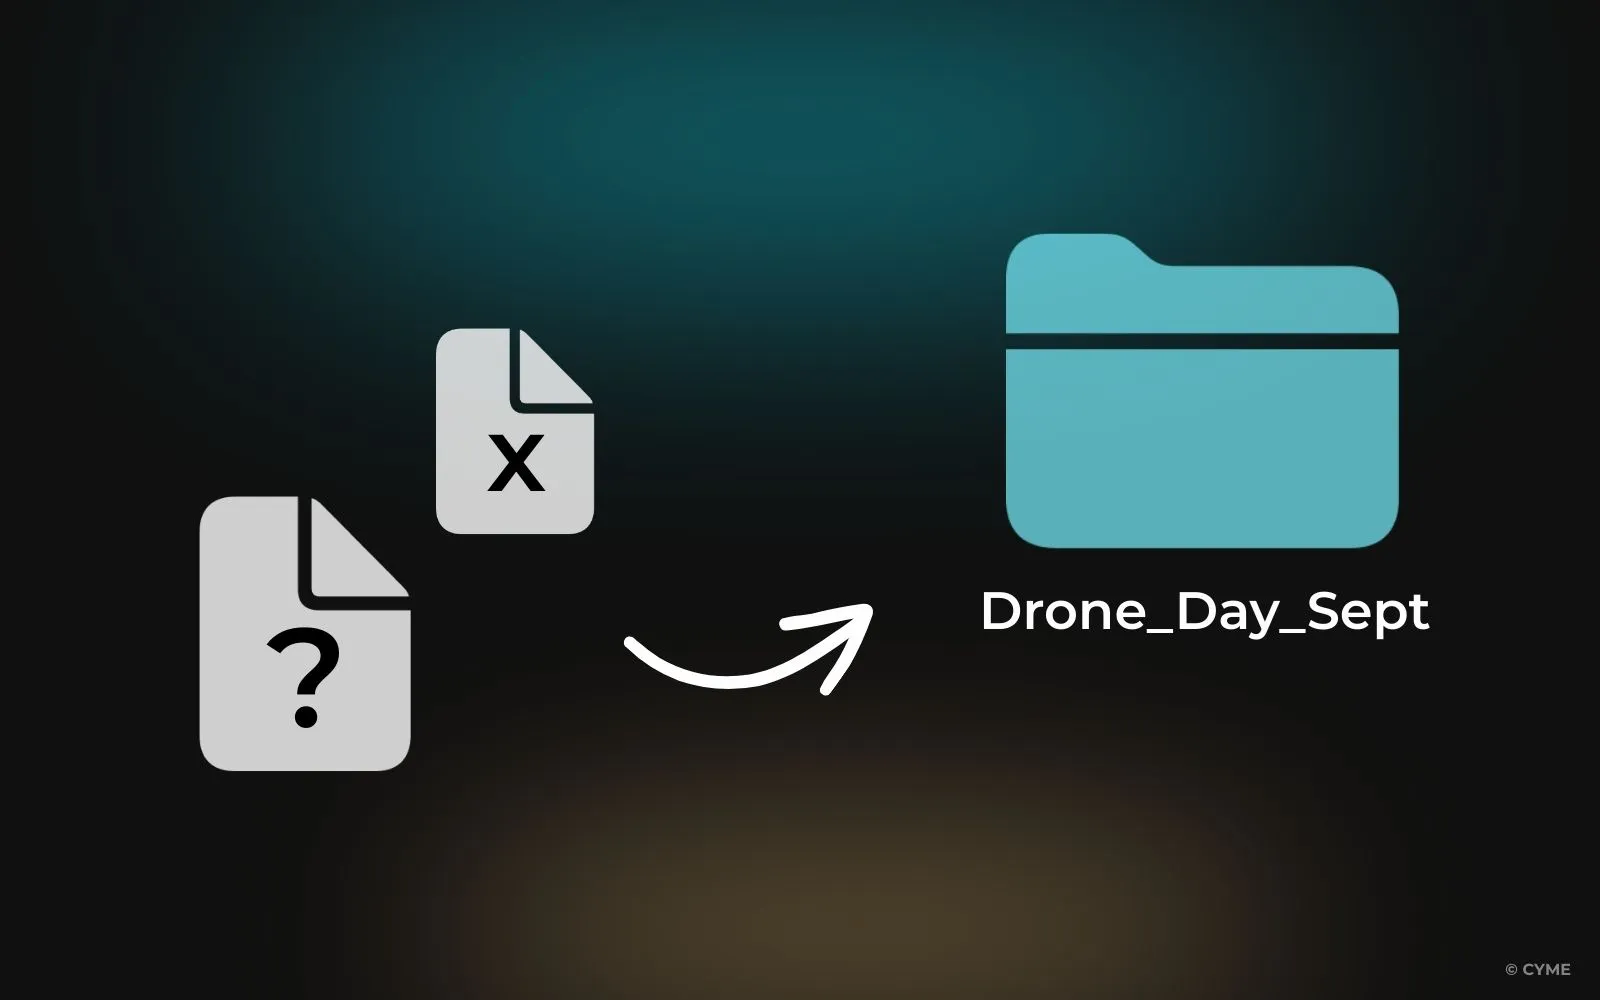
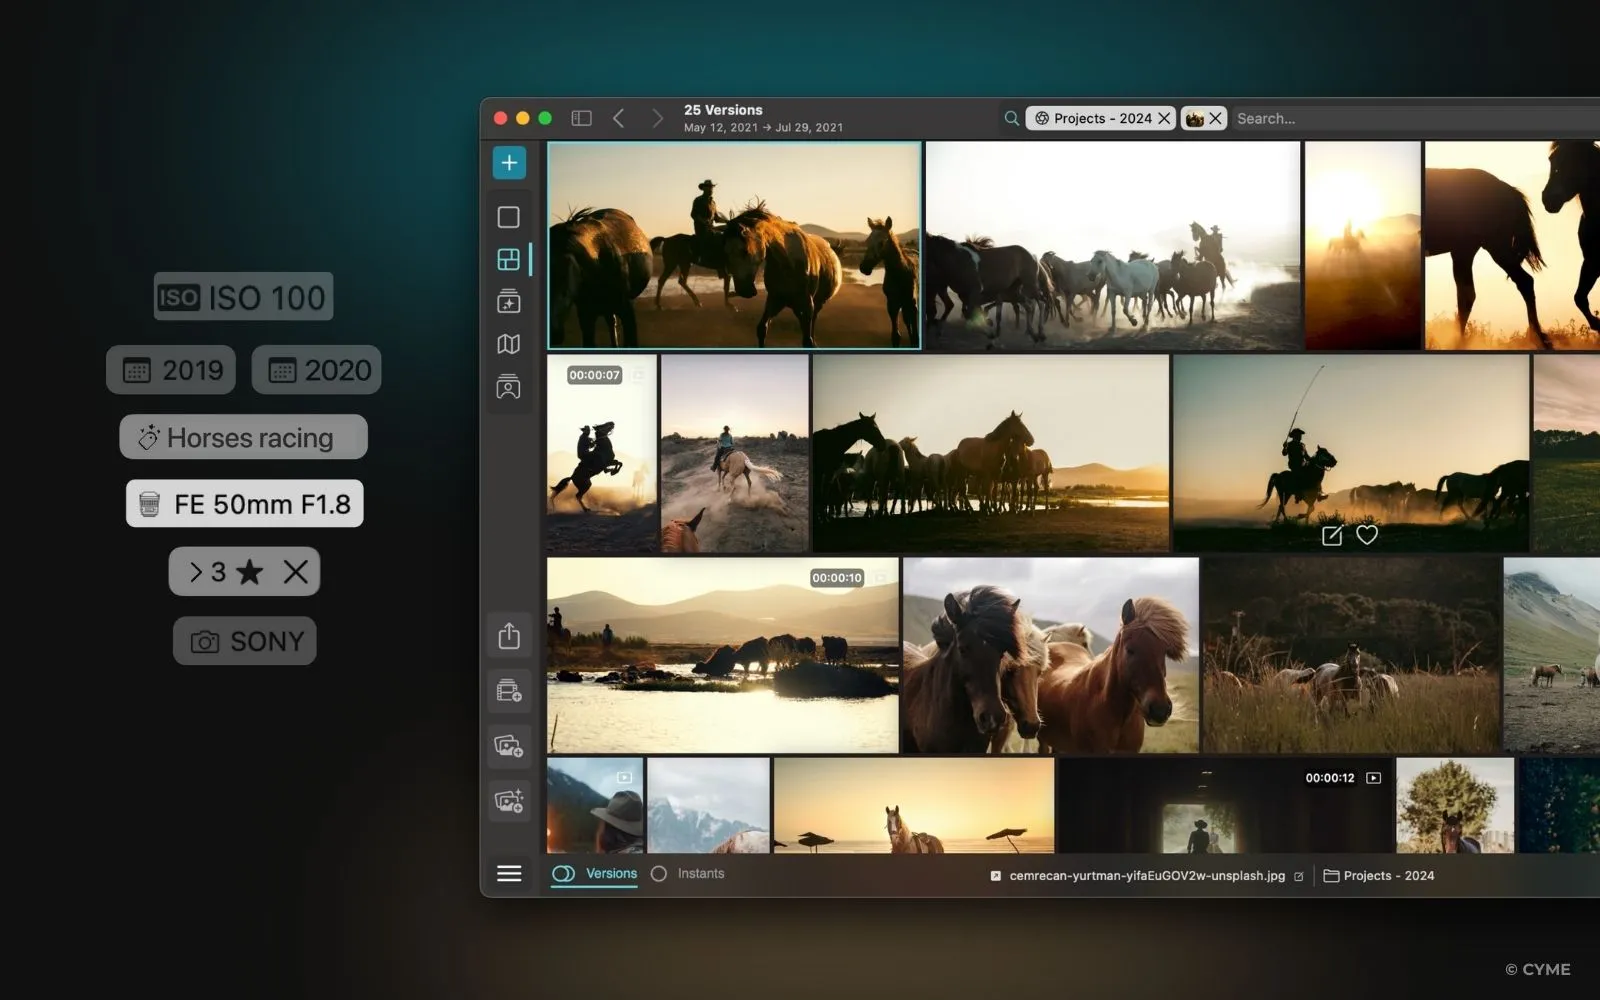
Of course, few editors have the patience to tag everything. This is where Peakto becomes a quiet lifesaver. Its AI can automatically analyze your footage, detect faces, recognize objects, and even transcribe spoken audio. Instead of manually labeling “sunset drone shot,” you can simply search for it. That’s why we explored the topic in detail in searching video with no tags: AI is turning what used to be a slow, manual process into a fast, natural one.
Cull Your Footage Before You Cut
One of the hardest lessons for new editors is that not every shot deserves a place on the timeline. Professional workflows always include a culling stage, where you trim down the mountain of raw footage to a manageable pile of selects.
Start with a quick pass to remove obvious rejects: the shaky moments, the out-of-focus takes, or the times someone forgot to press stop. Then look for the best versions among repeated takes. Even if you filmed seven, only one or two are truly strong.
Many editors create a “selects” sequence—a rough timeline of all the usable clips. It isn’t the story yet, but it’s a condensed reel of good material. Watching it back helps you spot patterns, see what’s missing, and start thinking about flow. It also means that when you begin your final cut, you’re not digging through hours of unusable footage.
Handle Heavy Formats with Proxies
Modern cameras often shoot in RAW or high-resolution formats. They look incredible but can choke your system. If playback stutters and scrubbing feels painful, proxies are the solution.
Both Premiere and Final Cut make it easy to create lightweight proxy versions of your clips. These smaller files let you preview and sort quickly, while the software automatically swaps back to the full-quality versions when you’re ready to export. The extra step pays off by keeping your editing process smooth, especially for long projects with multiple cameras.
Sort for the Story
At this point you’ve reduced the clutter and made playback manageable. Now the goal is to group your clips in a way that mirrors the story you’ll tell. For some projects that means sorting by scene, for others by shooting day or by shot type.
A wedding filmmaker might group footage into Ceremony, Reception, and Interviews. A YouTuber might split between A-roll and B-roll. A documentary editor might line things up by subject. There’s no universal rule, but the system should feel natural to you. When you think, “I need a wide shot of the factory,” the path to finding it should be obvious.
Inside your editor, recreate this structure with bins or keyword collections. Use colors to differentiate cameras or angles. Mark key beats on your timeline with markers. These small habits keep projects tidy and make collaboration easier when others join.
What’s interesting is that Peakto offers its own version of this system with video bins. Instead of manually sorting everything into separate folders or bins inside your NLE, you can create dynamic bins directly in Peakto that gather related clips across drives and projects. For example, you can instantly pull all drone shots into one bin, or group together all the interviews from multiple sources.
The best part? These bins are smart and don’t duplicate files—they reference your originals wherever they live.
So when you finally open your editing software, the heavy lifting is already done. You’re not wasting time building structure from scratch; you’re starting with bins that reflect your story. If you want to see it in action, the team at CYME has a short walkthrough of Peakto’s video bins feature on YouTube.
Don’t Neglect Audio

It’s easy to focus on the visuals and forget about sound until late in the process. But poor audio organization creates just as much confusion. Keep music, effects, and voiceovers in their own folders. Inside your sequences, maintain a consistent track layout—dialogue on top tracks, music below, effects underneath. This not only makes mixing simpler but also helps you spot missing elements quickly.
Always Back Up
Where Peakto Fits In
Manual organization works fine on small projects. But once you’ve built up years of archives across multiple drives and formats, it becomes overwhelming. That’s where Peakto comes in.
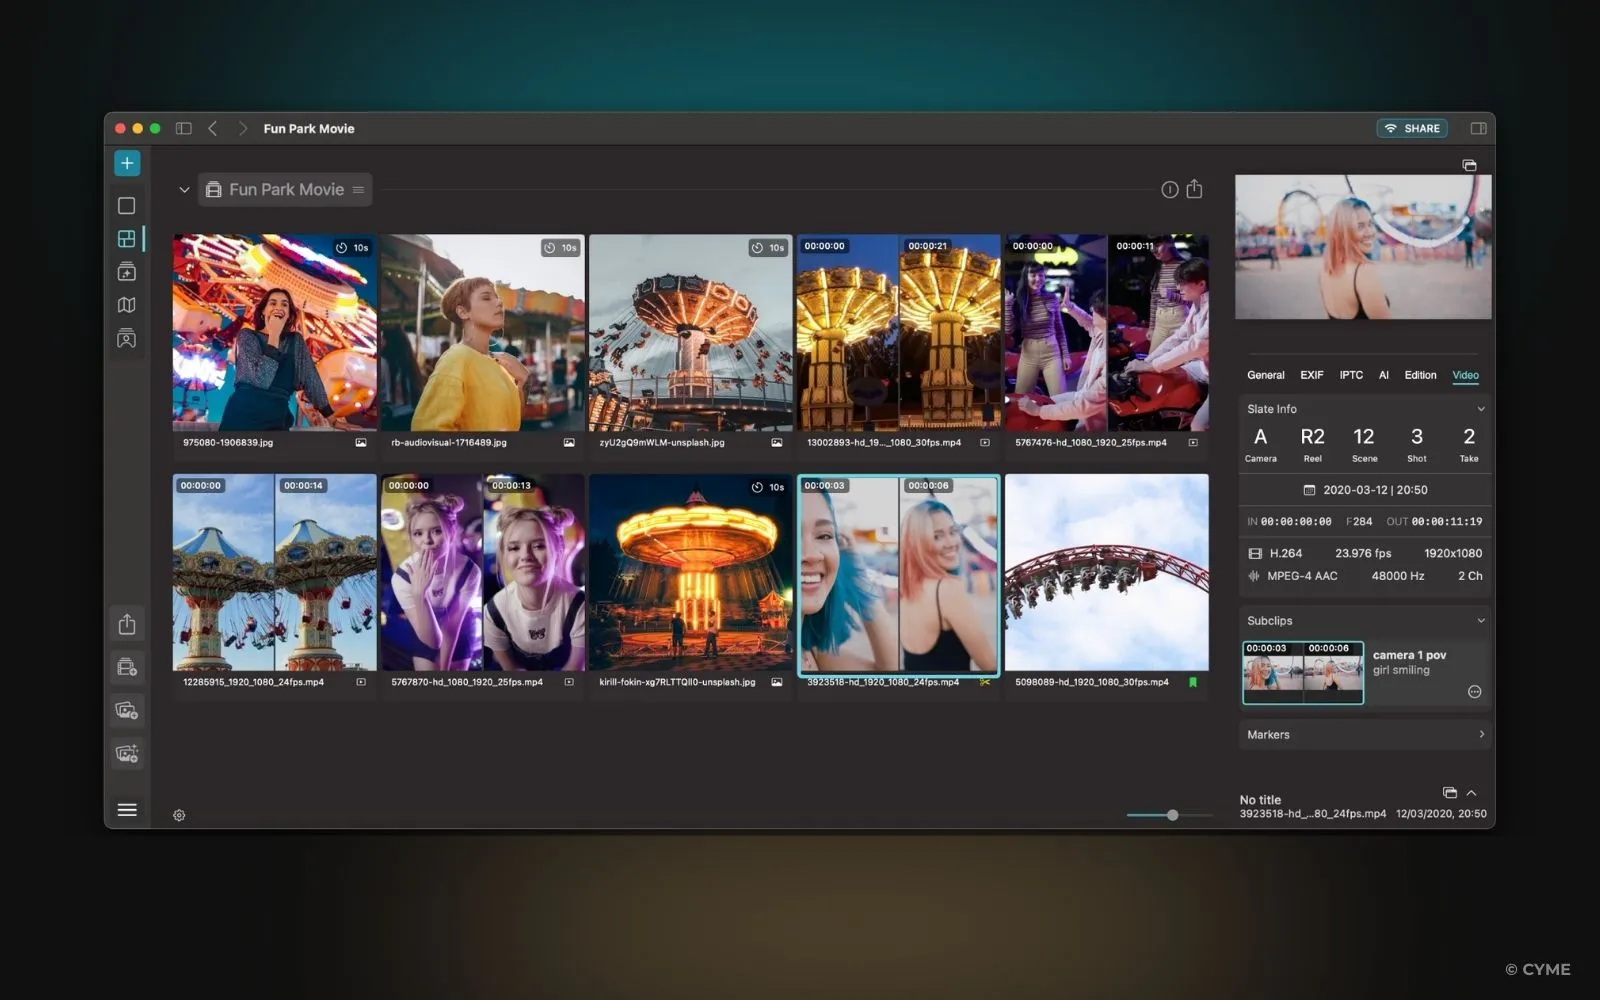
Peakto acts as a central hub for all your media, connecting catalogs, local drives, and even disconnected storage. It doesn’t force you to move files—it simply shows them in one place. From there, you can browse visually, preview quickly, and let AI do the heavy lifting.
Need to find a specific clip but forgot to tag it? Search by description: “blue car in snow.” Want to pull together the best drone shots across five projects? Peakto will group them automatically. Struggling with duplicates? It highlights them so you can save space and stay tidy. And if your work includes both photos and videos, Peakto bridges the gap, ensuring your creative assets are organized together.
This is why many hybrid creators consider Peakto not just helpful but essential. It doesn’t replace your editor; it prepares your library so that when you open your project, the best material is already waiting. For photo-centric creators, the Best photo organizing software with AI guide shows how the same principles apply across stills.
A Practical Example
Imagine you’re editing a short documentary. You have three cameras filming over four days, five interviews, hours of b-roll, and separate audio recordings.
Without sorting, you’d waste days reconnecting media and searching for clips. With structure, it looks very different:
You copy each day into labeled folders, rename the interview files with subjects’ names, and build selects sequences. You generate proxies for the 4K Log material so playback stays smooth. Inside Premiere, bins mirror your folder system—Day1, Day2, Interviews, Drone. You log key quotes with markers. When you need that perfect establishing shot, you know it’s in B-roll → Wides. And with Peakto indexing your drives, you can search across projects if you realize you filmed a similar shot two years ago.
The difference isn’t just efficiency—it’s creative freedom. You can spend your energy crafting a narrative instead of fighting your hard drive.
Habits and Tools for Effortless Editing
The best way to sort through footage before editing is not one single trick but a combination of good habits: clear folder structures, consistent file names, light metadata, a ruthless cull, proxies for heavy formats, bins that reflect your story, and a safe backup routine.
For small projects, these steps alone can transform the editing process. For larger archives, tools like Peakto extend that discipline with AI, making it possible to search, filter, and connect media in ways manual tagging never could.
At its heart, organization is not about neatness—it’s about protecting your time and keeping the focus on creativity. Because when the technical clutter disappears, you’re free to do what you came here for: tell stories with images, sound, and rhythm that move people.