

If you’re a photographer, you already know this moment. A drive disconnects. A folder doesn’t open. A photo you know you shot is suddenly gone.
Photos aren’t just files. They represent time, effort, and moments you’ll never reshoot. And the uncomfortable truth is simple: most photo losses don’t come from major disasters — they come from small, everyday failures. That’s why tools like Peakto matter: not to replace your storage or backups, but to help you clearly see, organize, and control everything you’ve already created before something goes missing.
If a photo exists in only one place, it isn’t safe. Storage is about space. Backups are about trust. According to Backblaze, hard drives can fail without warning, sometimes much earlier than expected.
Let me give you a simple advice to organize photos on your Mac : photo storage isn’t about choosing one “good” place — it’s about having more than one copy, in more than one location.
In Short: Where Should You Store Your Photos?
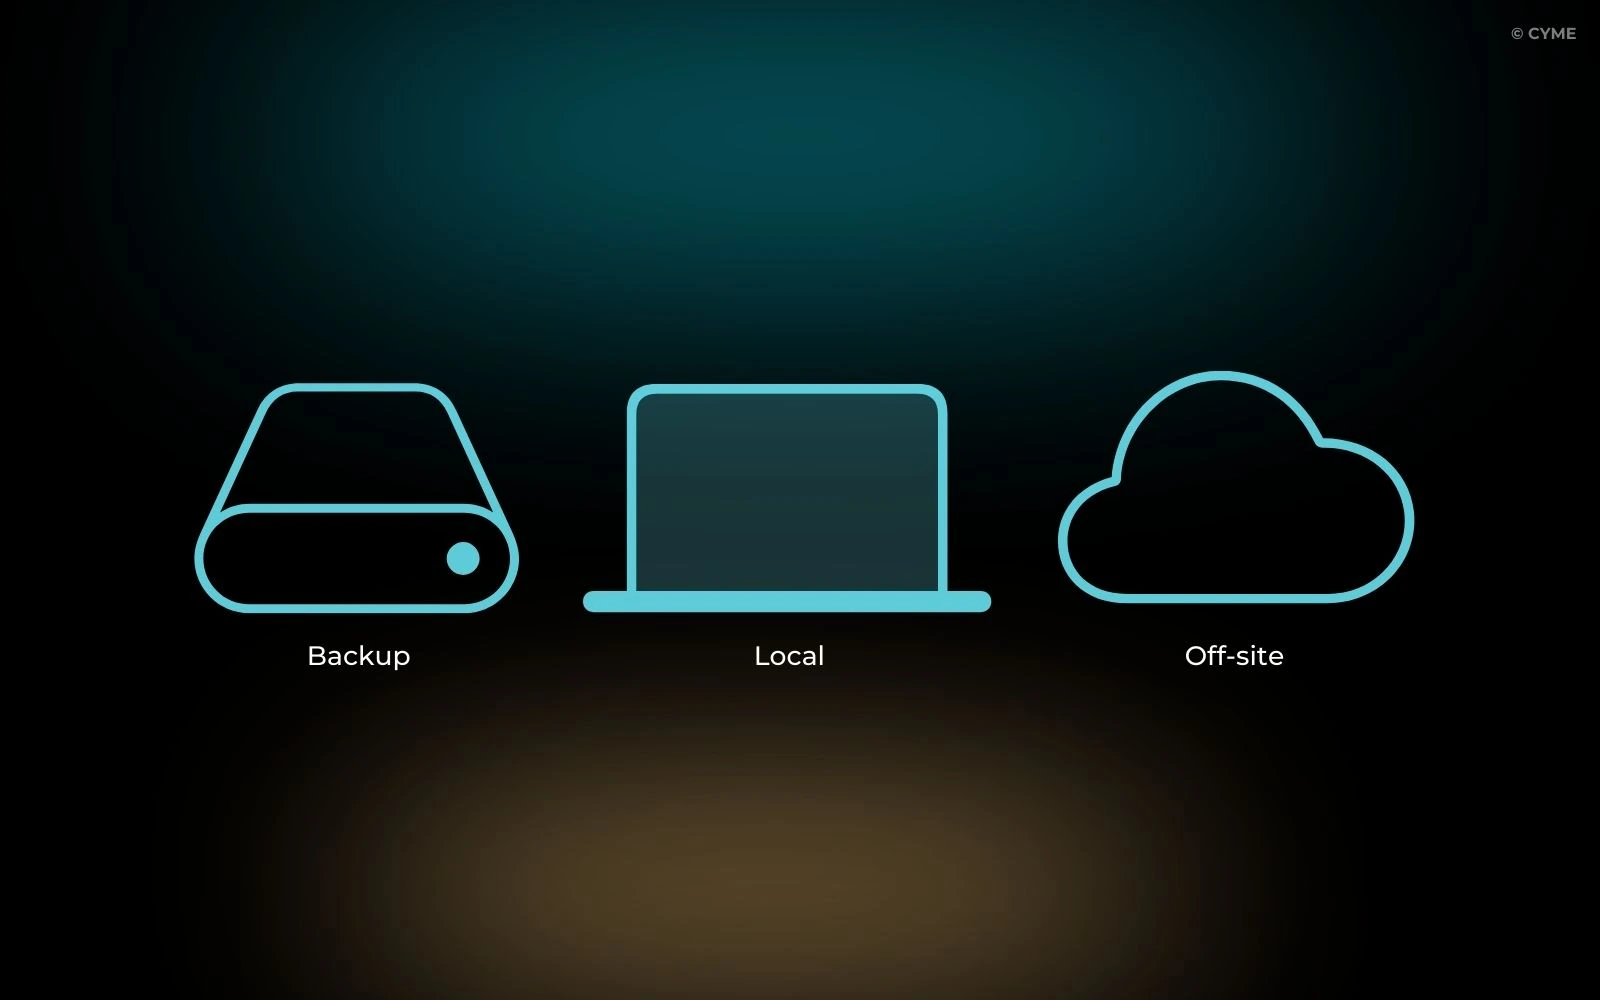
For most photographers, the safest setup is simple:
- One local copy (on your Mac or main computer)
- One backup copy (external hard drive or NAS)
- One off-site copy (cloud storage)
If one fails, the others protect you. That’s the foundation of every reliable photo backup strategy. And storage is only one piece of the puzzle — it fits naturally into a broader approach to protect and find all the photos stored on your Mac.
What Actually Works (Depending on How You Shoot)
Not every photographer needs the same setup. What matters is how critical your photos are once the shoot is over.
If you shoot occasionally — family photos, trips, personal projects — a simple system is enough. Keep your photos on your Mac, back them up to one external drive, and sync a copy to the cloud. It covers everyday risks without complicating your workflow.
If you’re a traveling photographer, redundancy matters more than structure. A laptop combined with a portable SSD for daily backups, plus cloud sync whenever you have internet access, protects your work on the road. Losing a device shouldn’t mean losing the trip.
If you shoot for clients or professional work, one copy is never enough. You need at least three: your working files, a local backup (external drive or NAS), and an off-site copy. At that level, storage isn’t just about safety — it’s about responsibility.
You don’t need the same setup as everyone else.
You need a setup that matches what your photos are worth to you.
USB Drives: Useful for Moving Files, Not for Storing Them
USB drives are convenient. You probably use them to transfer photos or hand off selects. That’s fine.
But never treat a USB stick as long-term storage. They’re easy to lose, easy to damage, and limited in capacity. Think of them as temporary messengers — not as a place where photos should live.
External Hard Drives: The Photographer’s Workhorse
External hard drives are where most photographers build their archives. They’re affordable, fast, and offer plenty of space for RAW files and long-term projects.
But remember this: an external drive alone is storage, not protection. HDDs are mechanical. They will fail — not if, but when. Always keep at least one additional copy elsewhere.
NAS: Local Control, Shared Access
A NAS is essentially a private server you control. It centralizes photos and makes them accessible across multiple devices — ideal for studios, families, or photographers working across machines.
RAID adds redundancy, but it’s not a backup by itself. A NAS is a strong hub, not a single point of safety.
Cloud Storage: Essential, but Not Enough Alone
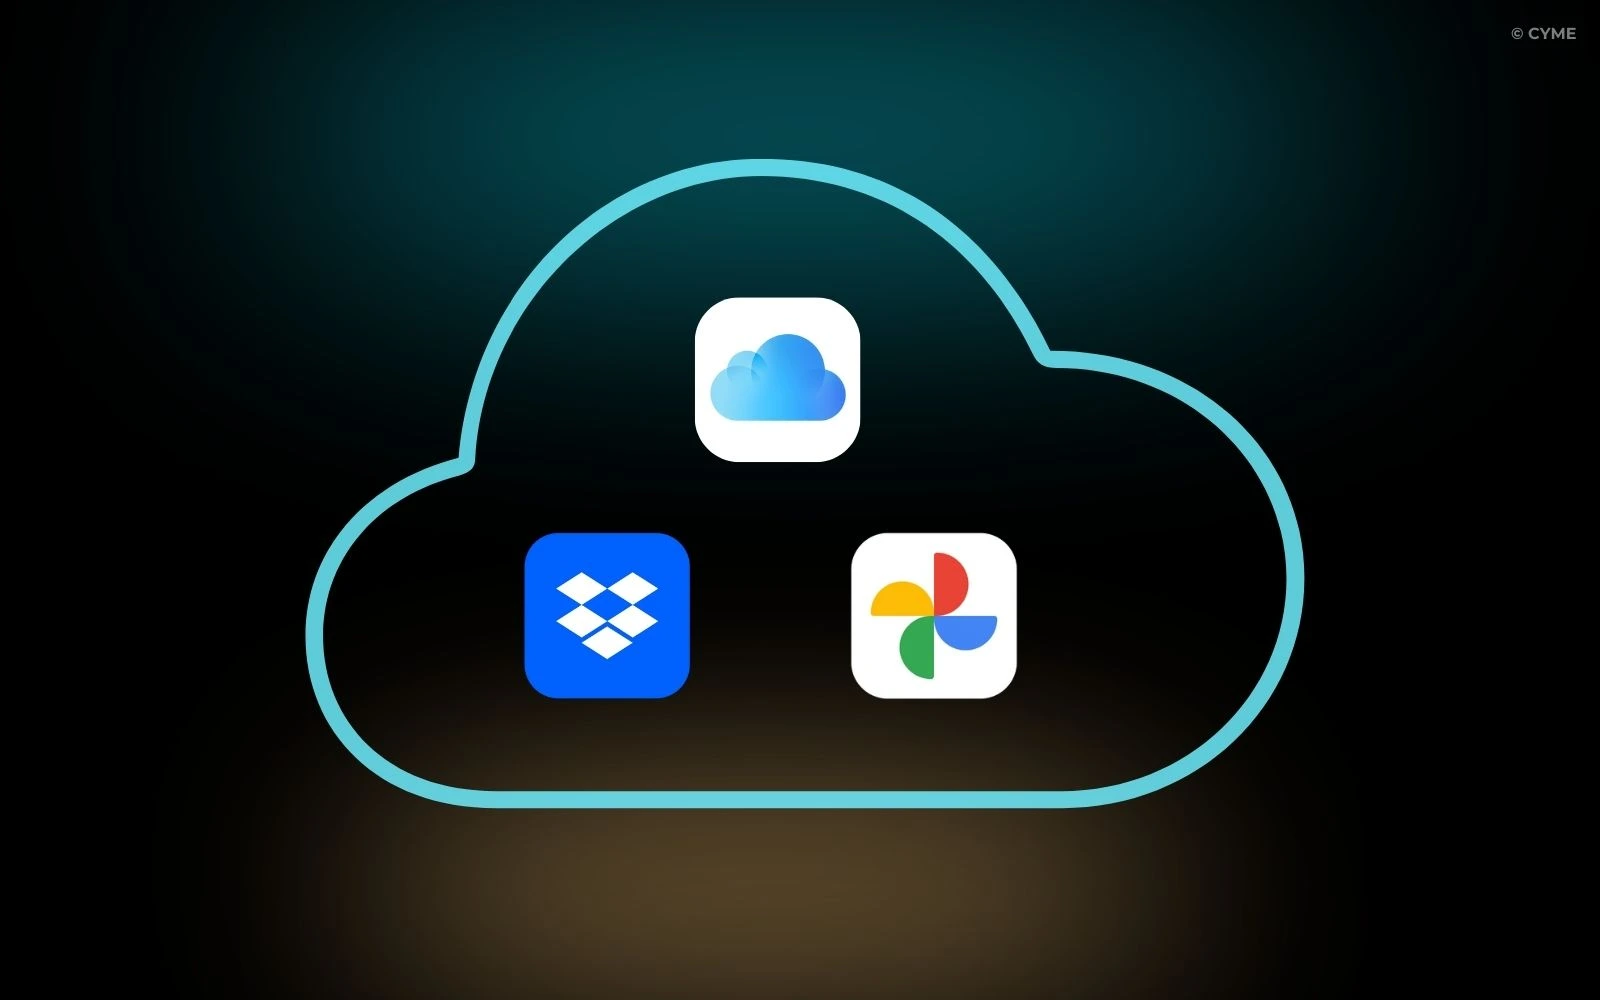
Cloud services like iCloud, Google Photos, Dropbox, or Amazon Photos are excellent for accessibility and off-site protection.
But photographers often ask: is cloud storage enough for photos? The answer is no. Cloud depends on internet access, subscriptions, and third-party policies. Use it as a safety net — not as your only rope.
No need to say that they aren’t the best tools to declutter and organize your digital photos.
Hybrid Storage Without Losing Track: Peakto
Most storage systems fail for one reason: uncertainty. You forget where originals live. You’re not sure what’s backed up. You hesitate before deleting anything.
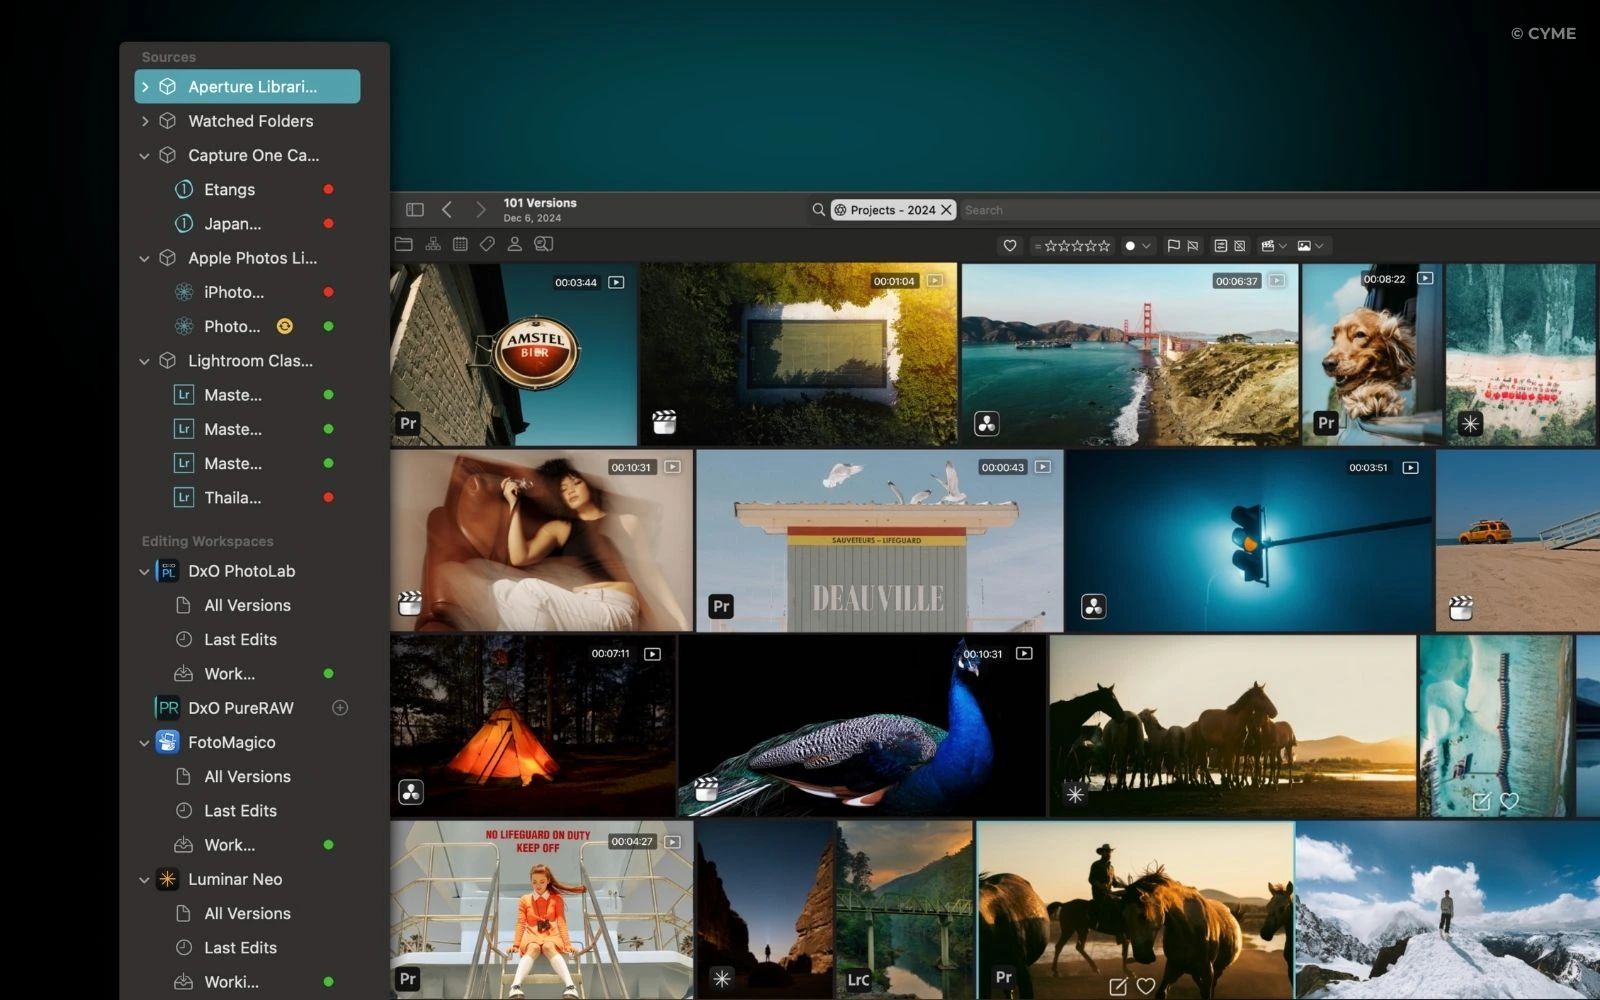
Our photo organizer Peakto doesn’t store your photos. It shows you where they are.
By connecting to Finder folders, external drives, NAS systems, and cloud sources, Peakto gives you a single visual overview of your entire photo library. You don’t need to reorganize anything to start. The biggest relief isn’t more backups — it’s knowing, at a glance, that nothing is missing, and being able to quickly delete photos.
The Right Storage Strategy, Simplified
Safe photo storage isn’t about tools — it’s about peace of mind.
Keep more than one copy. Use different types of storage. Make sure at least one copy lives somewhere else. Use the best ways to view and explore your images because when your system is clear and visible, storage stops being stressful and becomes invisible. It also becomes easier to review, compare, and adopt better ways to rank photos easily as your library grows.
Tonight, take one minute: check where your last shoot exists. If it’s only in one place, you already know what to fix.
Years from now, what will matter isn’t which drive you used — but that your images are still there, intact, and ready to be seen.
Most asked questions
What is Peakto?
Peakto is an intelligent media manager designed for videographers and photographers. It centralizes your photos and videos from multiple sources — editing software, catalogs, hard drives, servers, or NAS — into one unified space.
Thanks to its artificial intelligence, Peakto automatically identifies the content of videos and images, allowing you to quickly find the files you’re looking for. It streamlines the organization, search, and sharing of your media, even within collaborative projects.
How do I get Peakto?
To obtain Peakto software, follow these steps:
- Purchase Peakto: Visit the Peakto store and choose between a subscription plan or an unlimited license.
- Download Peakto: After completing your purchase, you will receive an email with a link to download the software.
- Trial Period: Note that the 7-day trial period is only available with subscription plans.
How does it work?
Provide your payment information via credit card or PayPal. You will not be billed for the subscription until the end of the 7-day trial period. The free trial automatically converts to a monthly subscription (1, 12, or 24 months) unless canceled before the end of the trial period. After the trial period ends, all license purchases are final and non-refundable.
What filters can be applied in Peakto?
You can filter your media by a variety of attributes such as camera model, camera lens, software, EXIF data, IPTC, file format, tags, color, notes, and favorites. AI-driven automatic analyses can also classify your content based on aesthetic scores, keywords, categories, or style.
In addition, Peakto offers a timeline feature, allowing you to easily narrow down your search to a specific time period. A dedicated menu enables you to filter your files by folder structure, date, keywords, and even faces, ensuring precise and efficient searches.
How can I use filters to refine my search results in Peakto?
To refine your search results in Peakto using filters, you can follow these steps:
- Use Metadata Filters: Peakto allows you to filter your photos and videos based on various metadata such as shutter speed, aperture, ISO, date, image name, author, GPS coordinates, lens, camera model, and image format. This helps you narrow down your search to specific technical details of your media files.
- Combine Filters with Prompt-Based Search: You can use natural language descriptions to find images or video passages and then combine these searches with filters to further refine the results. For example, you can describe a scene and then apply a filter for a specific year or camera model to get more precise outcomes.
- Use the Map View: For travel or adventure photography, the “Map” view in Peakto lets you visualize your photos on a map. You can then apply filters to this view to refine results by specific years or other criteria, making it easier to find photos from particular locations or trips.
- Leverage the Timeline Feature: The Timeline feature in Peakto provides a chronological view of your media. When combined with filters, it becomes a powerful tool for analyzing your work over time. For instance, you can filter by a specific lens to see when and how often you used it, helping you understand your photography habits and preferences.
By using these filtering options, you can significantly enhance your search capabilities in Peakto, making it easier to find exactly what you’re looking for in your media collection.
How do I use keywords to search in Peakto, including AI-generated ones?
In Peakto, you can search using keywords from your original photo catalogs as well as keywords automatically generated by Peakto’s AI. Simply type a keyword into the search bar at the top-center of the interface after selecting your desired sources or folders in the left sidebar.
Peakto’s AI uses image recognition to automatically annotate your photos with descriptive keywords based on their content and style. For example, typing “Bird” in the search field will bring up all images recognized as containing birds. This allows you to quickly rediscover specific themes or subjects in your photo library—even if you never manually tagged them.
Where can I find technical support?
We are here to answer your questions. To get support, take a look at the Knowledge Base, submit a Ticket, or join the Community. You can find all this information on the Contact page of our website.