
Here’s something fascinating about professional editing: Martin Scorsese’s The Wolf of Wall Street generated over 500 hours of raw footage for a 3-hour film and never lost a frame. Meanwhile, a talented filmmaker down the street just spent three days searching for a 10-second B-roll clip that was perfectly shot but buried somewhere in their growing collection of “New Folder (23)”. Mastering the art to manage large amounts of footage during editing is the key here.
Mastering how to handle massive video libraries isn’t just about being organized—it’s the foundation of the best management method for videos, separating the professionals from the perpetually stressed. When you’re drowning in terabytes of content, your organization system becomes your lifeline.
Ready to transform your editing workflow from chaos to control? Let’s turn your footage jungle into a well-oiled content creation machine.
Why Managing Large Video Files During Editing Is Make-or-Break
Here’s the compelling math that drives professional editing decisions: a single hour of 4K footage requires 20-22GB of storage space. Shoot in 8K? You’re working with content that needs 36-38GB per hour. When you multiply this by a typical commercial shoot with multiple cameras, angles, and takes, the numbers become truly impressive.
However, storage space is just one consideration. The real opportunity lies not in the size of your files—it’s in the time you can save with smart organization. According to a Seagate report (2024), editors can spend up to 30% of their time just searching for files if workflows aren’t properly organized. That’s time you could spend perfecting transitions, refining audio, or color grading.
The Foundation: Building Your Footage Management System

Step 1: Build a Rock‑Solid File and Folder Structure
A reliable file system is your first defense against chaos.
- Create folders by date, project, camera, and card.
- Use a consistent naming format like 2025-08-05_ProjectA_Cam1_Take03.
- Separate main footage, B‑roll, interviews, and audio into bins for quick access.
Tip: Tools like Peakto and Adobe Premiere Pro’s project bins make it easy to scale when handling hundreds of clips — especially when combined with best practices for how you catalog and store your video footage across multiple devices and drives.
Step 2: Harness Metadata & Tagging
Footage is only as useful as it is findable.
- Add metadata: scene, take, description, keywords.
- Use color labels or markers to flag selects, interviews, or B‑roll.
- Take advantage of NLE features in Premiere Pro, Final Cut Pro, or DaVinci Resolve for searchable filters.
Editors who integrate metadata tagging into their workflow report significant time savings, especially on long-form or collaborative projects.
Using advanced video tagging software, content creators can automate the labeling of footage by subject, scene type, or emotion — dramatically improving searchability and saving time during the editing process.
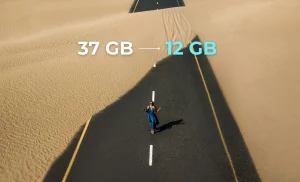
Step 3: Smooth Editing with Proxies and Transcoding
Handle high volumes of footage in post-production directly can choke even high‑performance machines. Enter proxy workflows:
- Transcode heavy files into editing‑friendly formats (like ProRes or DNxHD).
- Edit with lightweight proxies while preserving the original quality for the final export.
- Relink to full‑res files at the finishing stage.
This technique, known as offline editing, has long been the standard in broadcast and film industries because of faster rendering and effects processing and the reduced strain on editing system.
Step 4: Create String‑Outs and Selects
Don’t tackle 12 hours of footage head‑on. Break it down:
- Make string‑out sequences: drag all clips for a scene in timeline order.
- Scrub through and lift selects — the golden moments.
- Build from selects to rough cuts, then refine into your final sequence.
Pro editors call this a “funnel workflow”: wide at the top with raw footage, narrow at the bottom with the polished cut.
Step 5: Storage and Backup
Large projects demand high-performance storage solutions, so that even large files load quickly, minimizing bottlenecks across the stages of post-production.
- Use SSDs or RAID arrays for speed.
- Back up to at least one other physical location plus a cloud service.
- For teams, adopt cloud‑based collaboration platforms like Frame.io or LucidLink.
(Fun fact: The average 4K project can consume 1 TB of storage for just 2 hours of raw footage — proof that smart storage planning is non‑negotiable.)
And if you’re creating content for multiple platforms, a well-managed archive also makes it easier to repurpose clips for social media, marketing reels, or client previews. Whether you’re working solo or in a team, organizing video footage efficiently ensures your files are always ready when creativity strikes.
Smart Strategies That Scale
Beyond the basic workflow, these strategies help professionals scale their editing process — especially when managing multi-day shoots with large amount of footage or collaborative teams.
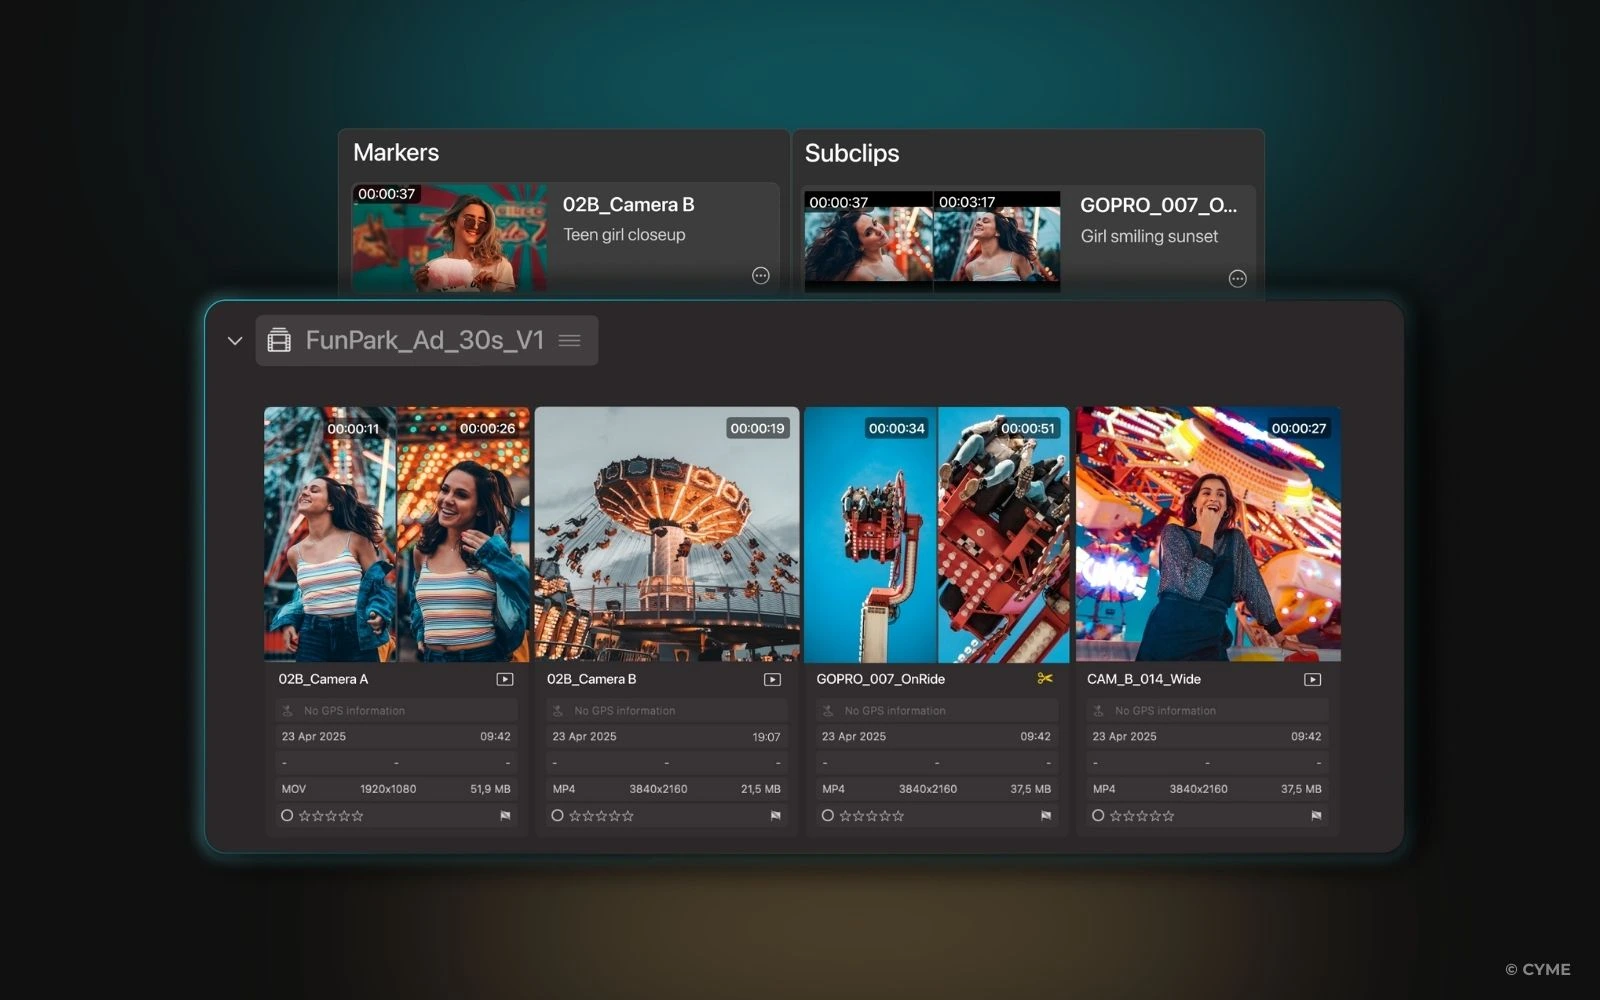
Smart Organization with Bins and Collections
Think of bins and collections as your editing software’s intelligent filing system. When you’re dealing with hundreds of clips across formats and shoot days, scrolling through a flat list becomes a time sink. Smart bins take the chaos out of the editing process by auto-grouping your footage based on rules you set.
Here’s how pro editors structure their bins:
- By Camera Angle: Wide shots, close-ups, over-the-shoulders
- By Content Type: Interviews, B-roll, drone footage, establishing shots
- By Quality Assessment: Selects, alternates, backups
- By Timeline Role: Intros, transitions, closers, call-to-actions
This method doesn’t just look clean—it speeds up decision-making, especially when you’re handling large video files across multiple locations or formats.
Collaborative Editing and Team Workflows
When multiple editors work on the same project, your organizational system becomes more than just helpful—it becomes essential. Without clear rules for structure and naming, you risk version conflicts, lost work, and inconsistent outputs.
Here’s how professional teams handle collaborative post-production:
- Shared folder and bin structures: Everyone navigates the same media logic.
- Version control protocols: Editors use suffixes like _v03_FINAL… but better.
- Asset management systems: Prevent accidental overwrites and isolate key footage.
- Regular sync schedules: Ensure all collaborators are working with the most recent media.
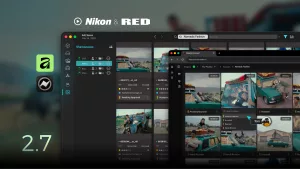
Peakto: The All-in-One Solution to Managing Massive Media Libraries
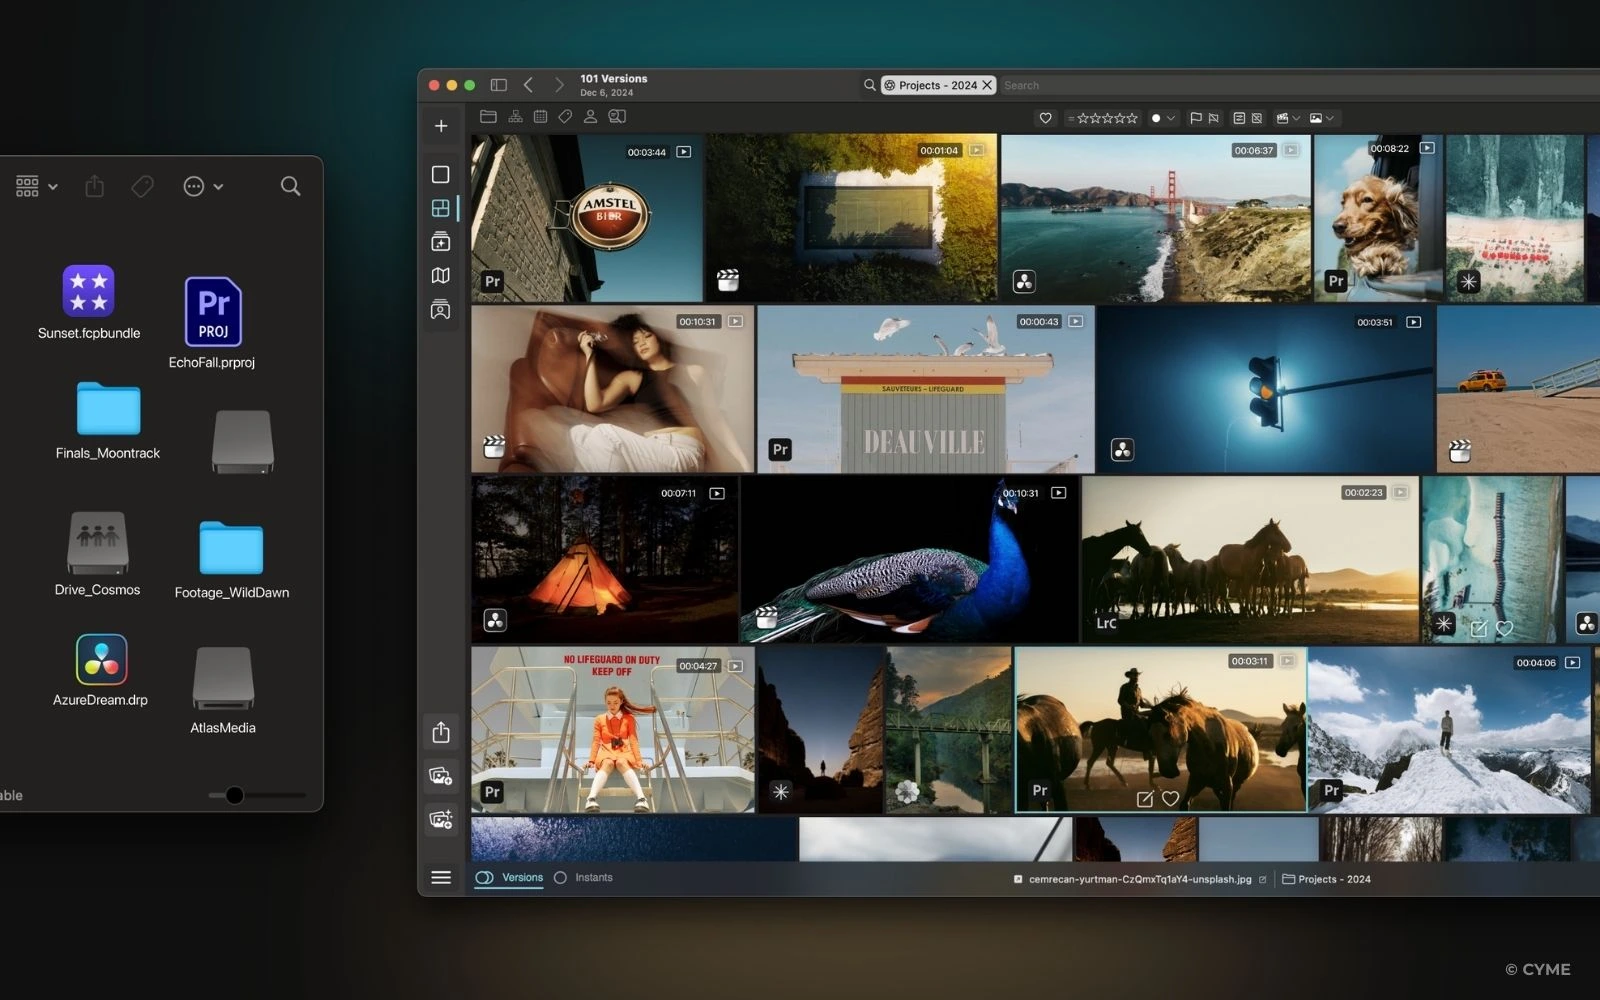
When you’re dealing with hundreds of hours of video and audio, traditional editing tools aren’t enough. That’s where Peakto — our AI-powered media management solution — truly shines.
Designed for creators, editors, and post-production teams, Peakto helps:
- Centralize your entire video archive — connect Peakto to external drives, NAS, or cloud folders without duplicating your files.
- Auto-tag and preview your footage with intelligent annotations like face recognition and scene detection.
- Access and collaborate remotely with Peakto Connect, a secure feature that allows your team to browse, preview, and annotate files stored locally — with no cloud uploads required. Ideal for distributed editing teams or hybrid workflows.
Whether you’re managing YouTube content, branded documentaries, or long-form interviews, Peakto speeds up everything from ingest to edit — and eliminates the pain of file hunting.
Mastering the Edit When Managing Large Amounts of Footage
The difference between an overwhelmed editor and a confident storyteller often comes down to workflow. By learning how to manage large amounts of footage during editing, you’ll spend less time hunting files and more time crafting videos that captivate.
From folder structures and metadata tagging to proxy editing and tools like Peakto, the right system transforms your editing process from stressful to seamless.
The footage may be massive — but with the right tools, your workflow doesn’t have to be.