
You use a reverse video search tool for two very specific reasons.
Either you want to verify that no one is republishing your video content online without credit—essentially “stolen” content circulating through endless re-uploads—or you want to find your own video file starting from a snippet you already have: a compressed clip, a vertical export, or a screenshot sent by a client.
In both cases, you’re looking for a video finder reflex: not just “opening folders,” but quickly tracing back to the right version in the right context. This is where methods like finding video by metadata, searching video with no tags, or finding video from images overlap. In reality, you always alternate between these four logics depending on what you have on hand.
What is Reverse Video Search (Really) for?
A good video search tool in “reverse video” mode is used to find the likely origin of a clip, spot reposts and duplicates, and trace the path of content across different pages. This is why it has become a reflex for content creators: when you want to find content that has been reused, you run a reverse search and collect the matches.
The usage has also evolved: we no longer just perform online reverse video searches against the web. We apply the same logic to our own media libraries to find videos amidst rushes, proxies, exports, and versions. Essentially, it’s a “reverse video finder” for the photos videos and images videos of a project.
Use Case 1: Finding Your Master, Your Rushes, or Similar Shots in Your Project
On the flip side, you might have a low-res clip and need to locate the original master hidden somewhere on your drives, NAS, or old projects. This is the classic video finder dilemma: you know the file exists, but you can’t find it. To solve this, Peakto provides a universal visual search engine for your local media.
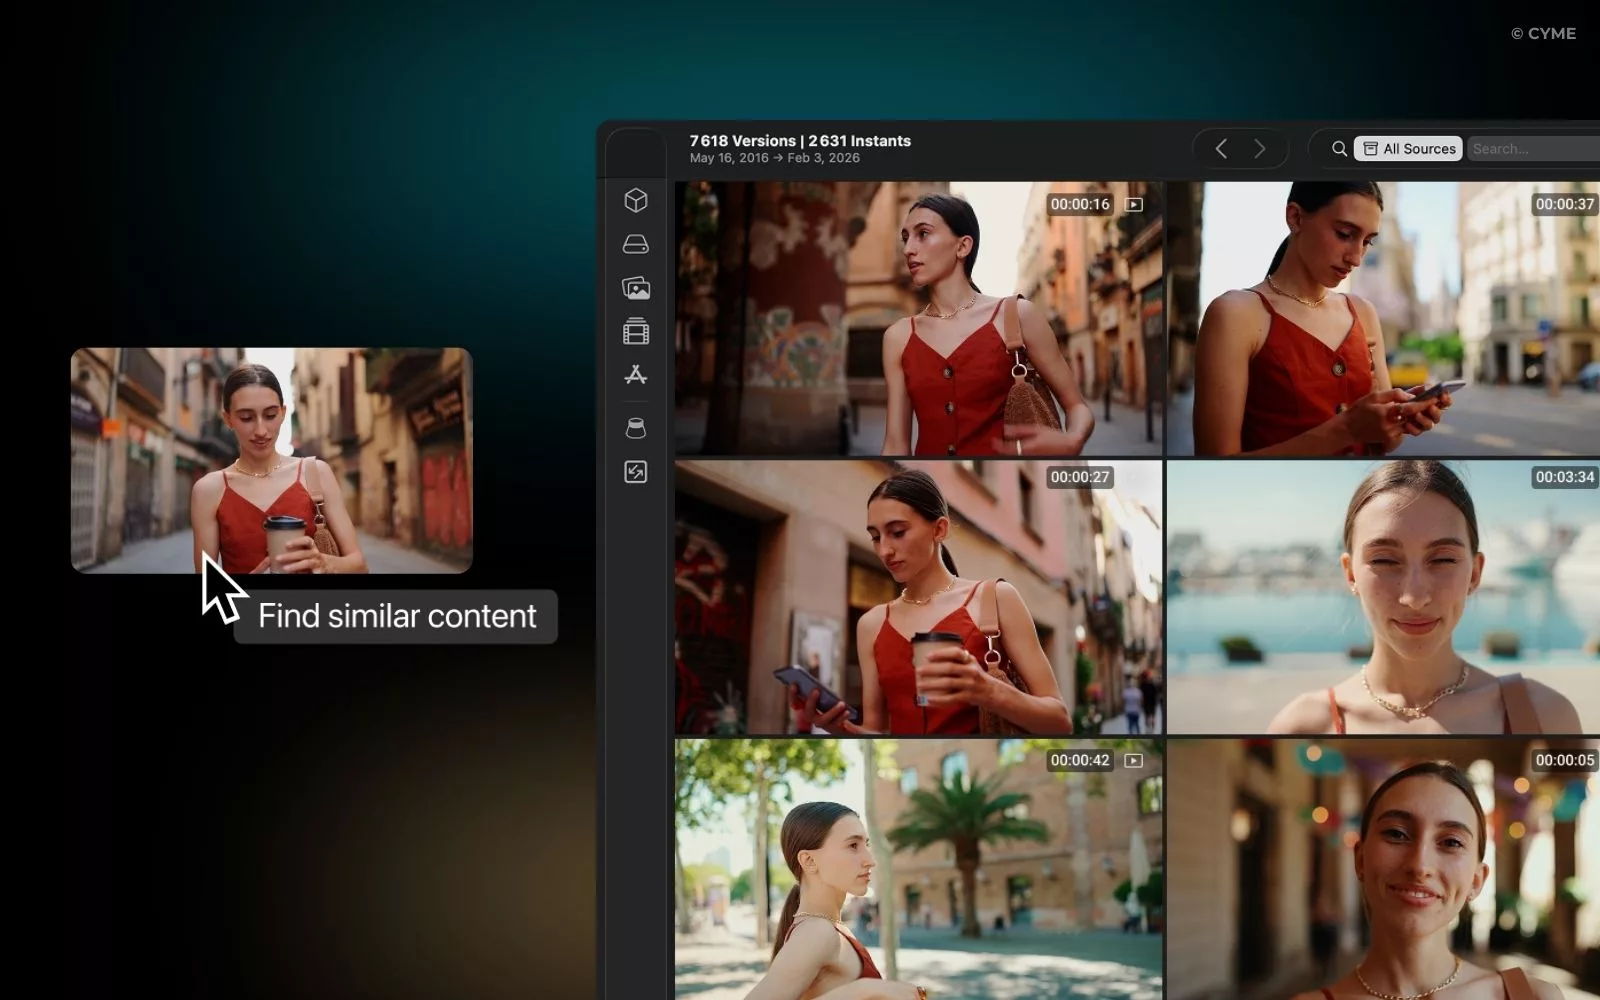
By indexing catalogs/projetcs from Lightroom, Capture One, Apple Photos, Final Cut Pro and more without moving your files, Peakto creates a global visual inventory. Its AI-powered reverse search allows you to drop in a single frame or making-of photo to instantly find the raw rush. This how to find video from images logic acts as a shortcut to your master source, even if your files are scattered across different software and drives.
If you only have a visual as an entry point (a still, a screenshot, a making-of photo), it is also the perfect solution for searching video with no tags. Instead of relying on filenames or metadata, Peakto analyzes the visual content itself. You can discover similar shots with the same vibe, framing, or location, making your entire library searchable by pure resemblance—no manual tagging required.
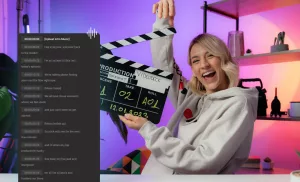
Sometimes you don’t have a frame—you have a quote. That’s where find word in video becomes the fastest path: search the transcript, jump to the exact timestamp, and pull the right moment.
Use Case 2: Verifying Where Your Content Is Circulating Online

You see your shot appearing elsewhere—no mention, no tag. You want to quickly verify if it’s your content and identify the reposts. To do this, you can use Berify: this tool simultaneously scans Google, Bing, and Yandex databases to track every occurrence of your visual. Take a clean screenshot of a frame, ideally close to the thumbnail, and run a reverse image search. Unlike a standard search, Berify allows you to monitor these matches over time.
You then open the closest results and read the pages like an investigator: is it cropped, over-compressed, or watermarked? If so, it’s often a re-upload. The cleanest version is usually the one closest to the master—and therefore, the source. This is also a way to detect the risk of copyright infringement: if your content is taken, you can document where it appears and trace back to the visible occurrences.
The Key Principle: Select an Image (and Let the Search Engine Do the Work)
For the video search to work, you must think “frame” before you think “video.” Search engines index pages, thumbnails, and visuals—so you get better results by first doing an image search, specifically a reverse image search. This is where the quality of your frame makes all the difference. A clear frame yields exact matches. A blurry frame returns noise.
Pro Tips (to Avoid Wasting Time)
The more your clip is transformed (crop, compression, text, speed), the more difficult the reverse search becomes. In this case, your best lever is frame selection: choose one close to a thumbnail, clear, and with a distinctive detail.
Also, think “context”: if you want to verify video authenticity (or simply understand the video authenticity of a clip), tracing back to a source isn’t always enough. You must look at the date, the author, the location, and check if the narrative holds up.
If you want to stay updated, remember one thing: despite all the tools promising to “upload video file” and recognize everything automatically, the most reliable method remains: frame → reverse image search → exact matches → source analysis.
FAQ — Reverse Video Search
Can you reverse search a video file directly?
How do I find the original uploader among dozens of reposts?
To find the original uploader, you have to act like a digital forensic expert. Look for the “master” signals: the highest resolution, the original aspect ratio (not cropped for TikTok/Reels), and the earliest timestamp. If you suspect the content is yours, local tools like Peakto allow you to match the viral clip against your own high-res archives instantly, proving you hold the source file.