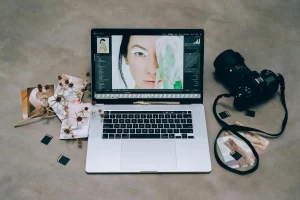

There’s a moment—right after a shoot—when you’ve got everything in your hands… and yet you can wreck your workflow in 30 minutes.
You get home, you import, and you watch 800, 2,000, sometimes 6,000 photos scroll by. You’re tired, still riding the adrenaline from the shoot, and you tell yourself, “I’ll cull later.” But culling isn’t “later.” It’s the first critical step.
Because if you keep too much, you edit too much, you second-guess too much, you archive too much (meaning you need more storage), and you spend the following weeks searching for “the right version” instead of delivering, publishing, or simply… breathing.
To me, photo culling is the foundation—it dictates everything that follows. The rest of the workflow (editing, export, delivery, archiving, publishing) only becomes smoother if your decisions are already clear at that stage.
What Is Photo Culling (And What It Is Not)
If you’re wondering what photo culling is, it’s the art (and the discipline) of reducing a series to what truly deserves to exist: the sharp, strong, cohesive, and useful images. It’s selection. And most importantly:
- Culling ≠ editing: you don’t “fix” a photo during culling. You decide whether it’s worth working on.
- Culling ≠ archiving: archiving is about organizing and keeping. Culling is about choosing and eliminating.
When we mix up these three steps, we lose two things: time… and coherence. We start editing “average” images, we keep duplicates “just in case,” and in the end we’re left with a photo library that keeps growing—with no clear direction.
A Manual Photo Culling Workflow (The Old Method)
I’m a big believer in culling before editing. Always. Otherwise, you risk retouching images you’ll never keep—and that’s the classic trap. If you’re still wondering “what should I do first?”, I recommend reading our article Photo Culling vs Photo Editing to see where to start.
And if you want to go further—save time, avoid second-guessing, and stay consistent across your series—here are our best tips for culling your photos. Now, let me quickly walk you through the method I used before AI came along.
My “3-Pass” Method (Simple, Reliable, Repeatable)
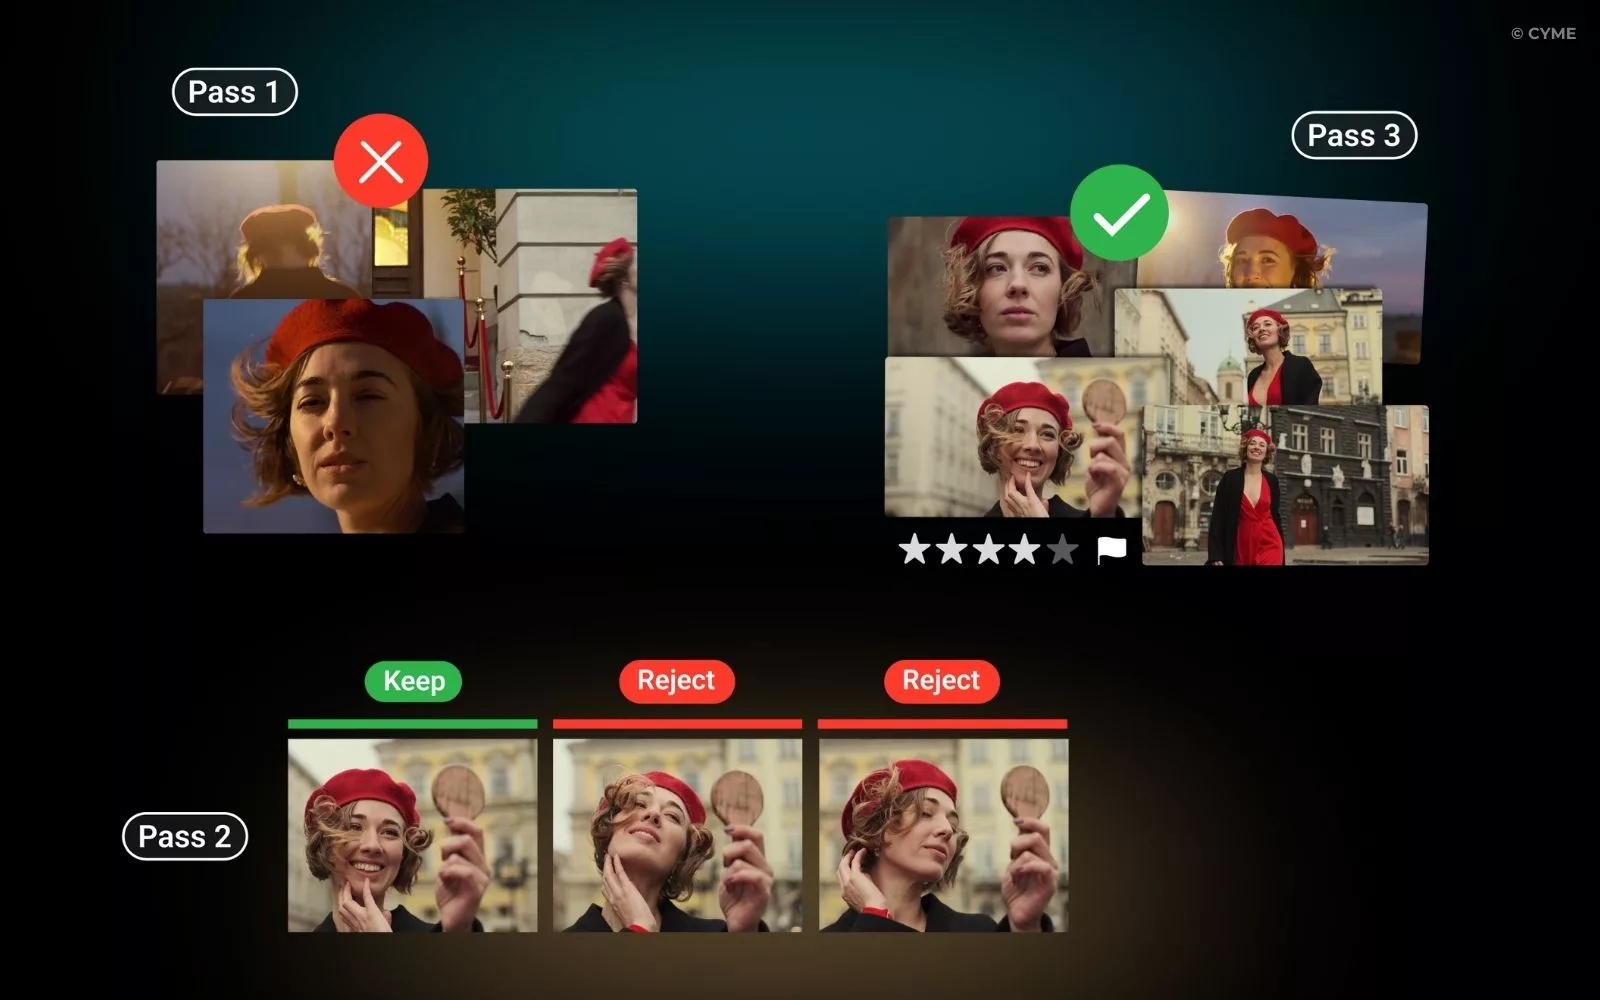
Pass 1 — eliminate the obvious misses (fast, no second thoughts)
Here, I don’t overthink: obvious blur, accidental shutter press, closed eyes in a key portrait, completely broken framing, unrecoverable exposure… out. Goal: breathe. Reduce the noise.
Pass 2 — compare similar shots (where it all happens)
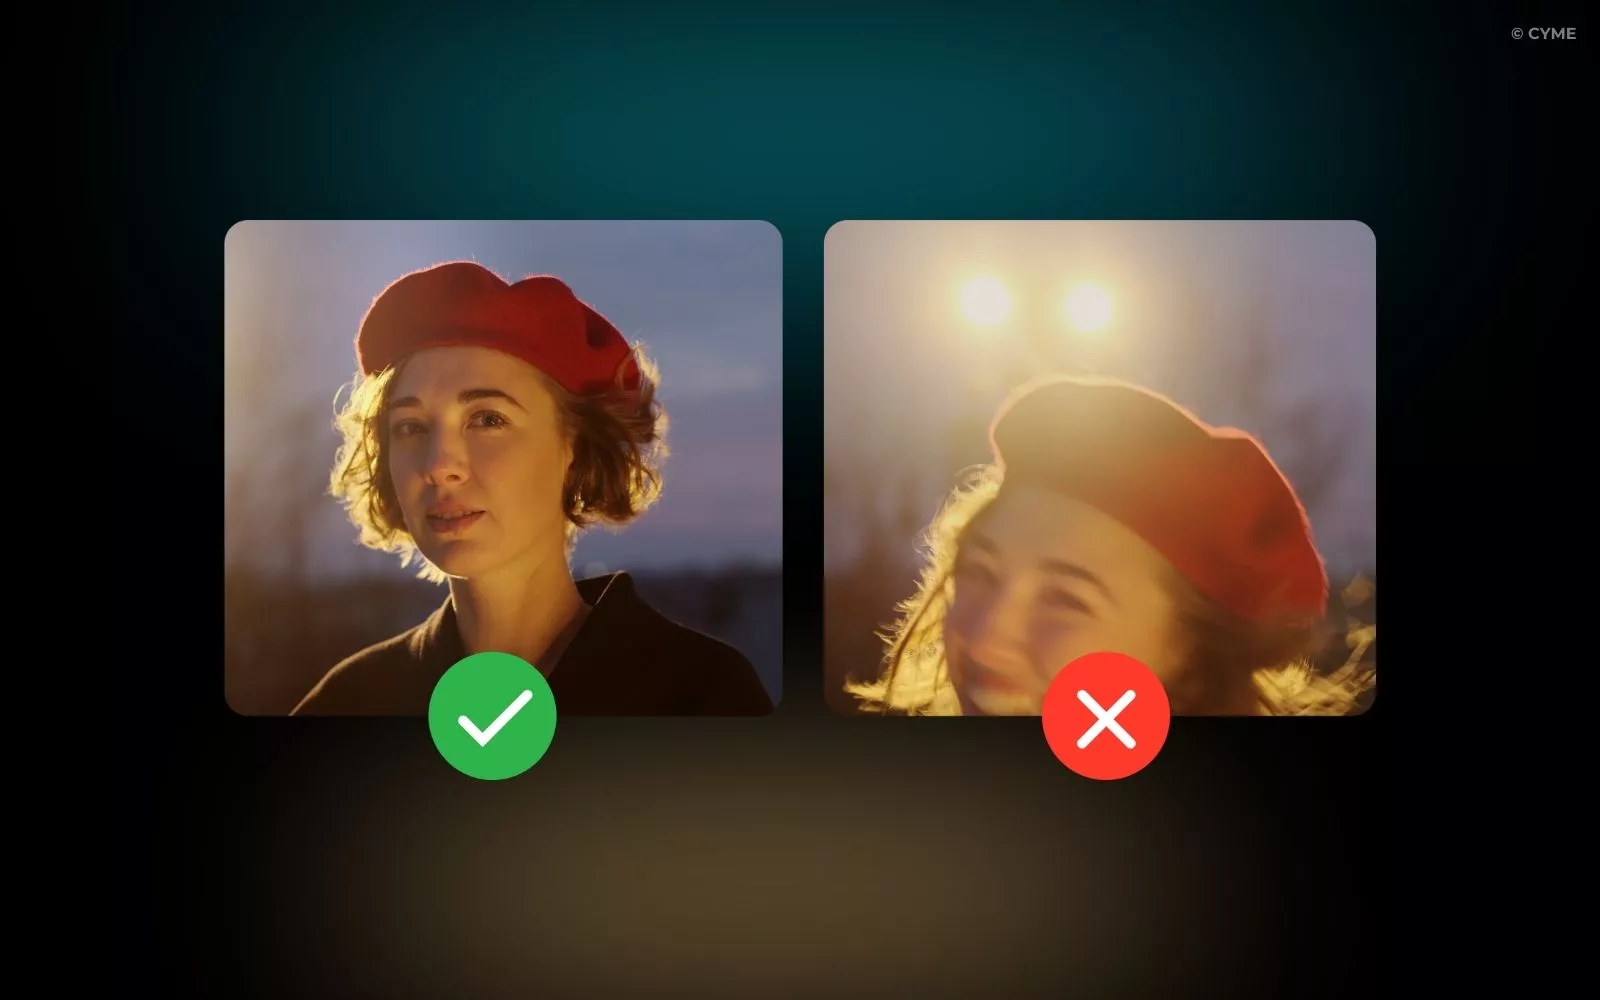
Bursts, pose variations, micro-expressions, gestures… this is where you save time later. Tip: I look for the image that tells the story. Not necessarily the cleanest one, but the one with the moment, the intention, the energy.
Pass 3 — final selection + rating (with a clear head if possible)
This is the shortlist: the images you’ll edit, deliver, publish, print. I rate them simply and stick to one rule: if I’m truly hesitating, it’s usually a no.
And above all: I cull these projects as if I’m building a long-term archive—not just a delivery.
Choosing the Right Tool for Photo Culling
Finder shows you files. It doesn’t help you decide—and that’s exactly why photo culling tools become essential.
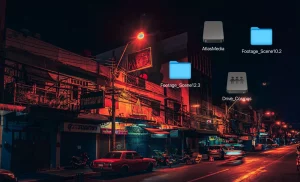
Even editing apps have their limits: they let you cull “within their own world”—a catalog, a session, an import. But today our images live everywhere: external drives, NAS, old archives, Lightroom catalogs, Capture One sessions, client folders, and more.
The real modern challenge is having a global view: comparing one shoot to another, finding a consistent style, series, or location, checking whether you already have the shot before going out to shoot again, and avoiding duplicates as well as scattered versions.
AI Photo Culling: When Automation Actually Helps
AI can be great… as long as you ask it the right things.
What AI does well today:
- grouping similar images / bursts
- detecting duplicates and variants
- helping spot obvious blur and certain technical inconsistencies
- speeding up the mechanical part of culling
What it shouldn’t do for you:
- choosing the photo that “has a soul”
- deciding the storytelling
- understanding your creative intent
The right mindset: automating tasks ≠ automating decisions.
The Best Automated Photo Culling Workflow: The Peakto Method
I’ll be transparent: what I love about Peakto is that it’s not “just a culling tool.” It’s a hub that gives me a unified view of my photo library—even if it’s spread across folders, drives, NAS, and catalogs.
My Peakto Workflow After a Shoot
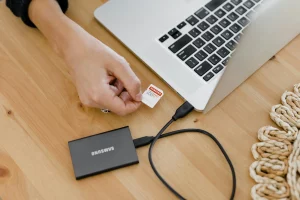
1) I open the shoot in Peakto
No need to disrupt my workflow: either I import the folder temporarily just to cull, or I first add it to my catalog (Lightroom / Capture One) and then move to Peakto.
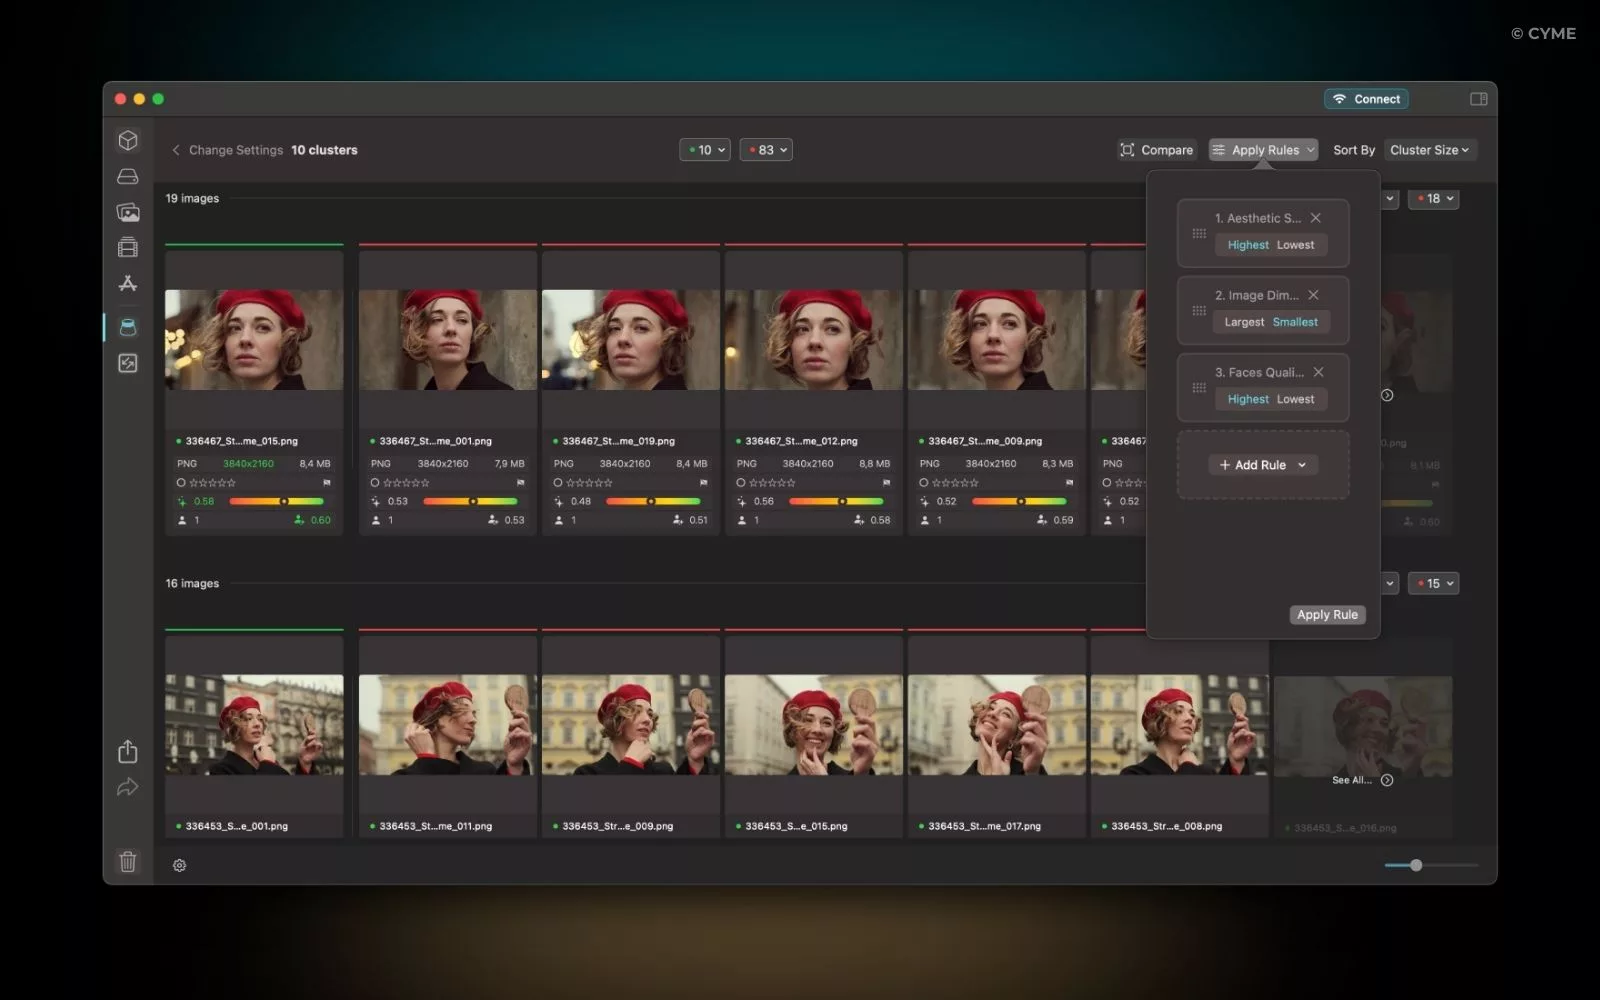
2) I use the built-in culling tool
This is where I save the most time. I set it up according to my criteria, and Peakto automatically groups series/bursts so I can compare quickly and confidently.
3) I set rules for a first automatic selection
AI helps me do a super-fast first pass. And to stay fully in control, I always do a quick review of the selected images—the comparison view is perfect for that.
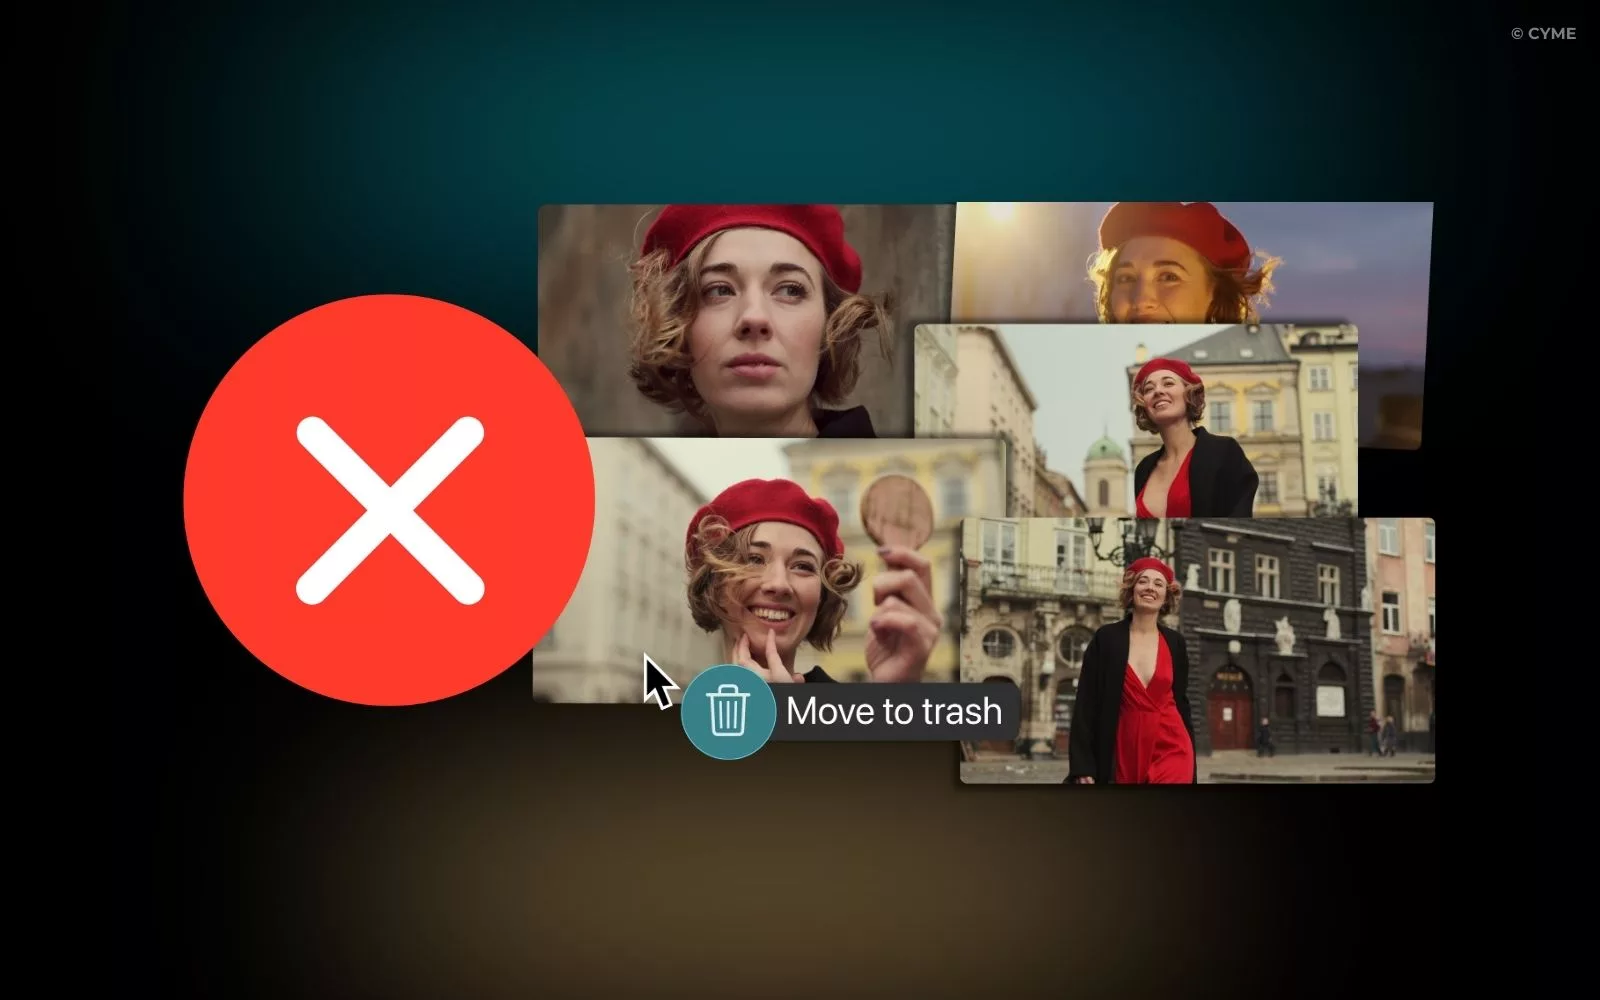
4) I annotate and prep for editing
Peakto lets me batch-annotate the images I keep or reject. Usually, I remove the flag from the shots I’m not keeping, and I flag the ones I want to edit for the project.
And most importantly, the fact that Peakto connects to all my sources changes everything: finding a series from three years ago, comparing a style, spotting redundancy… that’s where culling becomes sustainable and applies to my entire library—not just one project.
In short: AI assistance + human control + a global view. And for me, that’s the real future of culling.
Common Photo Culling Mistakes After a Shoot
I’ve made them. Everyone makes them. But simply identifying them is already a huge step forward.
Keeping everything “just in case” Result: you can’t find anything anymore, you lose focus, and your archive starts to feel like an attic.
Deleting too early because you’re tired
Culling “while it’s still hot” is risky. If you can, save at least the final selection for a moment when you’re rested—you’ll see the images differently.
Editing before you’ve truly chosen
You spend your energy (and creativity) on photos that don’t deserve that time.
Thinking “deletion” instead of thinking “selection”
Culling immediately makes us think about what we throw away. I try to think the opposite: what do I keep? The strongest images, the ones that tell something, the ones that carry a real moment.
These mistakes are expensive in the long run: mental overload, inconsistency, wasted time… and sometimes the loss of real gems.
From the Shoot to a Ready-to-Edit Library
My workflow comes down to a few steps: quickly eliminate the obvious misses, compare similar images intelligently, pick a shortlist with a fresh mind, organize so you can find things tomorrow (not just deliver today), and—most importantly—use the right tools to keep a global view.
Culling is the lever that makes you faster, clearer, and more creative. And above all, it brings back the joy: you spend less time managing, and more time creating. Once your shortlist is ready, editing becomes simple—you work on the best, and you build a solid, cohesive library that truly lasts.
And I’ll say it plainly: the sooner you adopt a tool like Peakto, the more you win in the long run. At first, you use it to cull a shoot. Then, over the months, it becomes your entry point to navigate your entire photo library—folders, drives, NAS, catalogs—and instantly rediscover an image, a series, a style, an idea. That’s what makes it indispensable: you’re not just optimizing one project—you’re optimizing years of photos.